


English
11
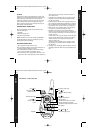
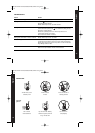
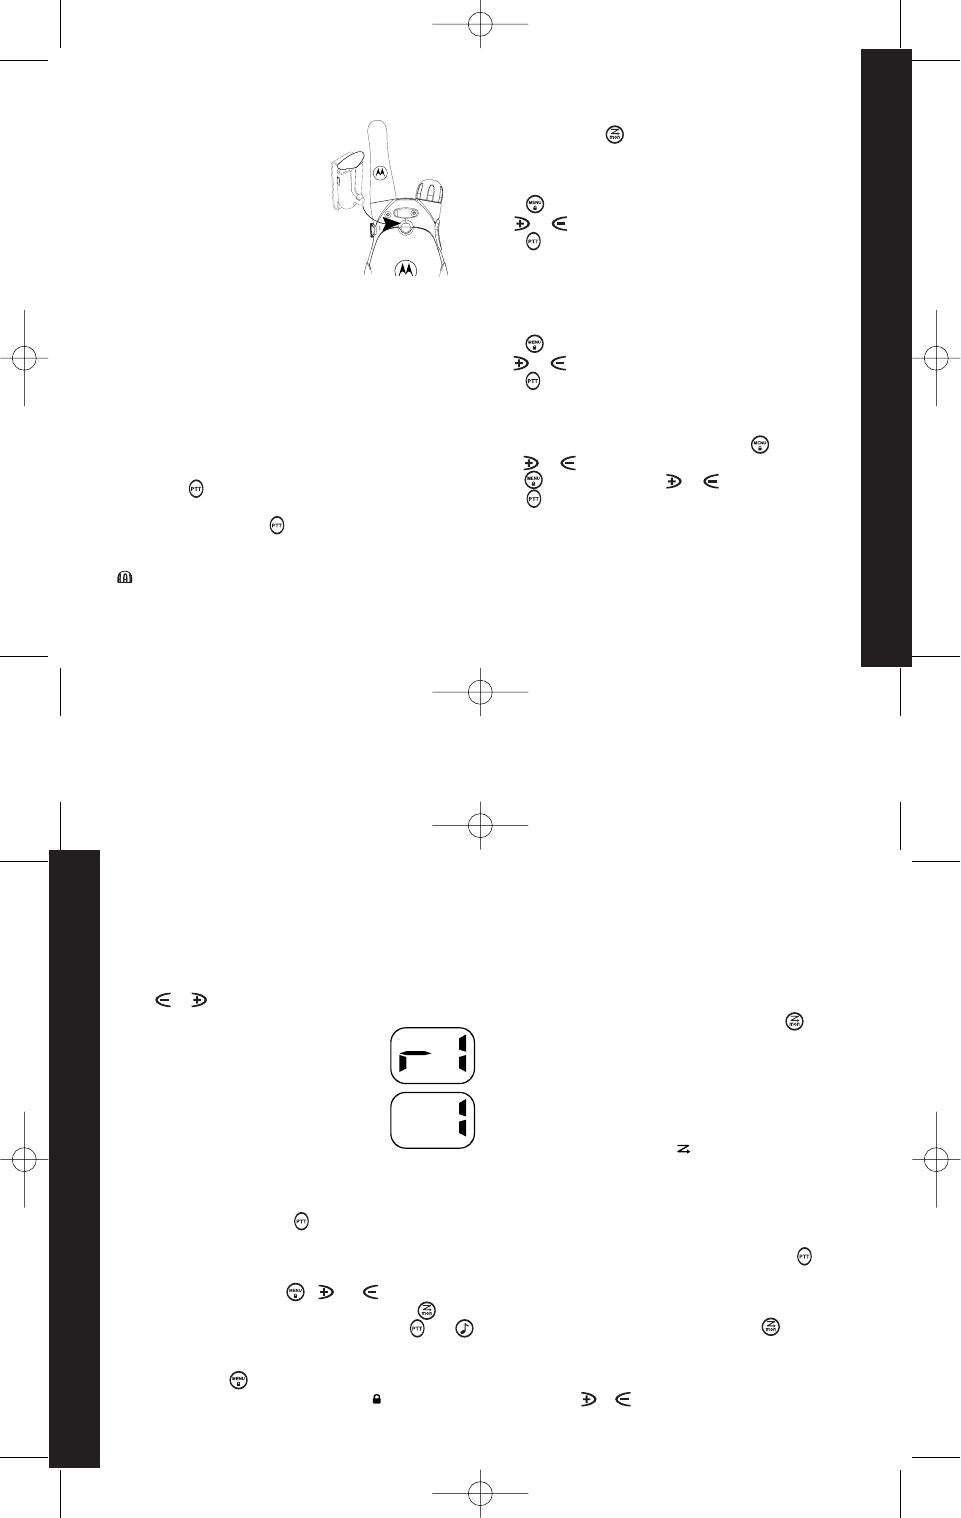
Belt Clip
Your radio comes with a swivel belt clip.
To attach, align belt clip post with hole
in the radio back and gently push until it
clicks into place.
To remove, push release tab on top of
belt clip down to release catch and pull
belt clip from the radio back.
TALKING AND LISTENING
Read this manual carefully before use.
Your radio has 38 channels. If you are in a group and you wish to
talk to each other, all radios must be set to the same channel
and interference eliminator code. If you experience
interference and need to change channel, ensure that you
change the channel and code of all radios in your group.
• For maximum clarity, hold radio 5 to 7 centimeters from mouth.
• Press and hold and speak into the microphone. LED
indicator light glows continuously when transmitting.
• To receive messages, release .
Volume
Use to adjust your volume to a comfortable listening level.
Monitor
Pressing and holding allows you to monitor your channel
for activity.
Channel
• Press . The channel number will begin to flash.
• Use or to change channel.
• Press to set new channel.
Interference Eliminator Code
Interference eliminator codes help minimize interference by
providing you with a choice of code combinations.
• Press until the code number begins to flash.
• Use or to change the code.
• Press to set new code.
You can specify a different code for each channel.
• To set a channel and code combination, press and then
press or to select the channel.
• Press again and then press or to select a code.
• Press to exit the menu and to save the channel and code
combination.
To set another channel and code combination, repeat these
steps.
Australia Mars T5519,T5539,T5709,T5419 user guide
Pg 11
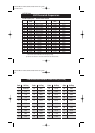
Note: Channel 5 and 35 have no Interference Eliminator Code
(CTCSS).
Australia Mars T5519,T5539,T5709,T5419 user guide
Pg 12
English
12
Press and hold the button for three seconds to lock or
unlock the keypad. When the radio is locked will show in the
display.
If scan stops on a channel that you don’t want to listen to,
briefly press or to resume scanning for the next active
channel.
Scan Advance (For T5519 and T5539 only)
• While the radio is scanning, will display and the radio will
scroll through the channels.
• When activity is detected on a channel, the radio will stop
scanning and you will hear whatever transmissions are
detected. The radio’s display will show the channel and code
on which activity was detected.
• If you want to respond to the transmission, press within 5
seconds and you can respond.
• The radio will resume scanning after 5 seconds of inactivity on
the channel.
• To stop scanning, briefly press and release .
• To start scanning, briefly press and release the button.
• If you activate scan while your code is set to 0, then the radio
will check for any activity on each channel, regardless of the
code in use on that channel.
• If you activate scan while the code is set on 1 to 38, the radio
will only check for activity on the specific channel and code
combinations that are set on your radio.
By scanning, you can monitor channels and codes for
transmissions and lock in on the one that interests you. More
importantly, you can find someone in your group who has
accidentally changed channels and is talking during your scan.
Scan (For T5519 and T5539 only)
Time-out Timer
The Time-out Timer feature helps extend battery life by
preventing accidental transmission. The radio will emit a
continuous warning tone after is pressed for 60 continuous
seconds and will stop transmitting.
The keypad lock disables the , and buttons. It also
disables the scan function, but allows you to use the button
to monitor the channel. It also allows you to use the and
buttons.
Keypad Lock
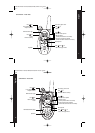
The units support the use of repeater in Duplex mode or without
the use of repeater in Simplex mode. This Duplex mode is only
supported for Channel 1 to Channel 8. When in these channels,
press or button will trigger
between Duplex and Simplex mode.
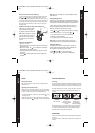
For example,
in channel 1, duplex mode will display:
Simplex mode will display:
Duplex Mode