


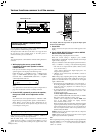

28
Adjusting each speaker’s relative volume
balance temporarily
You can readjust each speaker’s relative volume balance according
to your preference while listening to the sound.
The adjusted values will return to the values set on page 20 when
the AV Receiver enters standby mode, or the main power is
switched off unless you save the values.
Note
You cannot adjust the volume balance while the muting function is
activated.
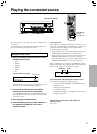
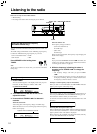
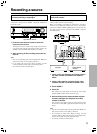
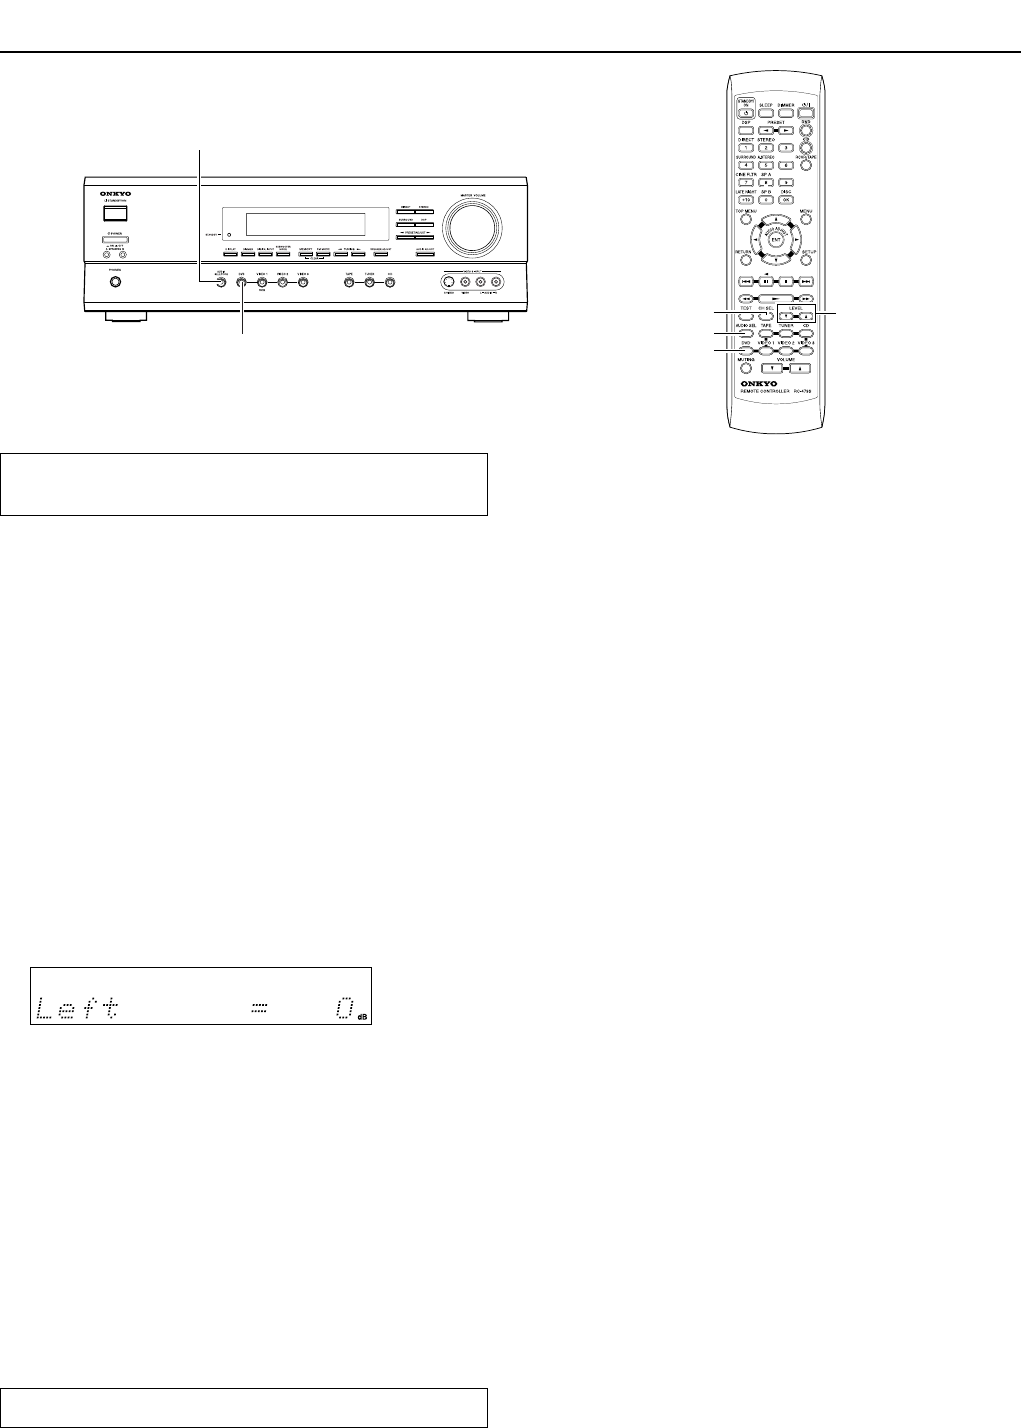
1. While playing the source, press CH SEL
repeatedly to check each speaker’s relative
volume balance.
Each press of the button changes the speaker and the selected
speaker appears in the display in the following order:
LEFT (Front left) → CENTER (Center) → RIGHT (Front
right) → SURR RIGHT (Surround right) → SURR LEFT
(Surround left) → SUBWOOFER (Subwoofer) → Speaker
volume adjustment mode off
Note
Any speaker that is not included in the speaker configuration on
page 20 is not selected even if it is actually connected.
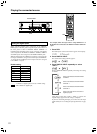
2. Press CH SEL repeatedly to select the speaker,
then press LEVEL 5/∞ to adjust the volume
level.
The volume level can be adjusted between –12dB and +12dB.
Repeat this step to change another speaker’s volume balance.
When TEST is pressed after the above adjustment, the set
levels will become the levels adjusted using the test tone by
overwriting the existing ones.
Setting the input signal format
If the input source is DVD, CD, VIDEO 1, VIDEO 2, VIDEO 3 or
TAPE, you can specify the input signal format.
With the initial setting, “Auto” is assigned to the DVD, CD and
TAPE inputs, and “Analog” is assigned to the VIDEO 1, 2 and 3
inputs. You can change this according to the signal format of the
input source.
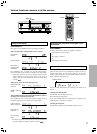
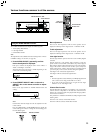
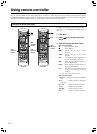
DVD
AUDIO SELECTOR
DVD
LEVEL 5/∞
AUDIO SEL
CH SEL
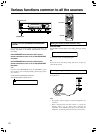
Various functions common to all the sources
For example, follow the steps below to specify the input signal
format for the DVD input
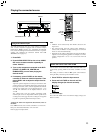
1. Press DVD.
DVD is selected as the input source and “DVD” appears in the
display.
2. Press AUDIO SELECTOR on the unit or AUDIO
SEL on the remote controller.
The current setting is displayed for three seconds.
While the current setting is displayed, press AUDIO
SELECTOR or AUDIO SEL repeatedly until the desired input
signal format is displayed.
Each press of the button switches the displayed input format as follows:
Auto ( )*
→
Multich**
→
Analog
→
Auto (back to the beginning)
* The name of the input terminals (OPT1, OPT2, COAX,
etc.) is shown inside ( ).
“Auto” will be skipped when digital input jack is not
assigned to the input source.
** “Multich” can be selected only when DVD is selected as
the input source.
Auto: Setting to play a digital signal in priority. When a digital
signal is not input, the analog signal will be played. If there is a
problem as described below, it is possible to fix the digital
signal to PCM or DTS.
• If the beginning of each PCM track is cut in Auto mode →
Fix the digital signal to PCM. However, care is required in
using this mode for playback of a DTS-CD may be
interfered by noise.
• If, during playback of a DTS-CD in Auto mode, noise is
output when the CD is fast-forwarded or reversed → Fix
the digital signal to DTS.
To fix the digital signal to DTS or PCM
1) Press AUDIO SELECTOR on the main unit (or AUDIO
SEL on the remote controller) to select “Auto”.
2) While “Auto” is displayed, press ADJUST ™/£. Each
press of the button switches the display between
Auto ↔ PCM ↔ DTS ↔ Auto.
When the digital signal is fixed at DTS or PCM, the digital
signal is reproduced only when the selected type of signal is
input. Digital signals of other types are not reproduced. In
this case, only the indicator of the non-reproduced source
(PCM or DTS) will blink.
Multich: Setting to play back the input from the component
connected to the DVD port.
Analog: Setting to play the analog signal. Even when a digital
signal is input, it will not be reproduced.
Note
When a digital input setting is changed while an input signal format
other than “Multich” is set, the digital input becomes automatically
Analog if it has been “– – – –” or “Auto” if it has been “OPT 1”,
“OPT 2” or “COAX”.