52
Advanced Setup—Continued
Speaker Configuration
This section explains how to specify your speaker con-
figuration.
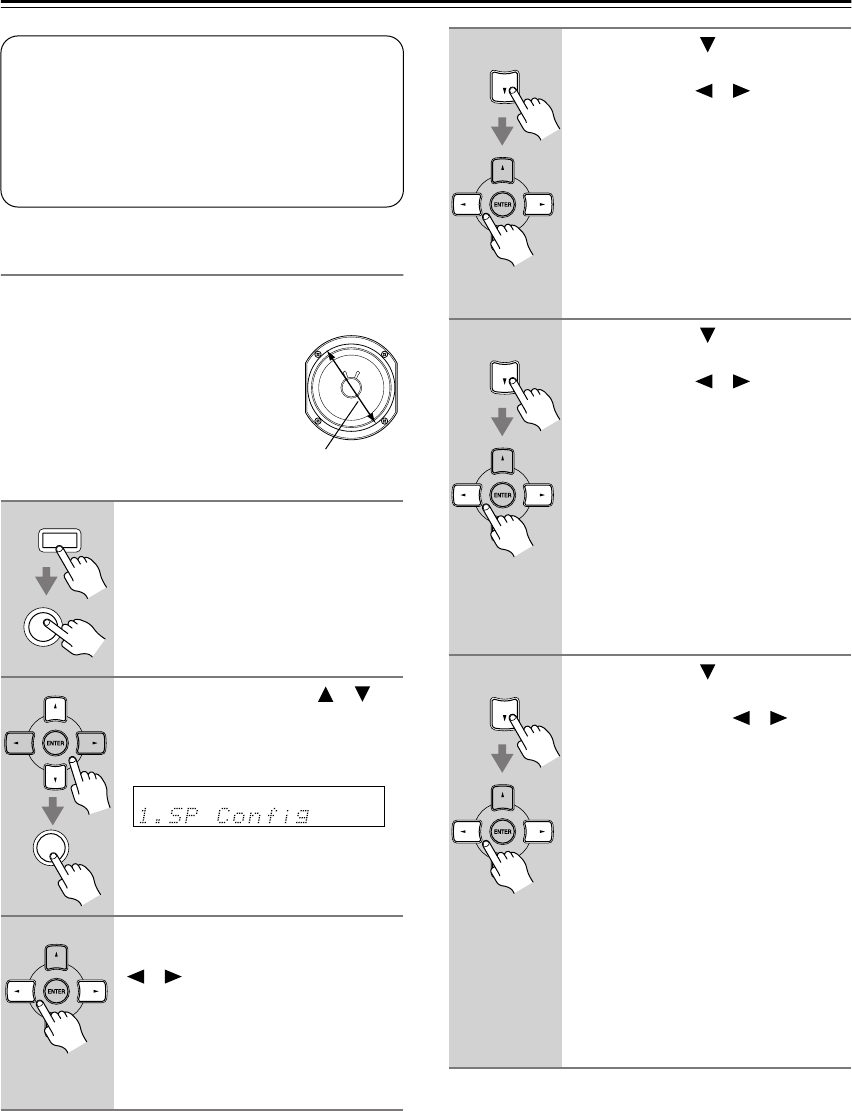
For speakers with a cone diameter
larger than 6-1/2 inches (16 cm),
specify Large (full band). For those
with a smaller diameter, specify
Small (default crossover 100 Hz).
The crossover frequency can be
changed on page 53.
1
Press the [RECEIVER] button fol-
lowed by the [SETUP] button.
2
Use the Up and Down [ ]/[ ]
buttons to select “1. SP Config,”
and then press the [ENTER] but-
ton.
3
While the Subwoofer setting is
selected, use the Left and Right
[ ]/[ ] buttons to select Yes or
No.
Yes: Select if a subwoofer is con-
nected.
No: Select if no subwoofer is con-
nected.
Speaker Configuration, Crossover Frequency,
and Double Bass settings only need to be
changed if you’re not using the speakers in
this package.
These settings cannot be changed while head-
phones are connected, speaker set B is on, or
the multichannel DVD input is being used.
Cone diameter
RECEIVER
SETUP
ENTER
4
Use the Down [ ] button to
select “Front,” and then use the
Left and Right [ ]/[ ] buttons to
select Small or Large.
Small: Select if the front speakers are
small.
Large: Select if the front speakers are
large.
Note:
• If the Subwoofer setting in step 3 is
set to No, this setting is fixed at Large
and does not appear.
5
Use the Down [ ] button to
select “Center,” and then use the
Left and Right [ ]/[ ] buttons to
select Small, Large,orNone.
Small: Select if the center speaker is
small.
Large: Select if the center speaker is
large.
None: Select if no center speaker is
connected.
Note:
• If the Front setting in step 4 is set to
Small, the Large option cannot be
selected.
6
Use the Down [ ] button to
select “Surround,” and then use
the Left and Right [ ]/[ ] but-
tons to select Small, Large,or
None.
Small: Select if the surround speak-
ers are small.
Large: Select if the surround speak-
ers are large.
None: Select if no surround speakers
are connected.
Note:
• If the Front setting in step 4 is set to
Small, the Large option cannot be
selected.
Continue with step 7 of the “Crossover
Frequency” setting.


