51
Using the Timers
The CD receiver has five timers: four programmable tim-
ers for automated playback or recording, and a sleep timer
for turning the CD receiver off after a specified period.
The timers can be used with other Onkyo components
that are connected to the CD receiver via (see pages
20 to 24 for hookup details).
The various settings for the four programmable timers
are explained here. For details on the sleep timer, see
page 55.
Timer Types
Each timer can be programmed for playback (Play) or
recording (Rec).
■ Play
Play mode can be used to start playback at a specified
time on the CD receiver or another Onkyo component
that’s connected to the CD receiver with an cable.
You could use a Play timer to turn on the CD receiver
every morning, just like a radio alarm.
■ Rec
Rec mode can be used to start playback on one compo-
nent and start recording on another component at a spec-
ified time. The recording component (e.g., Onkyo
cassette deck or MD recorder) must be connected to the
CD receiver with an cable. You could use a Rec
timer to record your favorite radio show every day.
Playback and Recording Components
The playback component can be the CD receiver (AM,
FM, DAB or CD), an Onkyo component (MD recorder,
cassette deck, etc) that’s connected to the CD receiver
with an cable, or a component that’s connected to
one of the CD receiver’s inputs, perhaps one with its own
built-in timer.
The recording component can be an Onkyo MD recorder
or cassette deck that’s connected to the CD receiver with
an cable.
Repeat Timers
Each timer can be programmed to work just once
(Once), every week (Every), every day (Every Day), or
on a range of days (Days Set).
■ Once
The timer will work just once.
■ Every
The timer will work every week on the specified day and
time.
• Everyday
The timer will work every day.
•Days Set
The timer will work on the specified range of days. With
this setting, you could set up a morning alarm for Mon-
day to Friday.
Timer Examples
The following examples highlight some of the ways in
which you can use the timers.
Timer 1: To wake up to your favorite radio station (pre-
set #1) every morning, set as follows:
Play
➔FM 1➔Every➔Every Day➔On 7:00➔Off 7:30
If you want a radio alarm only on weekdays, select
“Days Set” instead of “Every Day” and specify
“MON–FRI.”
Timer 2: To record a one-off radio show (preset #2) to a
cassette deck this Sunday, set as follows:
Rec
➔FM 2➔TAPE➔Once➔SUN➔On 21:00➔Off 22:00
(You need an -capable Onkyo cassette recorder or
MD recorder to do the recording.)
Timer 3: To record an FM radio show to a MiniDisc
recorder every day from Monday to Friday, set as fol-
lows:
Rec
➔FM 1➔MD➔Every➔Days Set➔MON➔ FRI➔On
15:00
➔Off 15:30
Timer Priority
If two or more timers are set to the same On time, the
lowest numbered timer has priority. For example:
Timer 1: 07:00 – 13:00 (This timer has priority.)
Timer 2: 07:00 – 12:30
If two or more timers overlap, the timer with the earliest
start time has priority. For example:
Timer 1: 9:00 – 10:00
Timer 2: 8:00 – 10:00 (This timer has priority.)
If the On and Off times of two timers are the same, the
timer with the earliest start time has priority and the
other timer will fail. For example:
Timer 1: 0:00 – 1:00 (This timer has priority.)
Timer 2: 1:00 – 2:00
Timer Indicators
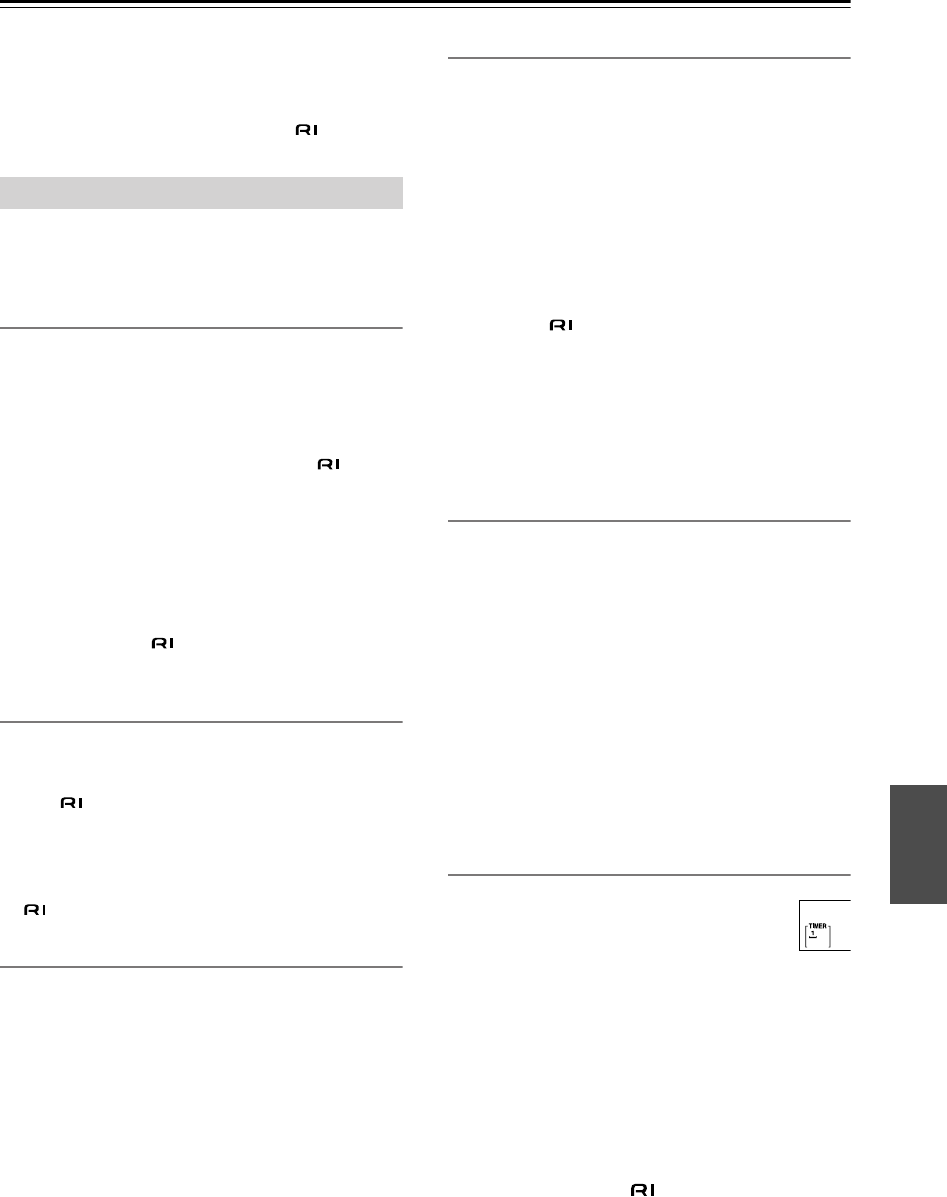
When a timer has been set, the TIMER indica-
tor and the number of the timer appear on the
display. If the timer has been set to perform
recording, an underscore character appears
underneath the timer’s number.
Notes:
• The timers work only if the CD receiver is on Standby.
If it’s on when a timer is supposed to start playback or
recording, nothing will happen.
• While timed playback or recording is in progress, the
timer’s Off time cannot be changed.
•To use timed playback or recording with an external
component, make sure it’s properly connected to the
CD receiver. Also, for to work properly, make
sure that the Input Display on the CD receiver is set to
match the type of component you’ve connected to the
MD/TAPE IN, DOCK/CDR IN, or DIGITAL IN (see
page 29).
About the Timers


