MPCD33
SETUP and CONNECTIONS
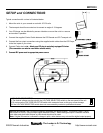
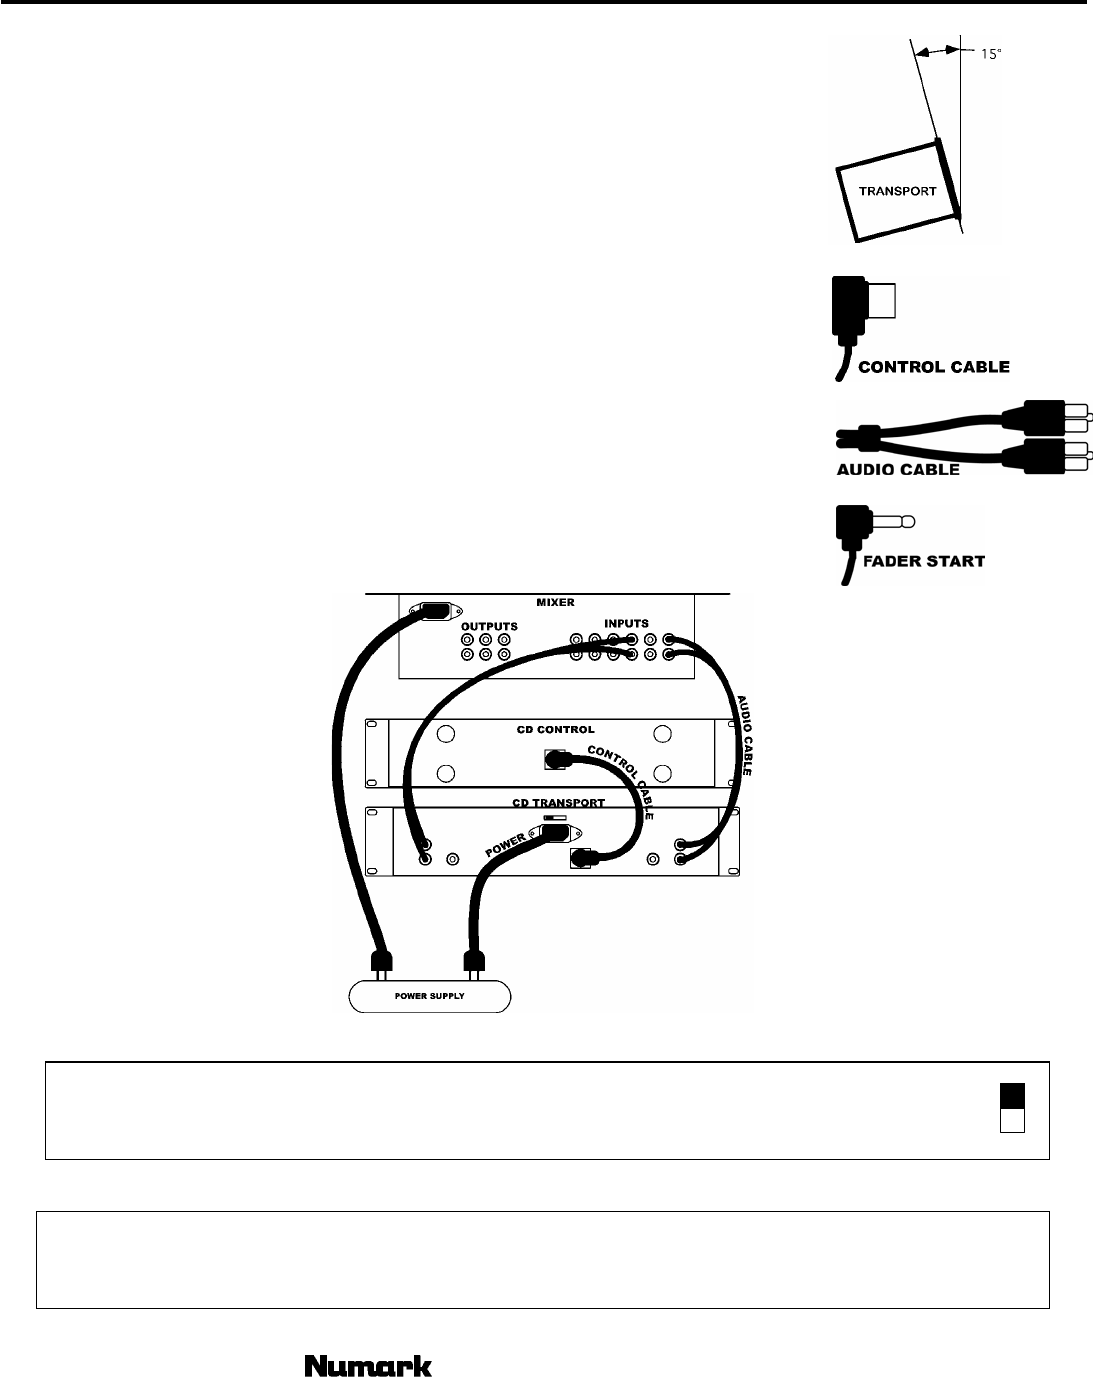
Typical connection with a mixer is illustrated below.
1. Mount the units in your console or rack with 19” EIA rails.
2. The transport should be mounted not to exceed an angle of 15 degrees.
3. Your CD player can be affected by excess vibration so mount the units in a secure
environment if possible.
4. Connect the supplied Control Cable between the CD Remote and CD Transport unit.
5. Connect the line output connections using the supplied audio cables from the CD P
to the line inputs of your mixer.
layer
6. Connect Fader start cable. Attach your CD play to a similarly equipped DJ mixer.
(This connection can also be used with a remote switch)
e. Attach your CD play to a similarly equipped DJ mixer.
(This connection can also be used with a remote switch)
7. Connect IEC power cord to appropriate power source. 7. Connect IEC power cord to appropriate power source.
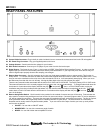
LINE VOLTAGE SELECTION
115V
230V
1) The desired voltage may be set with the VOLTAGE SELECTOR switch on the rear panel of the unit.
2) Do not move the VOLTAGE SELECTOR switch with excessive force as this may cause damage.
3) If the VOLTAGE SELECTOR switch does not move smoothly contact a qualified serviceman.
DIGITAL OUTPUTS: This CD player is specially equipped with digital outputs. The format is type 2, form 1,
also known as S/PDIF (Sony/Phillips Digital Interface Format). When the digital output is used the variable
pitch slider and pitch bend buttons or pitch wheel should not be used.
Note: If digital information is allowed to change in pitch, other devices may not read the digital output properly.
- The Leader in DJ Technology
©2002 Numark Industries
- 5 - http://www.numark.com


