


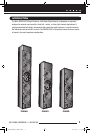
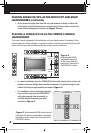
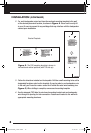


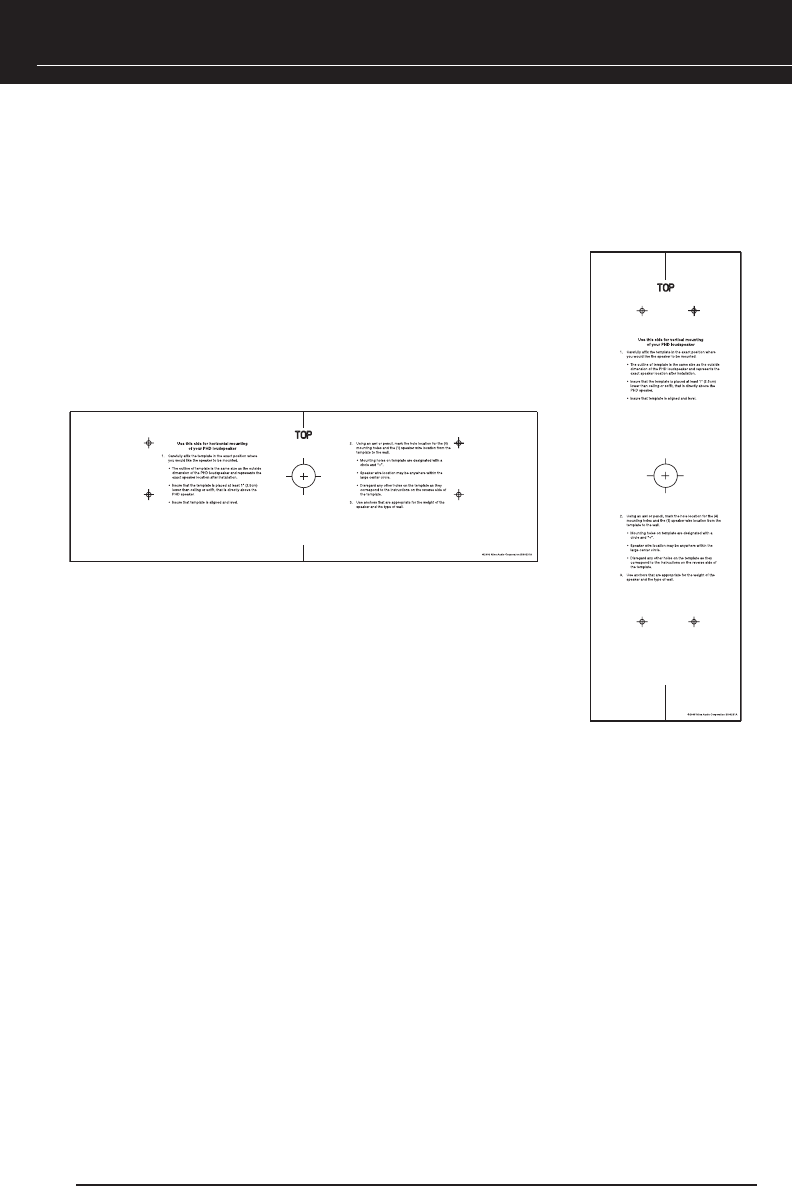
Figure 4. The PHD mounting template is shown in
horizontal and vertical positions (with TOP side up).
INSTALLATION (CONTINUED)
2. For each loudspeaker, orient and tape the enclosed mounting template to the wall
at the desired placement location, as shown in Figure 4. Use a level to verify tilt
is zero. Be sure to account for any moldings that may interfere with the loudspeaker
cabinet upon installation.
3. Follow the directions included on the template. Drill four small mounting holes at the
designated locations noted on the template. If you also plan to run loudspeaker wire
in the wall, you’ll need to create a cutout for it within the noted wire boundary (see
Figure 4). When drilling is complete, remove each mounting template.
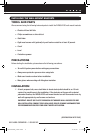
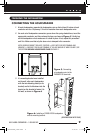
4. Use the stamped (TOP) label to orient each mounting bracket and run loudspeaker
wire through its opening for later connection. Fasten each bracket to the wall with
appropriate mounting hardware.
8
Bracket Template
DS00413BCN_0-PHD.indd 10 11/18/05 2:33:01 PM