9
Speaker Placement
of these placement techniques require that
you work your surround sound amplifier
channels harder. If the surround sound sys-
tem you are using has a small five or ten
watt amplifier for the rear speakers, stay
within five to eight feet of the listening loca-
tion. If you are using a 25 to 50 watt amplifi-
er you can mount the speakers 10 to 15 feet
away from the listening location and still
achieve reasonably high volume levels.
Of course, the best way to emulate the
sound of multiple speakers is to use multi-
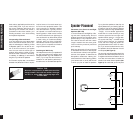
ple speakers. In large or unusually shaped
rooms this might be the only way to
achieve a good effect. (See Figure 7).
If you like to listen to music surround
modes which emulate concert hall
acoustics, more than two surround speakers
will prove extraordinarily effective. With
Niles HD•LRS loudspeakers it is easy to
add another pair without affecting the
decor of the room. However, you will need
to use a much more powerful amplifier
than that which is built into a typical sur-
round sound receiver or amplifier. Niles
makes a number of Systems Integration
Amplifiers™ with proprietary features that
make them uniquely suited to enhance a
good surround sound system. Consult your
Niles dealer for more information.
TV
10
Installation Fundamentals
Installation
Fundamentals
Running the Speaker Wire in New
Construction
If you have doubts about whether you are
capable of installing a Niles Blueprint
Series In-Wall Loudspeaker, consult a
Niles dealer or professional installer. They
have special tools, techniques, and experi-
ence to make the impossible possible. The
installer can provide you with an estimate
before any work is done.
Scheduling and Preparation
Plan to schedule the speaker wiring after
the electrical wiring is finished. That way
you can avoid wire routes which could
potentially induce hum over the speaker
wire. The basic rules are:
• Never run speaker wire through the
same hole as an electrical cable.
• Never run speaker wire into the same
J-box as electrical cable.
• Avoid running the speaker wire beside
the electrical cable. Keep it at least three
or four feet distant from any electrical
power cable.
Side-by-side wiring is unavoidable in par-
ticular spots in every house, just move the
speaker wire route away as soon as possi-
ble. If construction forces a side by side
run for more than ten feet, install metal
conduit or shielded speaker wire. Low-
voltage wires such as doorbells, inter-
coms, telephone, security, or television
cannot cause interference or hum on your
speaker wires, so you can safely run all of
them at the same time, through the same
holes, side-by-side.
Before you drill any holes, mount the
speaker brackets in the desired speaker
locations and mount p-rings or open
backed J-boxes where the in-wall volume
controls and stereo equipment will be.
Safety First!
Wear gloves, safety goggles and head pro-
tection when drilling
. Avoid nails, they ruin
bits and they can create injury. Pay particu-
lar care when using “hole-hogs” and other
powerful electric drills; the torque of the
drill when suddenly stopped by a nail can
break the wrist of a strong man.
Drilling
Use a bit that is large enough for the wires
you plan to run. An auger bit is the pre-
ferred bit for rough-in wiring. It will actu-
ally pull itself through the wood, so that
the drill motor, not you, does most of the
work. You will be drilling a lot of holes,
so this is important.
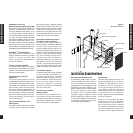
Always drill the holes in the center of the
stud. If you have to notch the stud or drill
the hole closer than one inch from the
edge of the stud, protect the wire with a
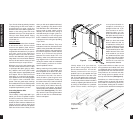
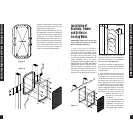
nail plate. (See Figure 8).
When drilling holes in ceiling joists drill
in the center of the joists and try to locate
the hole near the end of the joist. DO
NOT drill through a “gluelam” or any
load bearing beam without the direction
of your contractor.
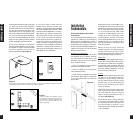
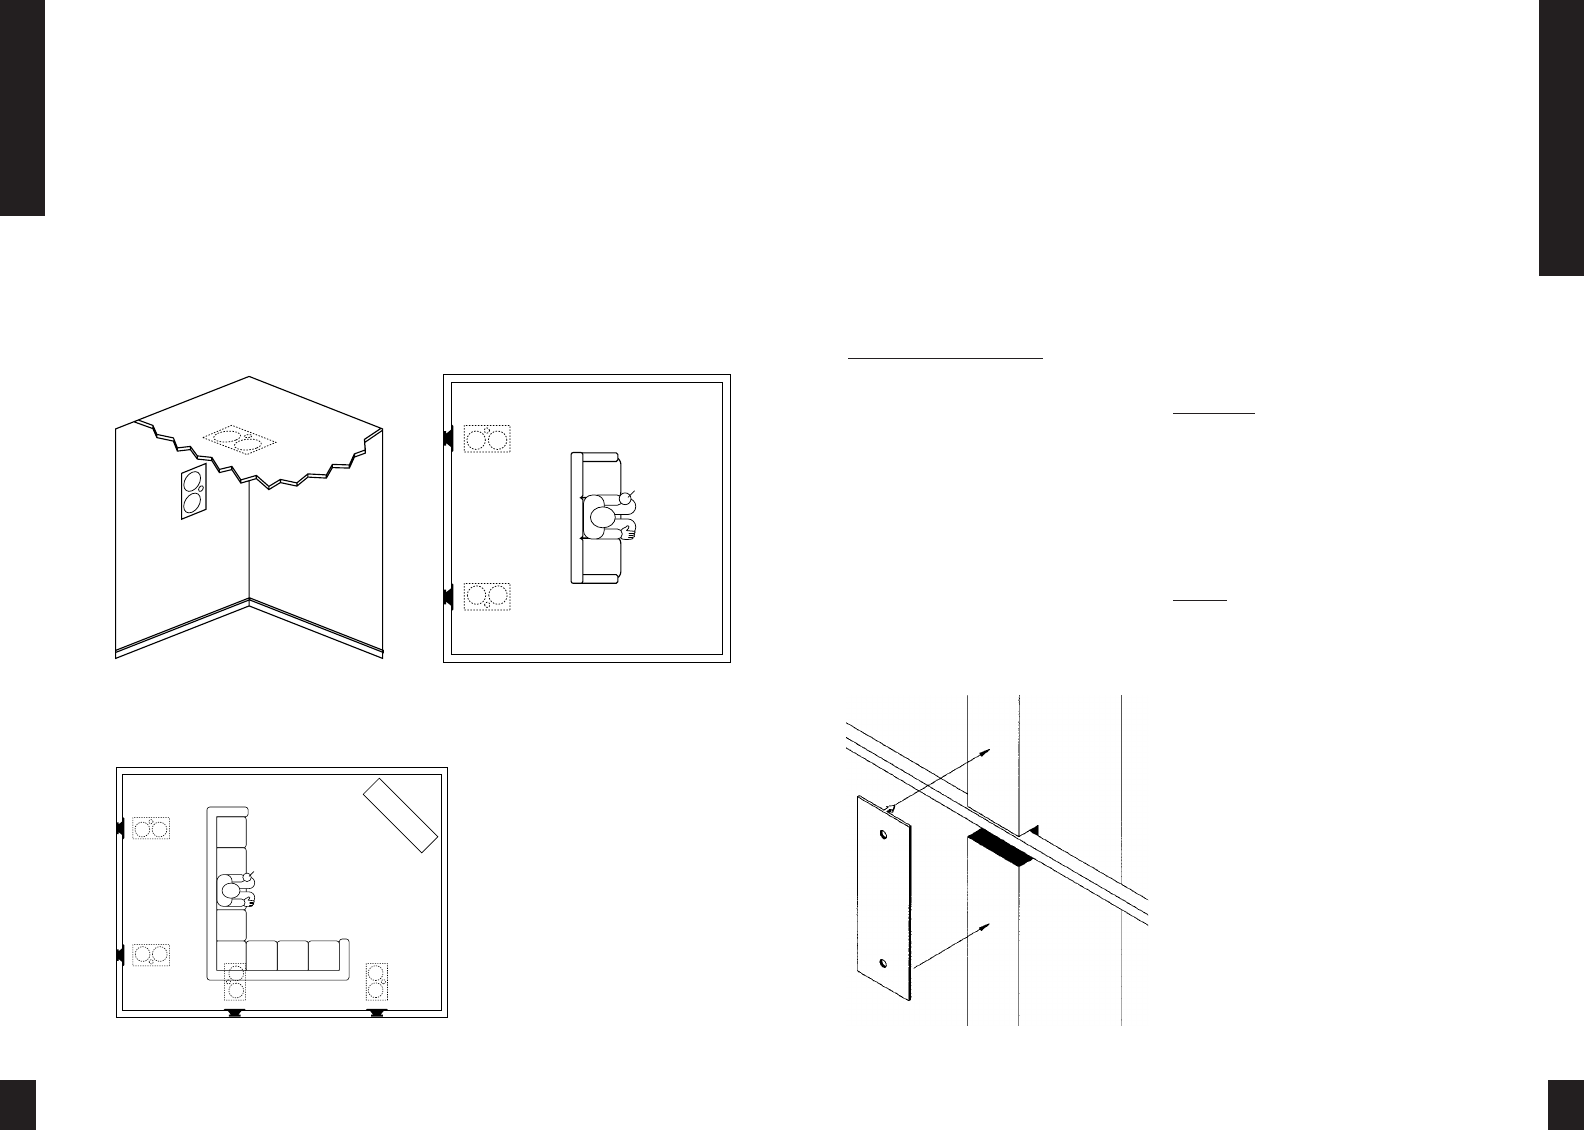
Figure 8
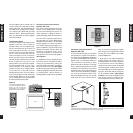
Figure 6
If the primary listening position is towards the center of the room as depicted in figure 6, place the
rear speakers high up on the rear wall or in the ceiling as pictured.
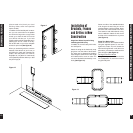
Figure 7
If you use multiple rear speakers or have
an irregularly shaped listening area as
shown in figure 7, place the speakers high
up on the rear and side walls or in the
ceiling as pictured.


