


NILES AUDIO CORPORATION – 1-800-BUY-HIFI
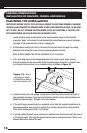
7. If you are cutting into a plaster ceiling, use masking tape to outline your penciled
circle and use a razor to score the plaster down to the lath beneath. Then use a chisel
to remove all of the plaster within the taped outline. To actually cut the lath, consider
the following two professional methods:
• Use a saber saw with a metal cutting blade for the quickest cut. However, saw
-
ing lath with a saber saw can easily vibrate plaster off the ceiling in a completely
distant location, thereby creating more patchwork.
• If you have the patience, use a pair of tin snips to slowly nip away at the lath
instead. There is little risk with this method – it is just more time consuming.
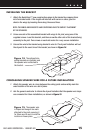
FINISHING THE INSTALLATION
INSTALLING THE SPEAKERS
1. If possible, lay a batten of insulation into each ceiling cavity. Remember to use equal
amounts of insulation for each speaker.
2.
At each speaker, separate the speaker wire so that at least 2 inches of each conduc-
tor are free. Strip away 1/4 inch of insulation from each speaker wire and insert the
appropriate wire into each spring-loaded speaker connector.
NOTE: OBSERVE CORRECT POLARITY: POSITIVE (+) GOES INTO THE RED TERMINAL AND
NEGATIVE (–) GOES INTO THE BLACK TERMINAL.
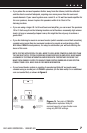
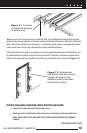
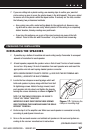
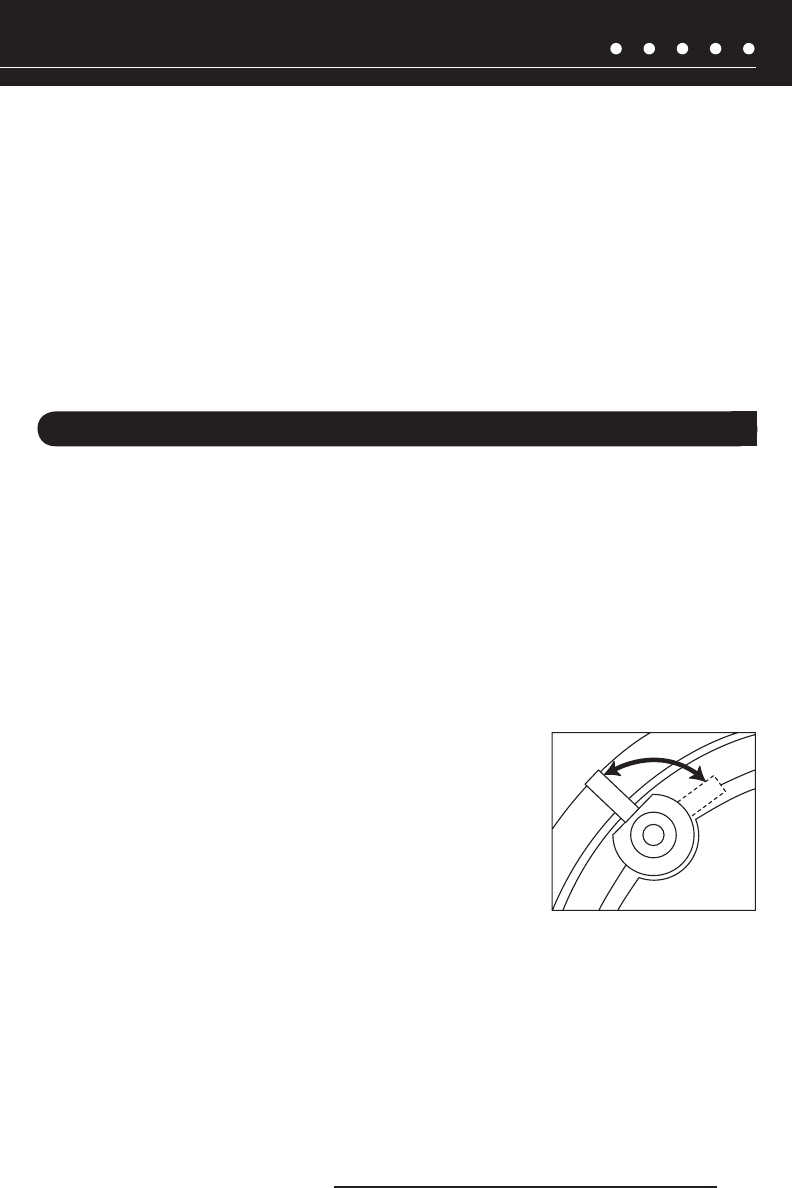
3. Locate the four clamps or mounting dogs which will
hold each speaker in place, along with their front-baf
-
fle tightening screws. Rotate the dogs inward, insert
each speaker into its cutout, and tighten the dogs by
turning the screws clockwise, as shown in Figure 17
.
NOTE: THE TIGHTENING SCREWS WILL BE EASIER TO
TURN IF YOU “PRIME” THEM FIRST.
IMPORTANT: DO NOT OVER TIGHTEN THESE SCREWS!
OVER TIGHTENING THE CLAMPS MAY MAKE THE GRILLE
DIFFICULT TO INSTALL.
4. Perform step 2 at the amplifier end. Make sure each speaker is connected correctly
according to polarity and channel use.
5.
Turn on the surround receiver and calibrate all speakers in the surround system ac-
cording to the receiver manufacturer’s instructions.
Figure 17. Tightening the
clamps or mounting dogs.
17
(CONTINUED ON NEXT PAGE)