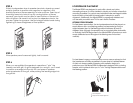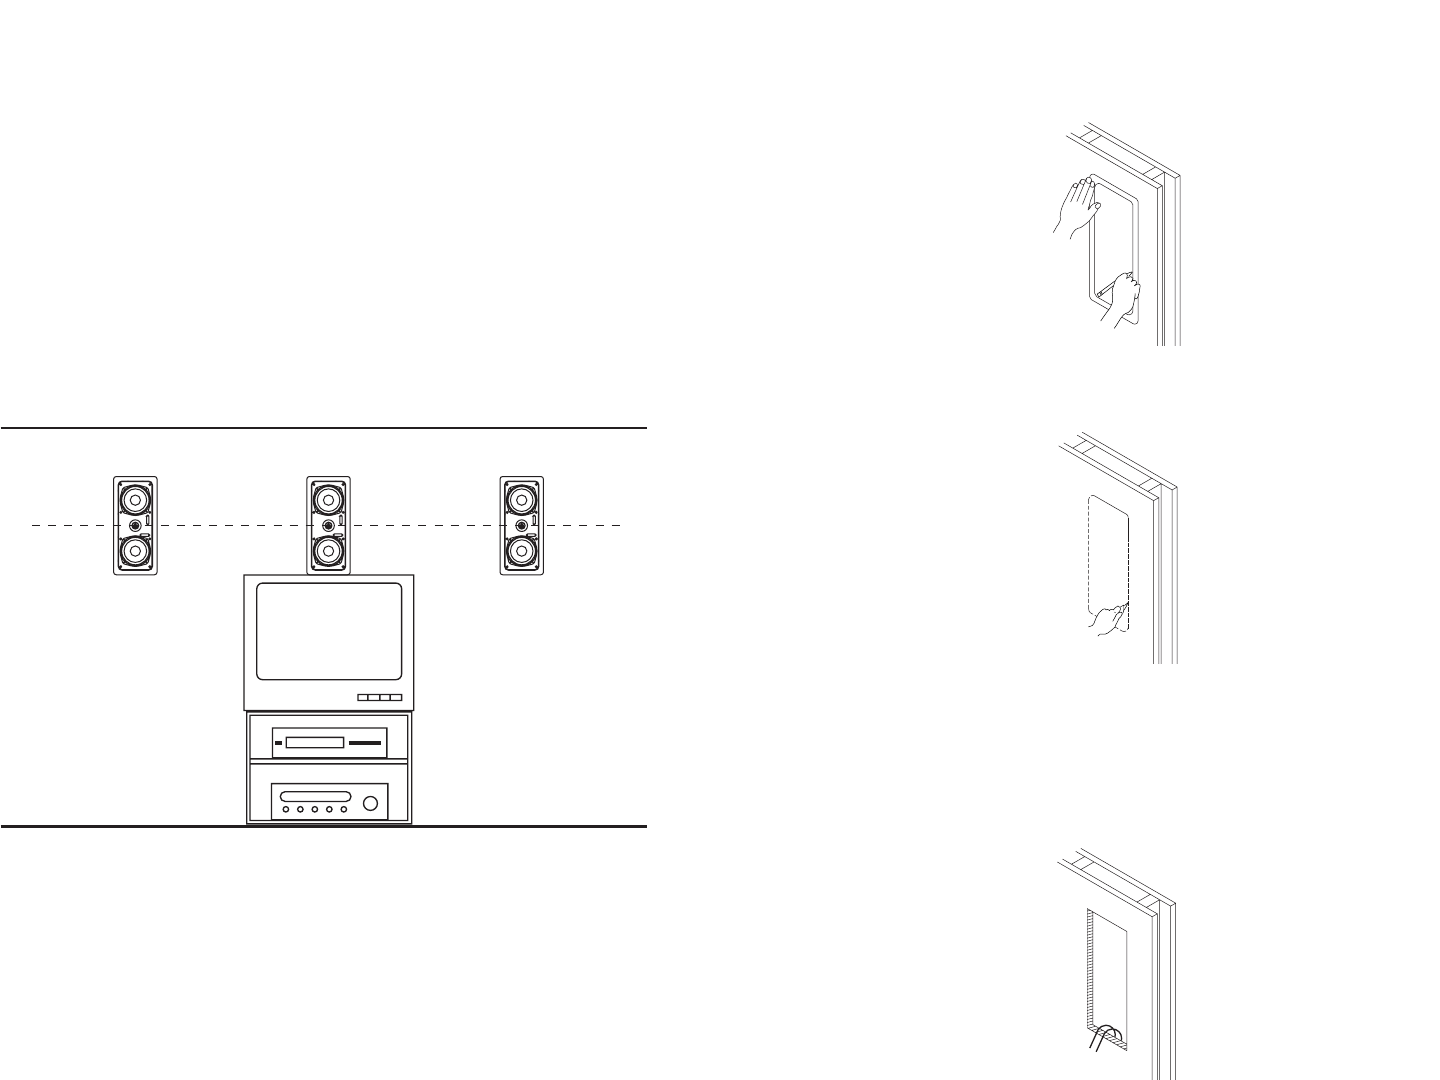
STEP 1
Using a stud finder (available at low cost at most hardware stores)
or other accurate method, locate center point between two
studs and mark. Using template provided, trace hole pattern on
surface of wall.
STEP 2
Using a sabre saw, keyhole saw or very sharp utility knife, cut hole
in wall, following traced pattern.
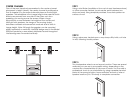
STEP 3
Run loudspeaker wires to sound source location. There are several
methods you can use to accomplish wiring, depending on the
construction characteristics of the room or house. You can add a
professional touch to your installation by using a speaker terminal
plate at the source location. Leave sufficient amount of wire at
speaker location (8 to 10 inches) to complete connection.
CENTER CHANNEL
One of the most important parameters for the center channel
placement is height. Ideally, the center channel is positioned so
that its tweeter is on the same horizontal plane as the left/right
speakers. This establishes a firm image height when special audio
effects are panned from one side to the other, such as a
speeding car moving across the screen. When a large
discontinuity occurs between the heights of the center and
left/right front speakers, the image of the moving object
becomes confused and somewhat unnatural due to shifts in
image height.
Note: Although the speaker can be mounted
either horizontally or vertically, the MTM design used in the Model
525W will produce a more evenly distributed sound throughout
the listening area if mounted vertically.


