


7
MP52 CONFIGURATION GUIDE
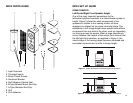
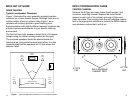
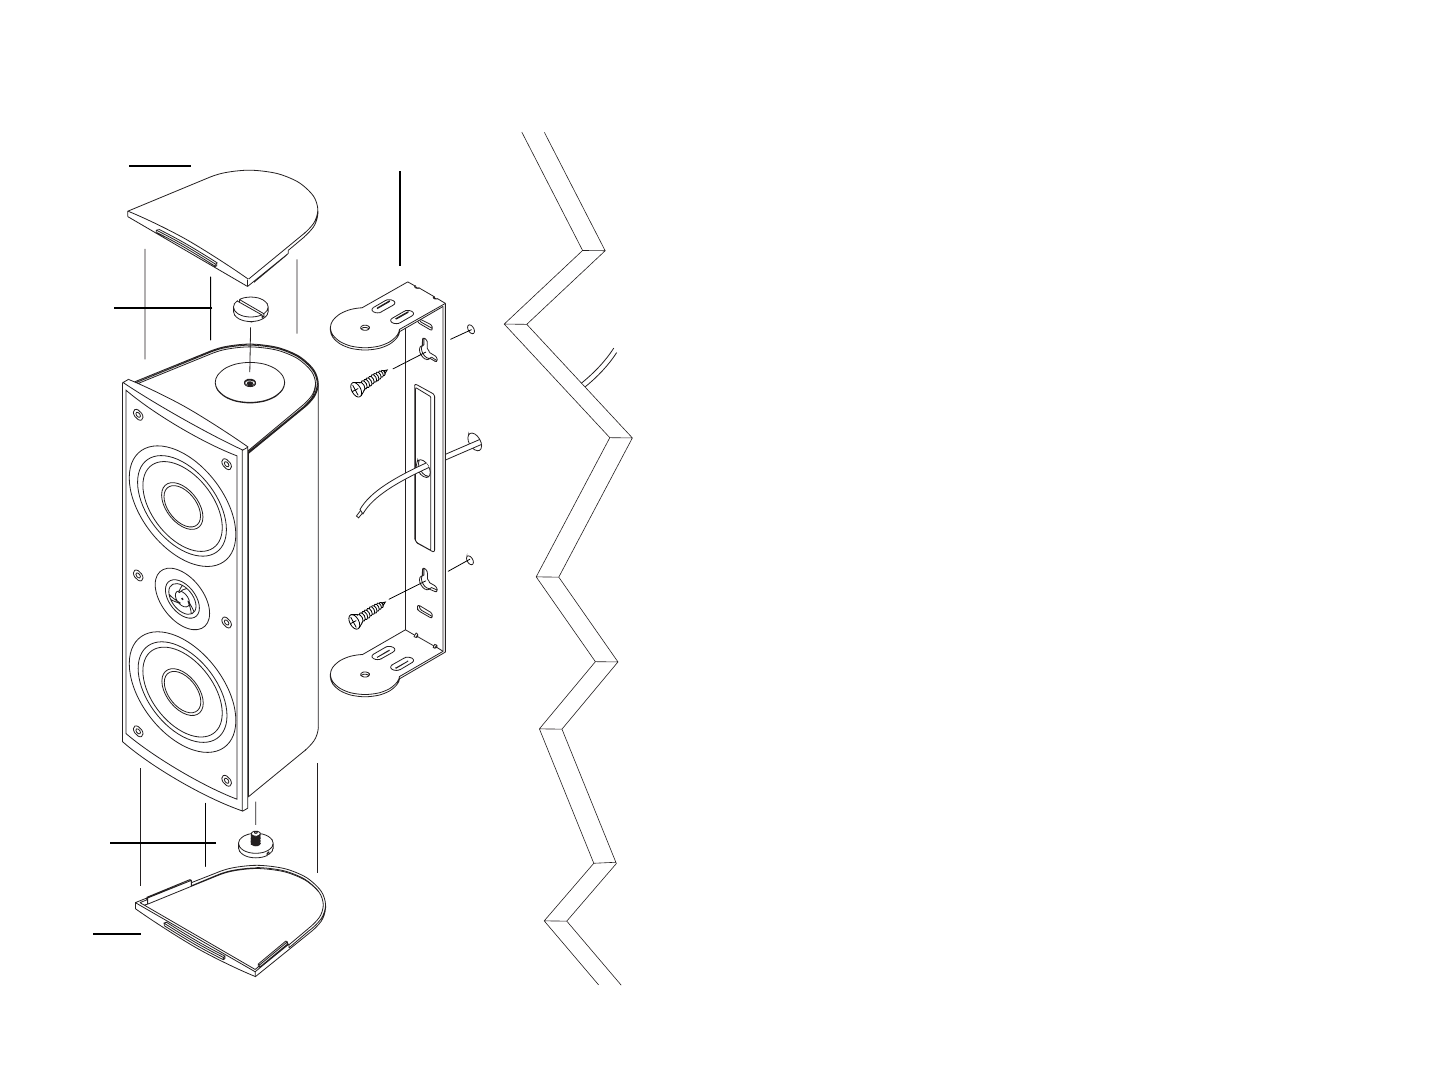
BRACKET MOUNTING
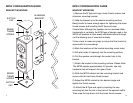
B
B-STYLE
CAP
B-STYLE
CAP
BRASS
THUMB
SCREW
BRASS
THUMB
SCREW
ALUMINUM
BRACKET
MP52 CONFIGURATION GUIDE
BRACKET MOUNTING
1) Remove the B-Type end caps, brass thumb screws, and
aluminum mounting bracket.
2) Hold the bracket up to the desired mounting surface.
Being careful to leave enough space for tightening the brass
thumb screws and installing the B-Type end caps.
Please Note: Although the speaker can be mounted either
horizontally or vertically, the MTM type of design used in the
MP52 will produce a more evenly distributed sound through
out the listening area if mounted vertically.
3 Use a level or measuring tape to insure that the bracket is
square with its surroundings.
4) Mark the locations of the bracket mounting screw holes.
5) Drill pilot holes (if required) into the mounting surface.
6) Pull the speaker wire through the center hole in the
bracket.
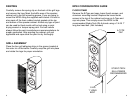
7) Attach the bracket to the mounting surface.
Please Note:
The MP52 weighs approximately 9.5 pounds, use only
hardware that will support this type of load.
8) Slide the MP52 cabinet into the mounting bracket and
secure with the two brass thumb screws.
9) Adjust the MP52 cabinet for the desired angle and
tighten the thumb screws.
10) Attach the B-Type end caps by inserting the cap
mounting tab into the slot in the back of the speaker baffle.
Then snap the cap down onto the brass thumb screws.
8