3
CHAPTER 1
The following MM-4 mounting options accoommodate a
variety of different installation requirements:
The MUB-MM4 U-bracket, which allows the MM-4 to
be mounted on virtually any flat surface and enables
you to change the angle of the MM-4 with respect to
the mounting surface.
The MFMA-MM4 flush mount adapter, which fits
standard 8-inch loudspeaker bezels, for flush-mounting
ceiling or in-wall applications.
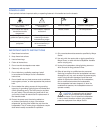
!
CAUTION: Do not use the Fire Signaling
MM-4 in air handling spaces.
USING THE MUB-MM4 U-BRACKET
The optional MUB-MM4 U-bracket mounts to the two
threaded inserts in the MM-4 enclosure sides. It uses two
1/2" long 3/8"-16 stainless steel machine screws, two 1"
rubber washers, two 1" metal washers, and neoprene strips
attached to the interior to the U-bracket (Figure 1.1).
Figure 1.1. Installing the MM-4 into the optional MUB-MM4 U-Bracket
To install the MM-4 into the MUB-MM4 b-Bracket:
1. Gently slide the loudspeaker into the bracket, seating
its sides against the attached neoprene strips.
2. Line up the threaded inserts on the loudspeaker
near the top of the long guide hole on the bracket for
maximum tilting flexibility.
3. Fasten bracket to loudspeaker using two 1/2" x 3/8"-16
machine screws, ensuring that the 1" rubber washers
touch the bracket and the 1" metal washers support the
machine screws.
4. Half-tighten the machine screws to the bracket, set
the angle of the loudspeaker, then tighten the machine
screws further to secure the loudspeaker to the bracket.
Do not over-tighten.
USING THE MFMA-MM4 ADAPTER
The optional MFMA-MM4 flush mount adapter allows
the MM-4 to be used with virtually any ceiling or in-wall
flush-mount bezel designed to house an 8-inch cone
loudspeaker. The kit includes two L-brackets that fit the
bezel’s stud pattern, a grille mask, and associated hardware
(Figure 1.2).
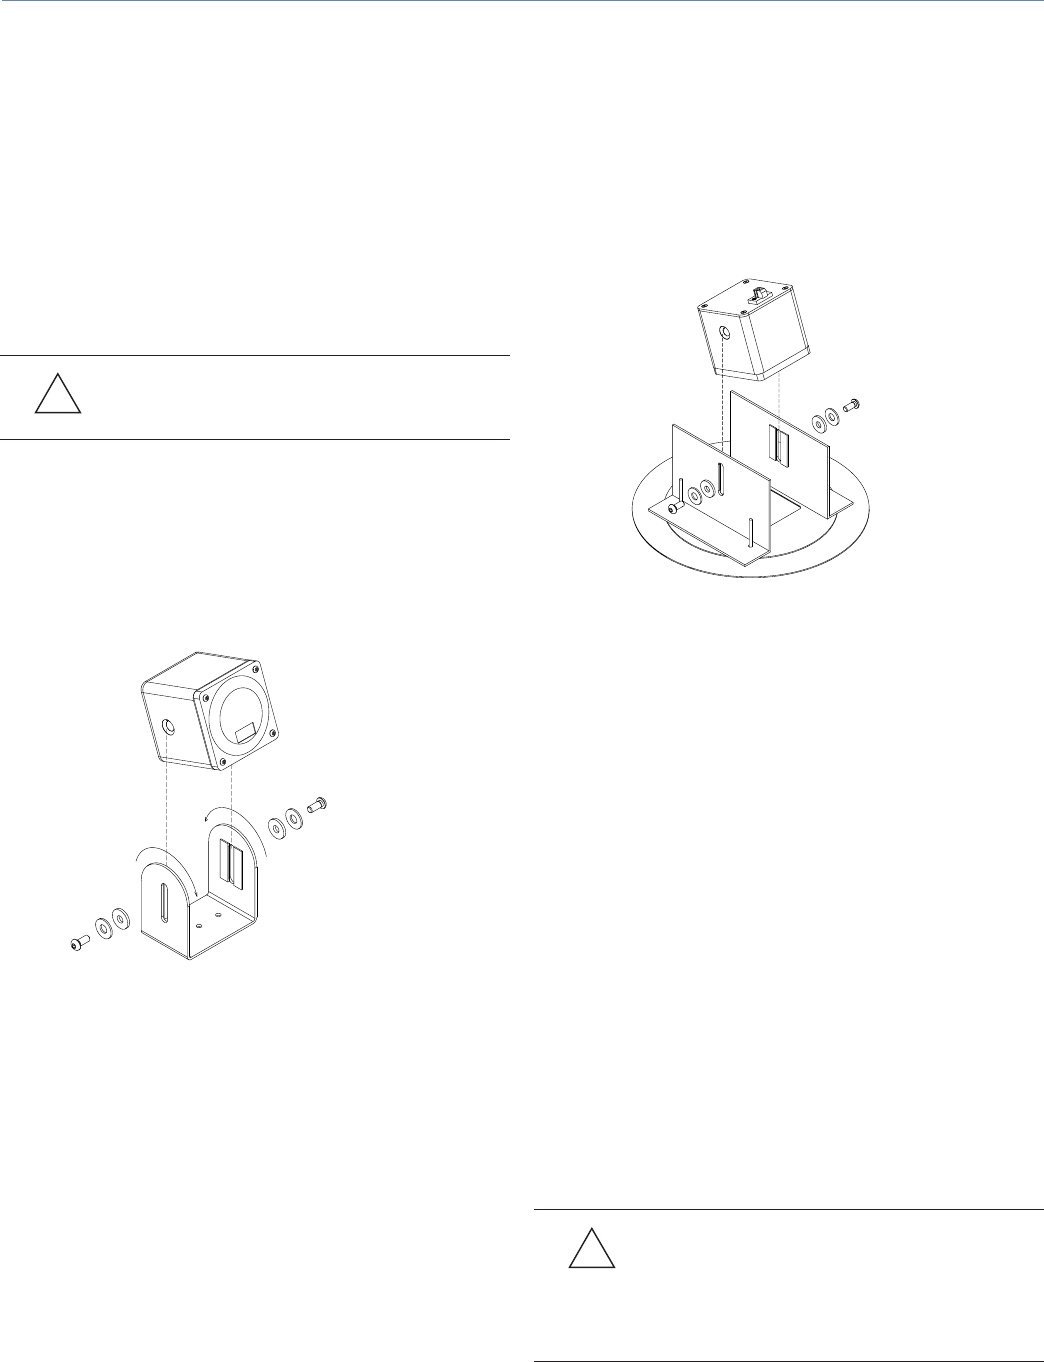
Figure 1.2. Installing the MM-4 into the MFMA-MM4 flush mount adapter
To install the MM-4 into the MFMA-MM4 flush mount
adapter:
1. Gently slide the loudspeaker into the adapter’s housing,
seating its sides against the attached neoprene strips.
2. Line up the threaded inserts on the loudspeaker with
the long guide hole on the housing.
3. Fasten adapter to loudspeaker using two 1/2" x 3/8"-16
machine screws, ensuring that the 1" rubber washers
touch the adapter housing and the 1" metal washers
support the machine screws.
4. Tighten the machine screws to secure the loudspeaker
to the adapter. Do not over-tighten.
LOUDSPEAKER CONNECTIONS
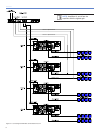
To realize the full capabilities of the MM-4, each loudspeaker
must be fed with voltage swings up to 49 volts rms (70
volts peak) from the amplifier driving the line, with all
loudspeakers in the line connected in parallel. In distributed
systems, a line with four to eight loudspeakers connected in
parallel is typically driven with one amplifier channel.
!
CAUTION: The total load of the MM-4
loudspeakers connected in parallel should
not be lower than the minimum allowable load of the
amplifier. Otherwise, damage to the amplifier and
loudspeakers may result.
CHAPTER 1: INSTALLING THE MM-4 LOUDSPEAKER


