37
CHAPTER 6: MOUNTING THE MM-10
The MM-10 is available with top and side nut plates with
either 3/8"-16 or metric M10 threaded nuts. The optional
MUB-MM10 u-bracket mounts the MM-10 on ceilings and
walls at adjustable angles.
IMPORTANT SAFETY CONSIDERATIONS
When installing Meyer Sound loudspeakers, the following
precautions should always be observed:
■ All Meyer Sound products must be used in accordance
with local, state, federal, and industry regulations. It is
the owner’s and user’s responsibility to evaluate the reli-
ability of any rigging or mounting method for their appli-
cation. Rigging should only be carried out by
experienced professionals.
■ Use mounting and rigging hardware that has been rated
to meet or exceed the weight being hung.
■ Make sure to attach mounting hardware to the building's
structural components (studs or joists), and not just to
the wall surface. Verify that the building's structure and
the anchors used for the installation will safely support
the total weight of the mounted loudspeakers.
■ Use mounting hardware appropriate for the surface
where the loudspeaker will be installed.
■ Make sure bolts are tightened securely. Meyer Sound
recommends using Loctite
®
on bolt threads and safety
cables.
■ Inspect mounting and rigging hardware regularly. Imme-
diately replace any worn or damaged components.
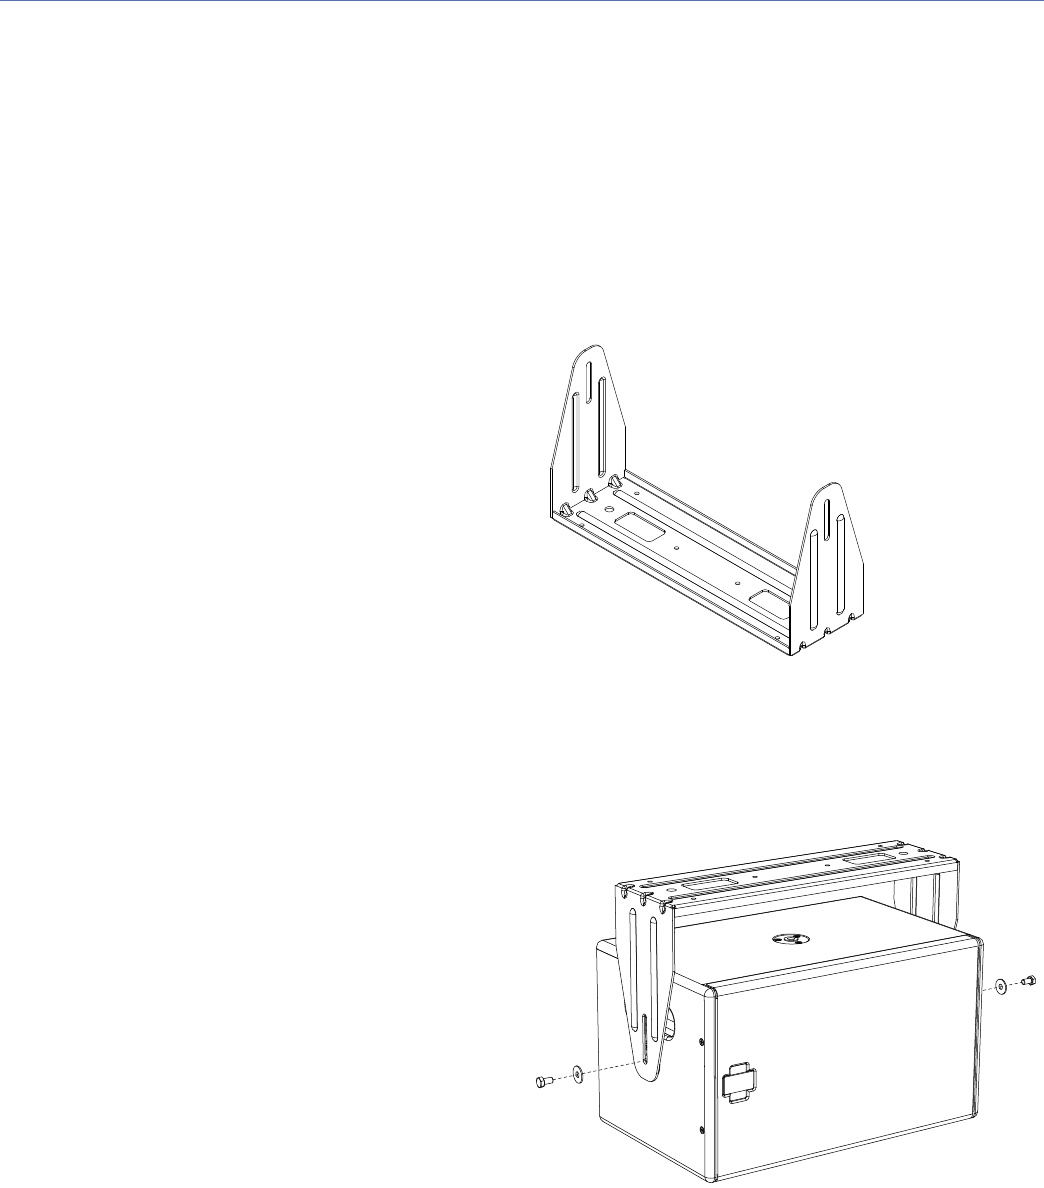
MUB-MM10 U-BRACKET
The MUB-MM10 U-bracket mounts the MM-10 on ceilings
and walls at adjustable angles. The U-bracket’s adjustment
slot lets you adjust how close the MM-10 is located to the
mounting surface and at what angle the subwoofer will be
positioned. The MUB-MM10 is available in two kits with
either 3/8"-16 hardware (PN 40.199.060.01) or M10 hard-
ware (PN 40.199.060.02).
Ceiling-Mounting with the MUB-MM10
The MM-10 can be mounted on a ceiling or underbalcony
area with the MUB-MM10 U-bracket.
MUB-MM10 U-Bracket
MUB-MM10, Ceiling-Mounted


