


4
PREPARATION FOR USE
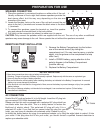
SPEAKER CONNECTION
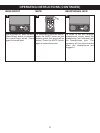
1
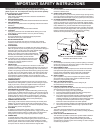
. Place the speakers in convenient locations on either side of the unit.
Usually a distance of five to eight feet between speakers provides the
best stereo effect, but this may vary depending on the size and
acoustics of the room.
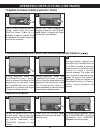
2. Locate the Speaker Jacks on the rear of the unit and connect the red
wires to the red (+) terminals and connect the black wires to the black
(–) terminals.
3. To connect the speakers, press the terminal up, insert the speaker
wire and release the terminal back to the lock position.
4. Pull lightly on the connection (as shown) to make sure it is secure.
CAUTION: Only connect the speakers which are supplied with the unit. The use of any other or additional
speakers may cause damage to the unit. Never operate the unit without the speakers connected.
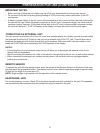
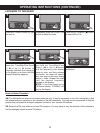
AC CONNECTION
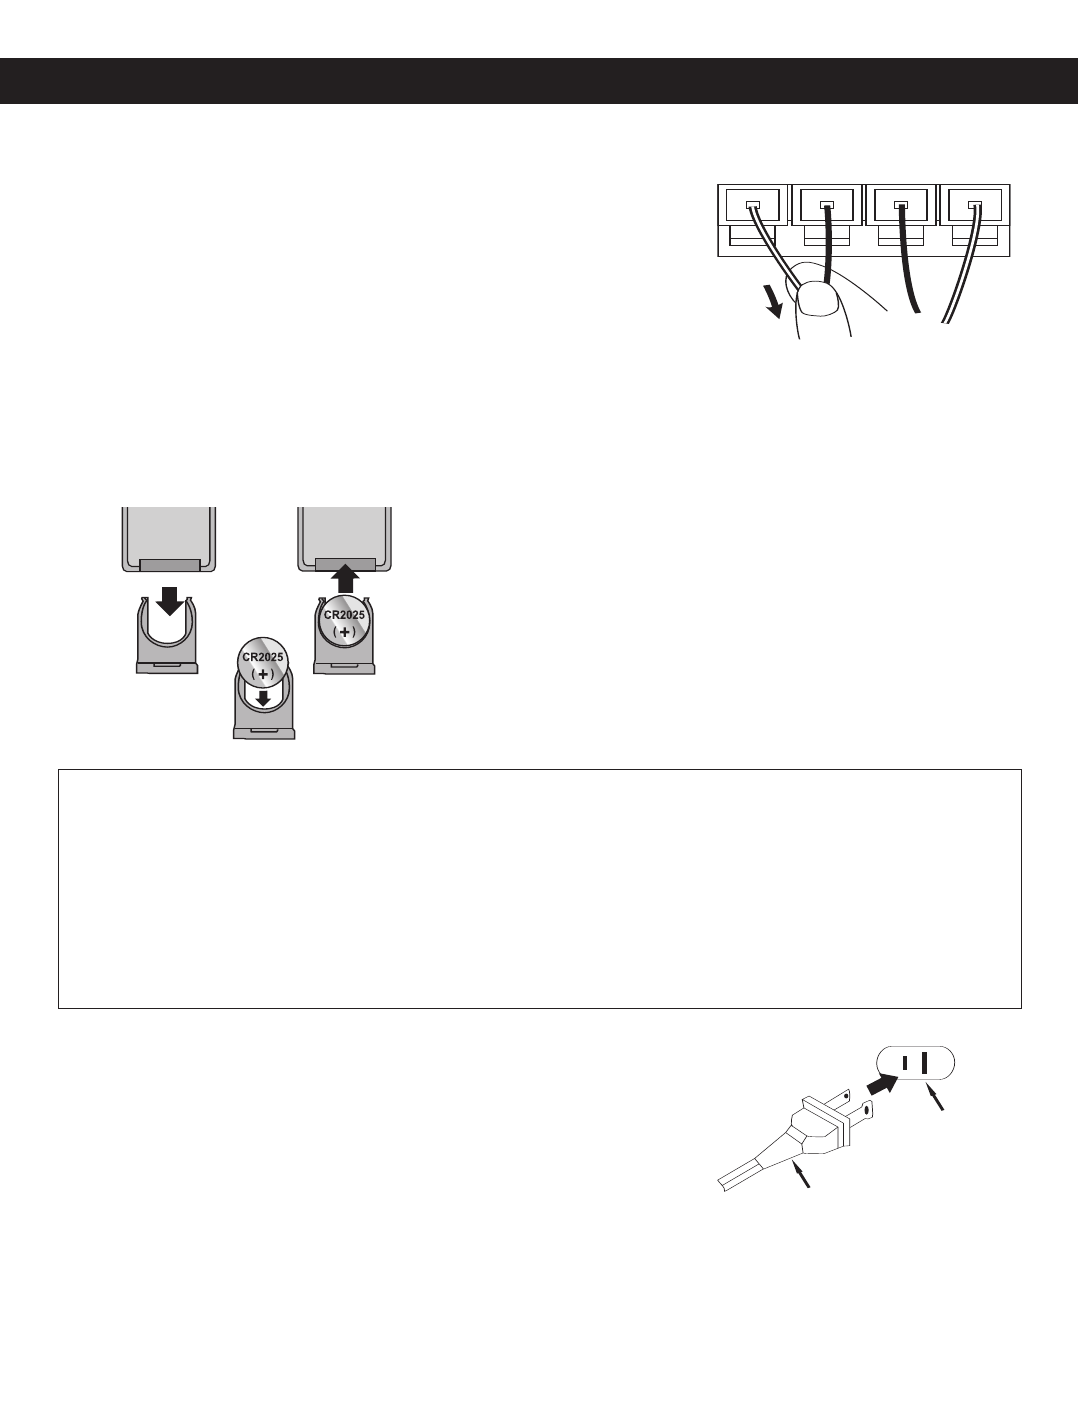
Unwind the AC cord and extend it to its full length. Insert the AC plug into
any convenient 120V 60Hz household outlet.
Please note that this unit is equipped with a polarized AC plug which has
one blade wider than the other. This is a safety feature to reduce the
likelihood of electric shock. This polarized AC plug will only fit in a
polarized AC outlet. If you find that you cannot insert this plug into your
outlet, you may have an obsolete non-polarized outlet. Please do not try
to defeat this safety feature by using a non-polarized adapter or by filing the wider blade to make it fit into
your outlet. If this plug does not fit into your outlet, you should contact a qualified licensed electrician to
replace your obsolete outlet.
AC Plug
AC Outlet
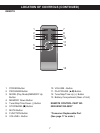
REMOTE BATTERY INSTALLATION
BATTERY PRECAUTIONS
Follow these precautions when using a battery in this device:
1.Warning - Danger of explosion if battery is incorrectly replaced. Replace only with the same or equivalent type.
2.Use only the size and type of battery specified.
3.Be sure to follow the correct polarity when installing the battery as indicated in the Battery Compartment. A reversed
battery may cause damage to the device.
4.If the device is not to be used for a long period of time, remove the battery to prevent damage or injury from possible
battery leakage.
5.Do not try to recharge a battery not intended to be recharged; it can overheat and rupture. (Follow battery
manufacturer’s directions.)
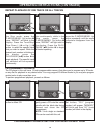
1.
Remove the Battery Compartment (on the bottom
rear of the remote control) by sliding the
compartment out. (You can insert a penny, or similar
object, into the groove on the compartment to help
slide it out.)
2. Install a CR2025 battery
, paying attention to the
polarity diagram in the Battery Compartment
(positive side up).
3.
Replace the Battery Compartment.
+
R
––
L
+