


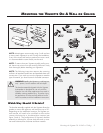
8 Mounting the Vignette On A Wall or Ceiling
Required hardware (included):
(6) M4 screws
Required tools (included):
2.5mm Allen tool
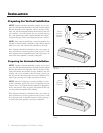
1 Prepare a flat surface with padding and sheets to
protect the speaker as you work on it. Remove the
Vignette's grill cloth and carefully place the Vignette
face down on the work surface, using books or pieces
of cardboard to keep the speaker from rocking.
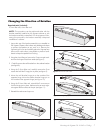
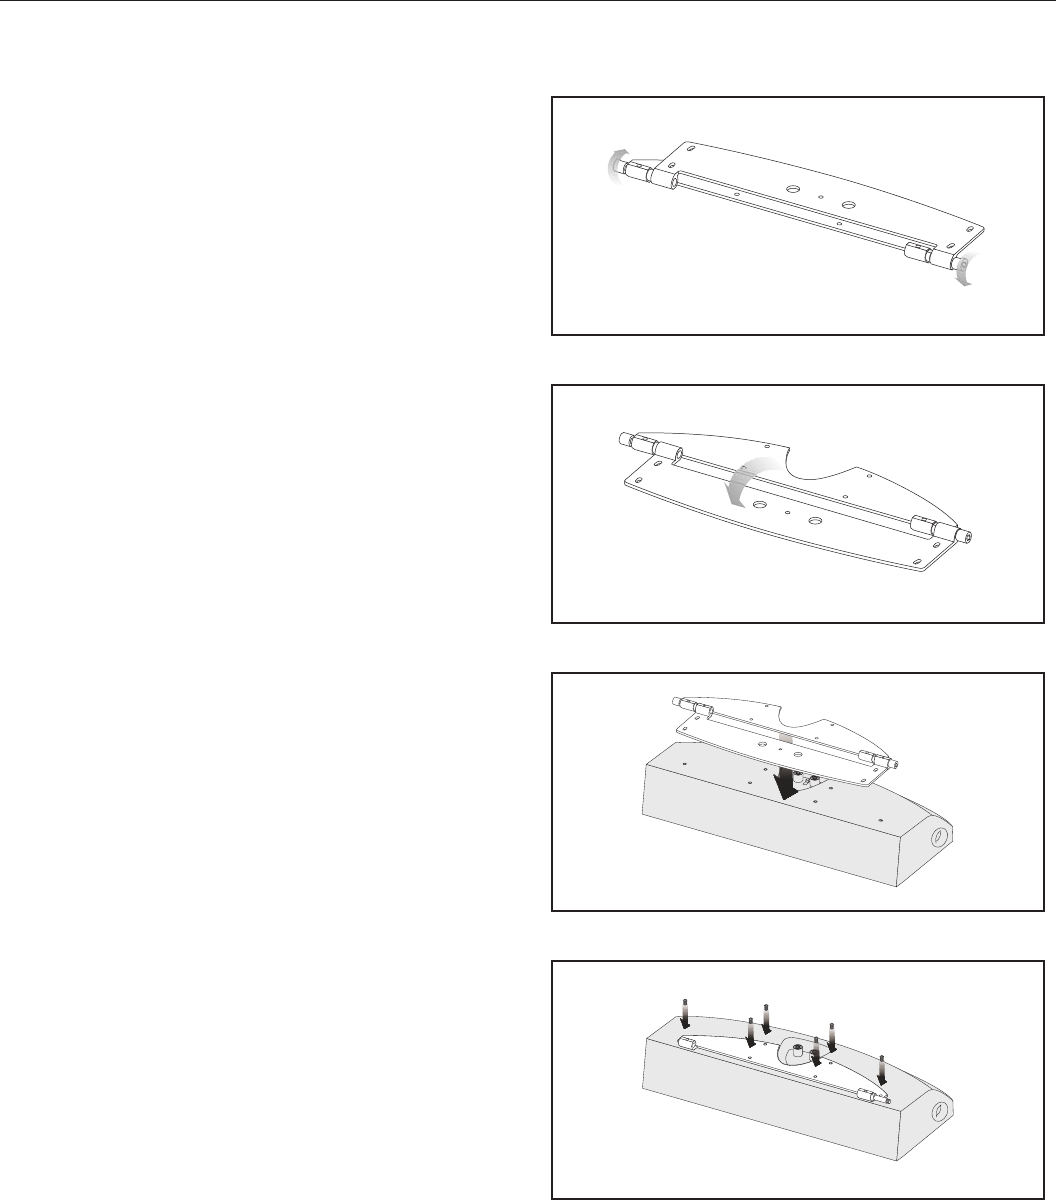
2 Using the 6mm Allen tool, loosen the 2 cap nuts (see
figure 12).
3 Rotate/open the wall bracket away from the cabinet
bracket (see figure 13).
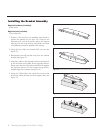
4 Align the 6 holes in the Vignette's wall mounting brack
-
et with the holes on the back of the Vignette's cabinet.
Please note that the wall bracket should lie flat against
the Vignette cabinet with the hinges along the flat,
straight edge of the cabinet (see figure 14).
5 Using the 2.5MM Allen tool, install the 6 screws that
attach the cabinet bracket and firmly tighten them (see
figure 15).
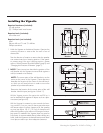
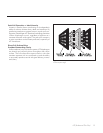
Installing the Bracket Assembly
Figure 12. Loosen the 2 cap nuts.
Figure 13. Rotate/open the wall bracket away from the cabinet bracket.
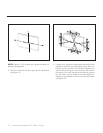
Figure 14. Align the 6 holes on the mounting bracket with those of the Vignette.
Figure 15. Install 6 screws.