


10 Setup and Placement
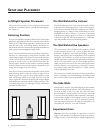
The Extra “Tweak”
This may be useful when your speakers are placed in a
dedicated listening room. Use the following procedure for
your speaker’s placement to see what can happen to your
system’s performance. These formulas will help determine
optimum placement of your speakers to minimize stand-
ing waves.
1 Distance from the front wall (in front of the listening
position) to the center of the curvilinear transducer: To
determine distance from the front wall, measure the
ceiling height and multiply the figure by 0.618 (i.e. ceil-
ing height x 0.618 = the distance from the front wall to
the center of the curvilinear transducer).
Example: 9 feet x 0.618 = 5.5 feet
2 Distance from the side-walls to the center of the curvi-
linear transducer: To determine distance from the side
walls, measure the width of your room and divide by
18. Next, multiply the quotient by 5 (i.e. room width
in inches / 18 x 5 = the distance from the side-walls to
the center of the curvilinear transducer).
Example: 14.5 feet / 18 x 5 = 4 feet
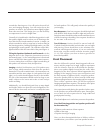
Solid Footing
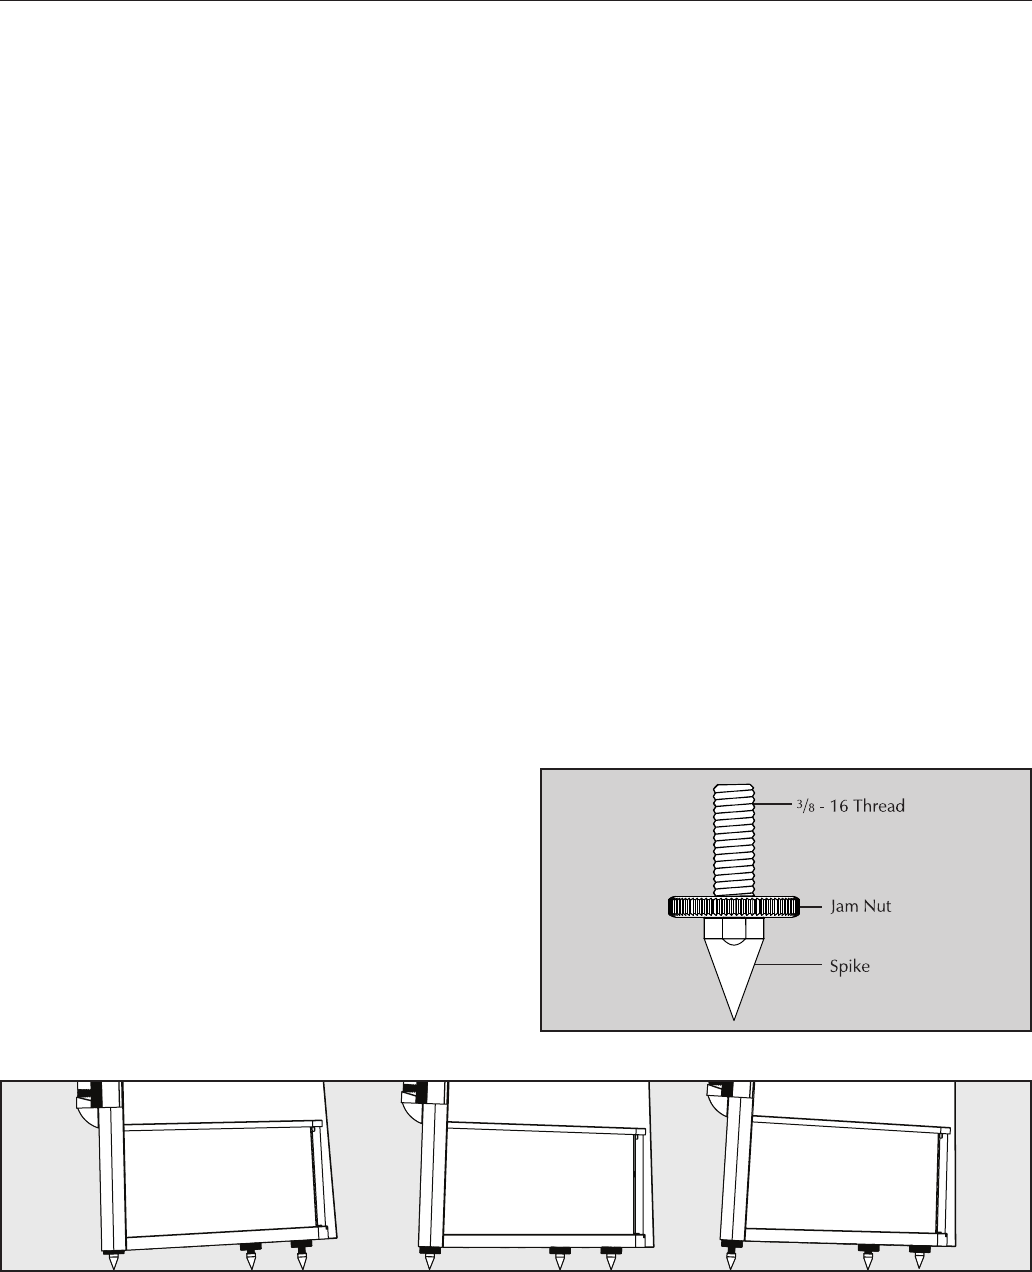
After living and experimenting with your CLX’s, you may
want to use ETC (energy transfer coupler) spikes supplied
with the CLX (figure 5) to adjust rake (figure 6) and to cou-
ple the CLX to your floor. With the use of these spikes, the
CLX will become more firmly planted on the floor and,
consequently, bass will tighten and imaging will become
more coherent and detailed. It is best not to implement
the spikes, however, until you are secure in the position-
ing, as the spikes can damage the floor if the speaker is
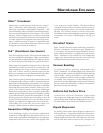
moved. The feet that attach to the bottom of the CLX use
a common
3
/8 - 16 thread.
Spike Installation Instructions:
1 Carefully lay your speaker on its side.
2 Remove existing feet or spikes. Thread new spikes into
holes and screw them in all of the way.
3 Tighten the jam nut snugly by hand. Do not over tighten.
4 Stand the speaker up. Caution: Make sure hands and
any cabling are clear of the spikes. Do not slide speaker
as sharp spikes can damage your floor or carpet.
5 Adjust level by loosening the jam nut then rotating the
spike. Tighten the jam nut securely when satisfied with
the speaker’s rake.
Enjoy Yourself
The CLX is a very refined speaker and benefits from care in
setup. You will find, through extended listening, that small
changes may result in audible differences. As you live with
your speakers, do not be afraid to experiment with their
positioning to find the optimal relationship between your
room and speaker system. Your efforts will be rewarded.
Figure 5. The ETC™ Spike.
Figure 6. Adjust rake of the CLX by varying the height of the jam nut, and/or by removing the jam nut.