Manual English
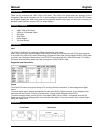
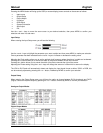
Pressing the MENU button will bring up the OSD (on screen display) menu controls on the screen as follows:
• Input set up
• Output Setup
• Picture Adjust
• HV Adjust
• OSD Adjust
• System Information
• Auto Adjust
• Exit
Use the + and – keys to move the arrow cursor to your desired selection, then press MENU to confirm your
selection and enter into sub menu.
Input Setup
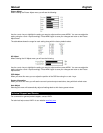
When entering the Input Setup menu you will see the following:
Use the + and – keys to highlight the parameter your want to adjust and then press MENU to make your selection.
Once a parameter has been selected use the + and – keys to increase or decrease the setting value.
Adjusting the Clock setting allows you to set the optimal clock frequency where the picture is stable and unskewed.
Pressing the + button allows you to narrow the width of the picture towards the left of the screen.
Pressing the - button allows you to extend the width of the picture towards the right of the screen.
Adjusting the Phase setting using the + and – keys will change the amount of noise which is seen on the display.
The VGA to DVI Scaler will automatically detect and display the input signal format as either YPbPr or RGB, this
can be manually adjusted by pressing the + or – button, followed by MENU to confirm your selection.
Output Setup
When entering the Output Setup menu you will have the option to choose between DVI-A (analogue) and DVI-D
(Digital). Select the required output by pressing the + or – button, followed by MENU to confirm your selection.
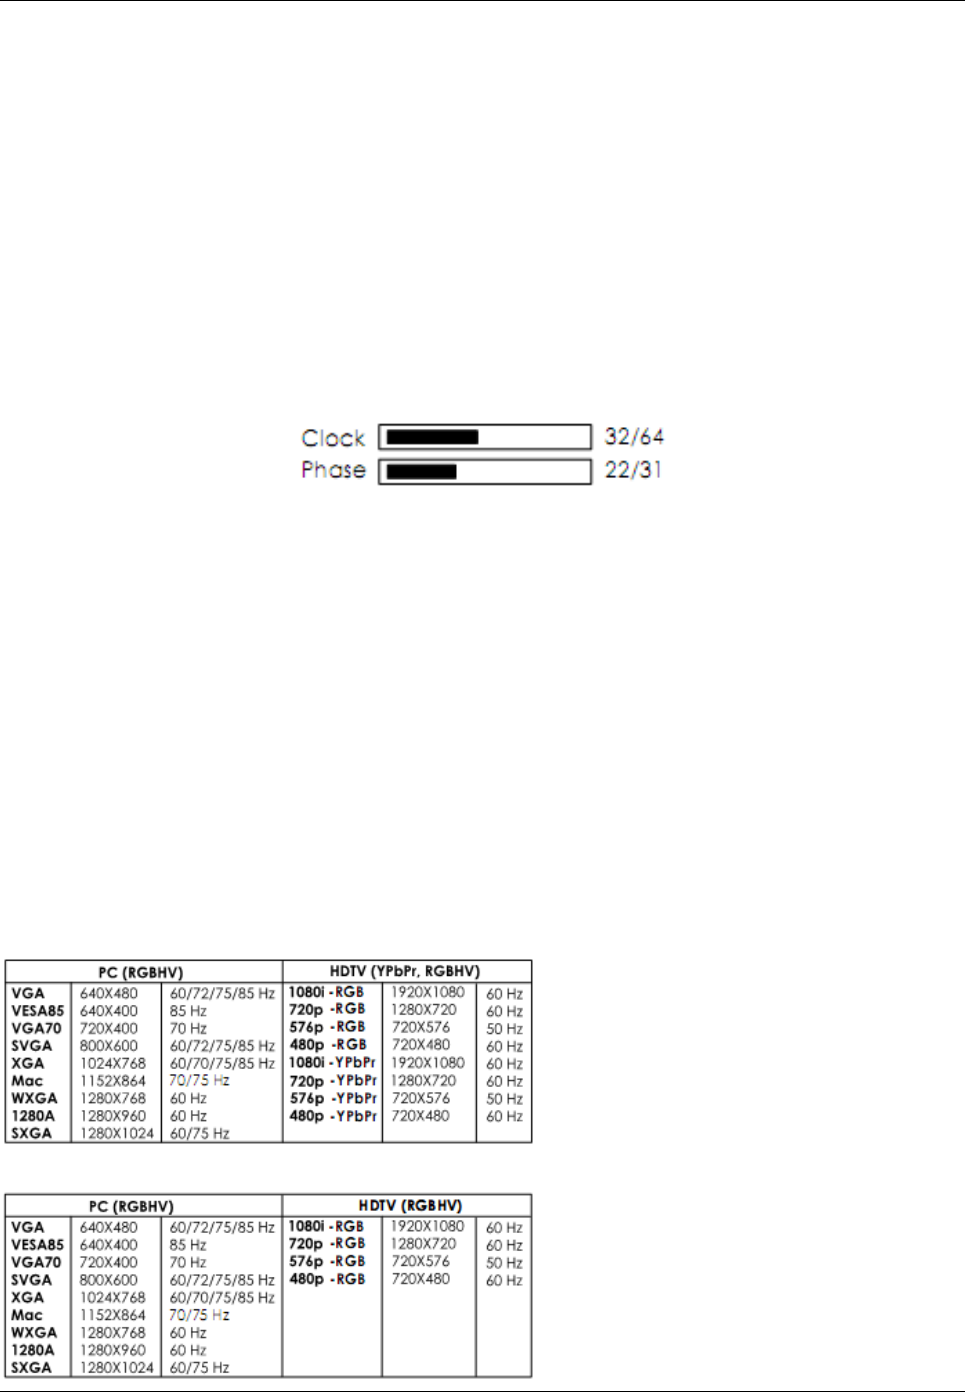
Analogue Output Modes
Digital Output Modes


