


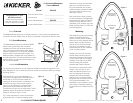
CheckTheLoad
The SKM subwoofer enclosure is internally wired for a 4 ohm load at the speaker-wire
connection terminal. Please check to see if your amplifier is optimized to drive this load.
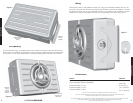
SKMSealedEnclosure
The SKM sealed enclosure combines KICKER’s
award winning subwoofers with computer-
modeled and human fine-tuned enclosures to
offer a level of bass performance never before
thought possible from a commercially available,
ready-to-install marine subwoofer system. The
SKM enclosure is available with a pre-loaded 10
inch KM subwoofer. The enclosure features a dual
draining system to evacuate moisture away from
the front of the speaker.
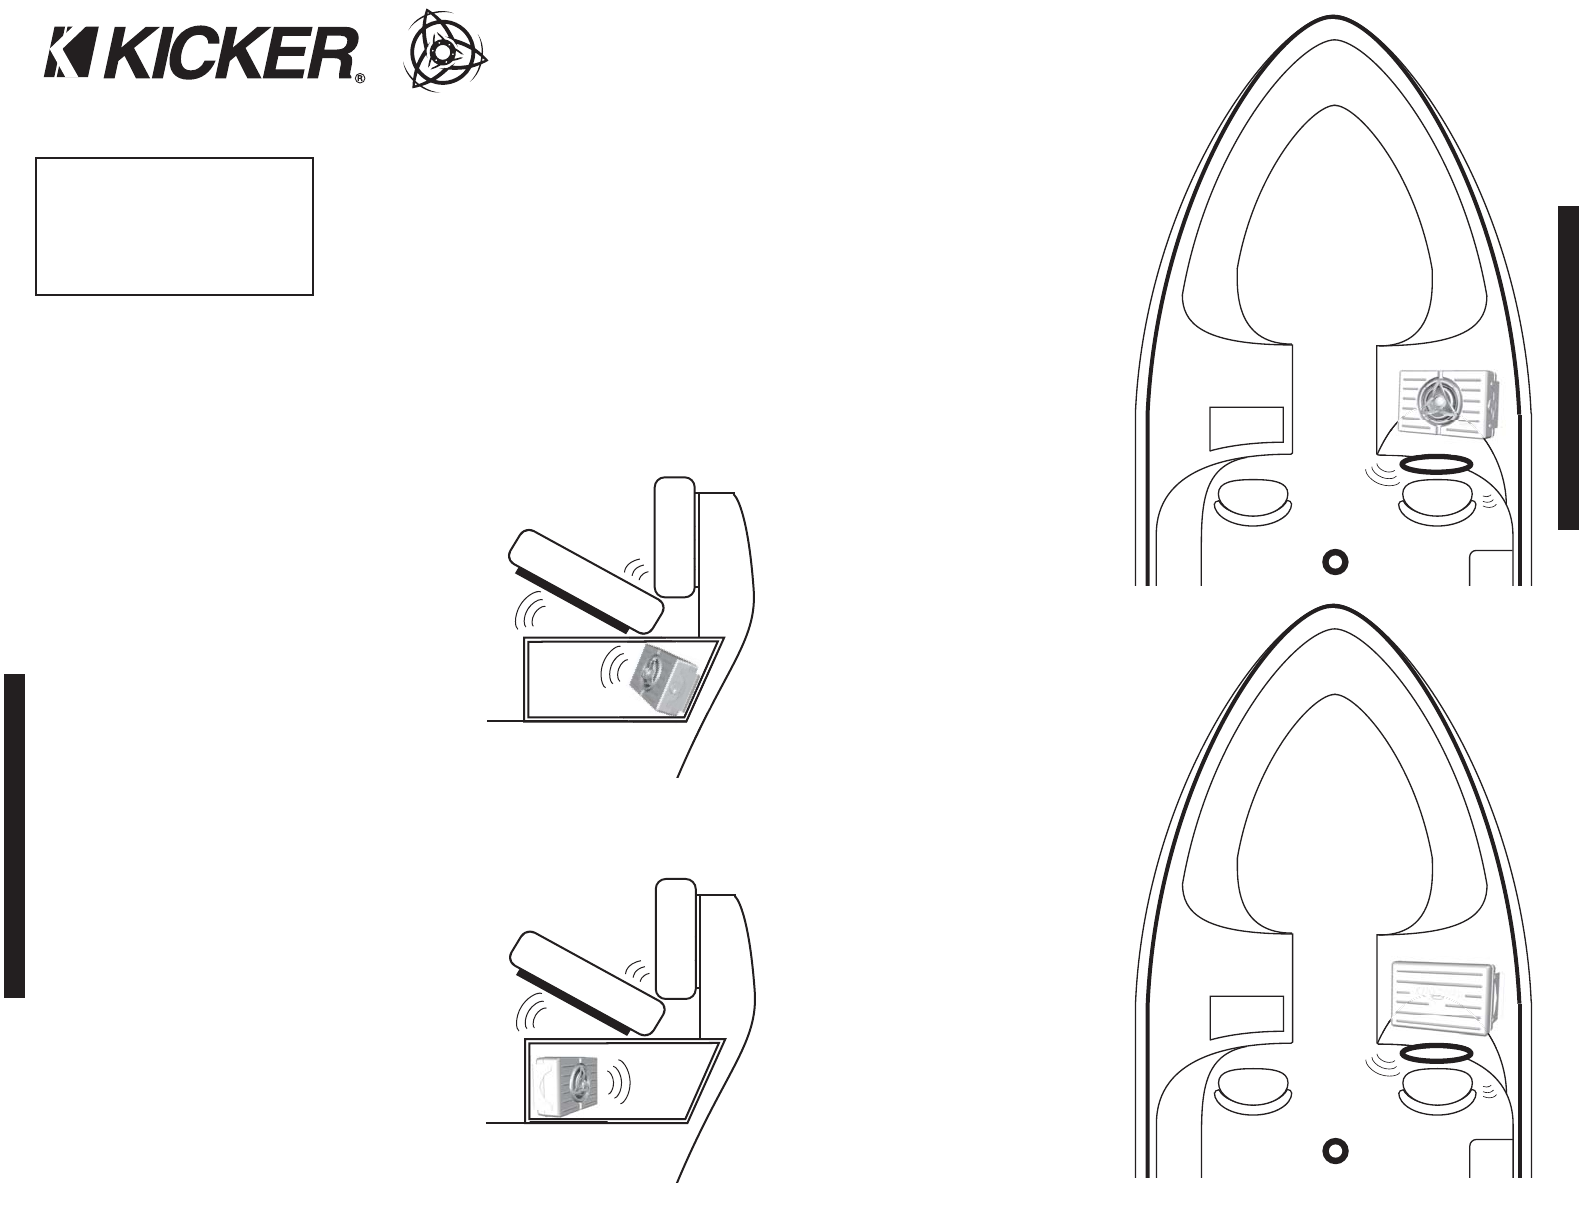
LocationAndOrientation
The location and orientation of your enclosure will affect the quality and quantity of the
bass. Designed for use in marine and open-air vessels, this enclosure offers you several
mounting options.
If the enclosure is to be mounted deep in a
cubbyhole or storage space inside the vessel, it
works best to point the woofer toward the
opening of the compartment. Conversely, if the
enclosure is going to be mounted closer to
opening of the cubbyhole or storage space,
pointing the woofer toward the rear of the
compartment will give you the best results. These
guidelines pertain to enclosures mounted in the
vessel as outlined in Figure 1 and 2.
If it is more convenient to mount the enclosure
along a side wall or under the steering wheel,
INSTALLATION
Congratulations on your
KICKER purchase!
Please record your purchase
information and keep your sales
receipt for validation of warranty.
Authorized Kicker Dealer:
Purchase Date:
Enclosure Model Number:
Enclosure Serial Number:
_________________________
_________________________
_________________________
_________________________
Please allow two weeks of break-in time for the subwoofer to reach optimum bass performance.
2 3
INSTALLATION
KMSubwooferEnclosure
Owner’sManual
SKM10
Model:
SKM10
experiment by firing the subwoofer
away from the wall, and then by
firing the subwoofer into the wall.
Under the steering wheel, the SKM
enclosure makes a nice foot rest.
See Figure 3 and 4.
Boat construction varies, as does
the size and shape of storage areas
incorporated into each boat design.
Testing the firing direction of the
subwoofer in any location may yield
better sounding bass; it is worth the
time to experiment.
Mounting
After determining the best mounting
location, and subwoofer firing
position, carefully check the areas
where the mounting brackets will be
placed. Make sure the mounting
screws will not puncture the fuel
cell, wiring, or interfere with any
mechanical parts on the underside
of the mounting surface.
Decide if you want the mounting
bracket flange tucked under the
enclosure or exposed. See Figures
5 and 6. Attach the two mounting
brackets to the sides of the SKM
enclosure using the supplied
stainless steel machine screws.
Pre-drill the mounting screw holes
using a 7/64” (2.5mm) bit, and
attach the SKM enclosure to the
boat, by fastening the supplied
stainless steel course-threaded
screws into the mounting bracket
flange and into the boat’s structure.
If the supplied hardware is not
applicable to your installation, some
other means of securely attaching
the enclosure to the vessel must be
used.
Figure 1
Figure 2
SKMSUBWOOFERENCLOSURE
Figure 3
Figure 4
Boat Hull
Storage Space
Sound
Waves
Boat Hull
Storage Space
Sound
Waves
Under Steering
Wheel Location
Floor Mounting
Under Steering
Wheel Location
Floor Mounting
Subwoofer firing
away from
the floor
Subwoofer firing
into the floor
Sound
Waves
Sound
Waves