Recording operations
Recording
operations
19
XR-D400 [E] EN
LET0169-001A
English
3
Press SPEED to select the recording speed.
Each time you press SPEED, the recording speed
changes as follows:
4x → 2x → 1x → 4x → ...
• The recording speed is set to the 4x speed as
the initial setting. Normally, you don’t need to
change the recording speed.
4
Press AUTO REC.
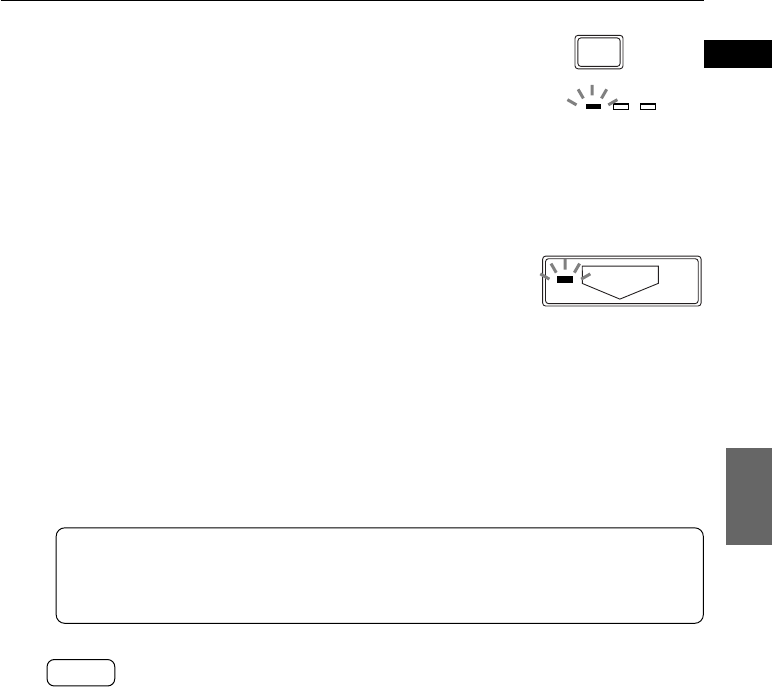
• The AUTO REC indicator flashes and recording
starts from the beginning track of the disc.
• The TRACK indicator of the track that is currently
recording flashes.
• The unit stops recording and ejects the disc
automatically when the recording is finished.
To cancel recording during recording
Press and hold 7 for more than 2 seconds.
Important note
When you cancel recording, the disc that is currently recorded cannot be
used any more. When the disc is a CD-RW disc, erase the recorded data
to use again.
NOTES
• When the recordable time of the CD-R or CD-RW disc is shorter than that of the
source audio CD, the OVER indicator flashes and recording stops. Remove the disc
and insert a disc that has enough recordable time.
• When you insert an improper disc to the disc tray, the TRACK indicator (error
message) flashes (see page 30), and recording stops. Change the disc to the
proper disc.
• A CD-R or CD-RW disc that is recorded by the AUTO REC function is finalized
automatically. It does not need to be finalized separately.
• Use a blank CD-R or CD-RW disc for the AUTO REC function. You cannot use a disc
that is already recorded for the AUTO REC function.
• When your CD player cannot play the CD-R or CD-RW disc that is recorded in the
4x speed mode, try other speed mode (2x or 1x). (Some CD-R or CD-RW discs that
are recorded in the 2x or 1x speed mode may not be played back on your CD
player.)
• You cannot hear the sound of a CD during recording regardless of the recording
speed.
Selected speed
indicator lights up.
SPEED
REPEAT
1 TRACK ALL
4x 2x 1x
AUTO REC


