13
(Continued)
Basic Operations
3 Press to adjust the intensity of
the component color.
• You can adjust the color intensity within the
range "0" to "3".
You cannot set all three component colors
(red, green, and blue) to "0" at the same
time.
NOTE
• You can also adjust the color intensity by turning
the VOLUME control on the main unit.
• After you have adjusted each component color,
the display returns to the sound source display in
approximately 8 seconds.
• You cannot set different colors for the display
window and CD tray.
• When you operate a button on the main unit or
remote control, the display window and CD tray
light in pale blue for approximately 2 seconds.
• When recording finishes, the color of the display
window and CD tray switches to the color set in
"MANUAL" to inform you that recording has
finished.
When you operate the main unit after recording
finishes, the color pattern for the display window
and CD tray returns to the selected pattern.
Press .
• Each time you press , the display tog-
gles as follows.
NOTE
• Once you press to change the color pattern,
the brightness returns to the factory setting.
• When you turn off the main unit, the brightness
also returns to the factory setting.
• You cannot turn off the color pattern.
If no sound is produced for 3 or more minutes
when the CD or cassette tape is selected as a
sound source, the main unit automatically turns off.
■When the CD or cassette tape is selected
as a sound source
Press .
When playback or recording finishes, auto standby
starts the countdown (The "A.STANDBY" indicator
flashes). When no operation is carried out within 3
minutes, the main unit automatically turns off.
When you start playback or recording within 3 min-
utes, auto standby starts the countdown again
after playback or recording finishes.
When an operation other than playback and
recording finishes and no operation is carried out
within 3 minutes, the main unit automatically turns
off.
"A. STANDBY OFF" starts to flash 20 seconds
before the main unit is to turn off.
Press once again.
NOTE
• Leaving the volume at "0" is not the same as pro-
ducing no sound, and therefore does not start the
auto standby function.
Changing the brightness of the
display window and CD tray
(DIMMER)
: Color pattern
becomes dimmer.
: Color pattern
becomes darker, and
switches to blue.
: Cancels the
brightness adjustment
(factory setting).
Auto Standby
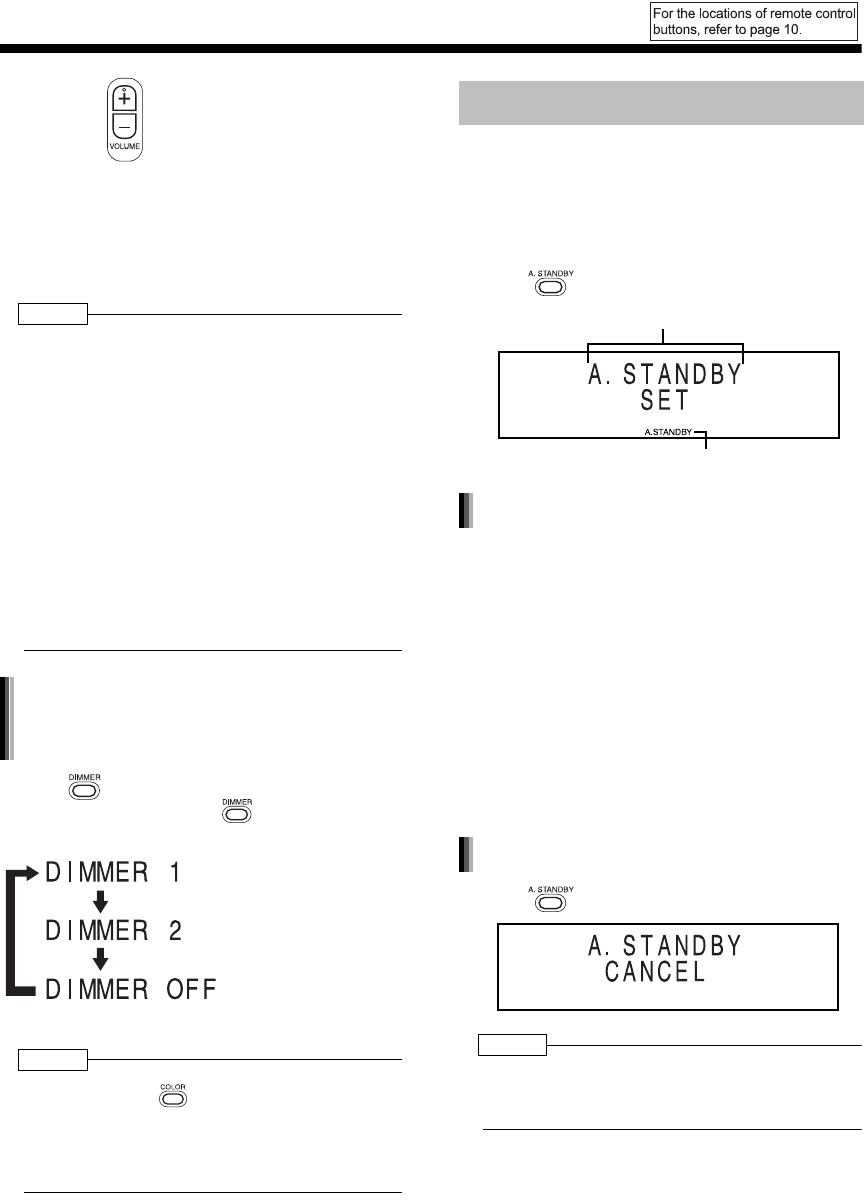
"A. STANDBY" stands for "Auto Standby".
Auto standby indicator
Auto standby performance
Canceling auto standby
UX-Q3[A].book 13 ページ 2004年9月8日 水曜日 午前11時15分


