


21
English
Synchronized Recording
By using the Synchronized Recording method, everything on
the disc goes onto the tape in the same order as it is on the
disc, or according to the order you have set in Program Play.
You can start or stop both disc play and tape recording at the
same time.
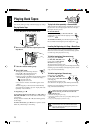
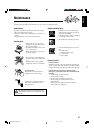
On the unit ONLY:
1
Press 0 EJECT and insert a recordable cassette
with the exposed part of the tape down.
2
Load a disc.
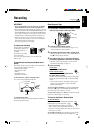
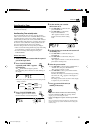
3
Select a disc.
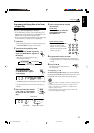
Press the corresponding disc number
(CD1, CD2, or CD3) button where a
disc is loaded in step
2
, then press 7.
REVERSE
MODE
CD3
CD2
CD1
CD REC
START
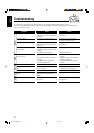
4
Press CD REC START.
“CD REC” appears on the display and the
REC (recording) lamp flashes when recording
starts.
The cassette deck starts recording while the
CD player starts playing.
When the recording is done, “CD REC FINISHED”
appears scrolling on the display, and the REC (recording)
lamp turns off. Both the cassette deck and the CD player
stop automatically.
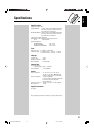
To stop recording, press 7 to create a 4-second
blank portion on the recording tape. (Remember,
a 4-second blank is important when using Music
Scan—see page 19.)
To remove the cassette, press 0 EJECT to open the cassette
holder only while the tape is not running.
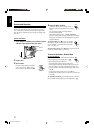
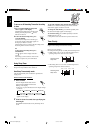
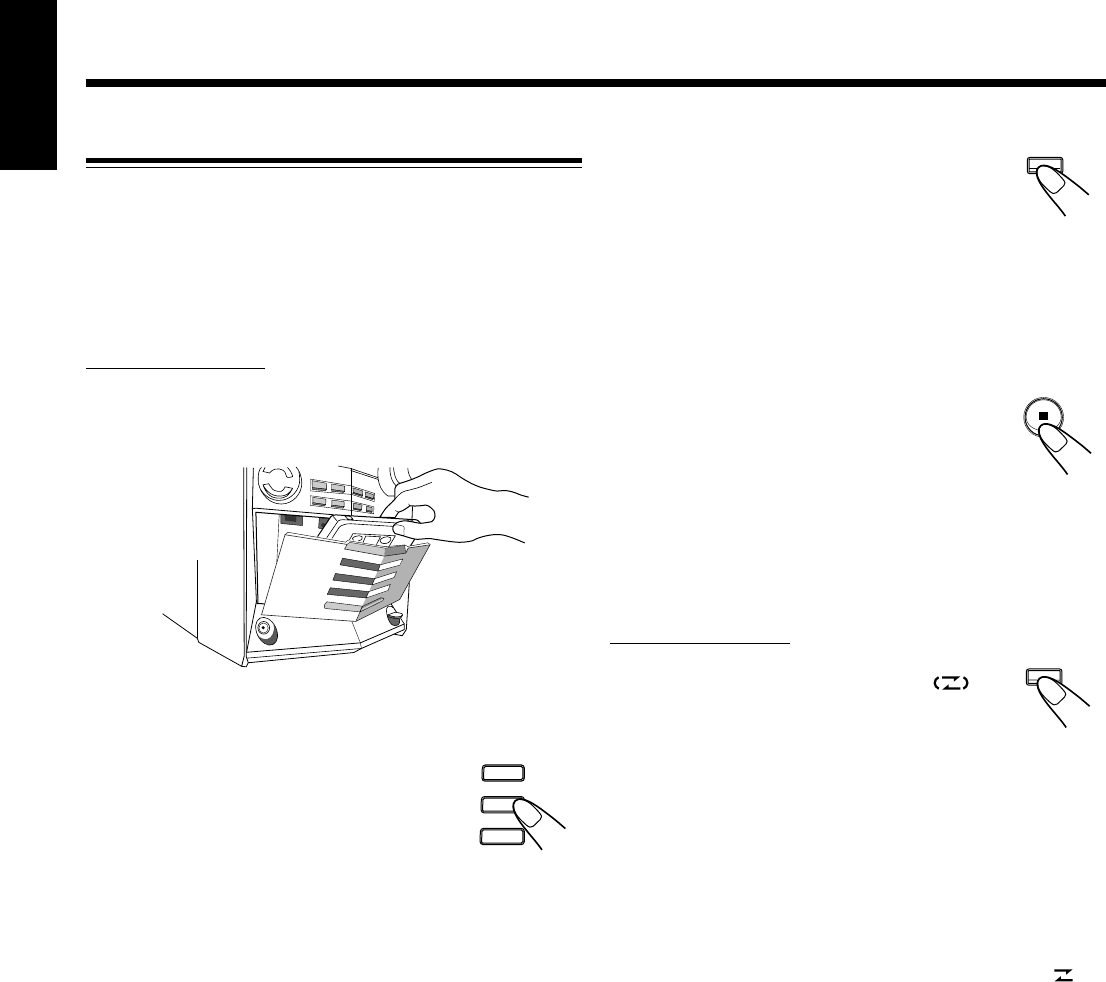
To record on both sides—Reverse Mode
On the unit ONLY:
Press REVERSE MODE so that the Reverse Mode
indicator lights up on the display like— .
• When using the Reverse Mode for
Synchronized Recording, start recording in the
forward (3) direction first. When the tape reaches its end
while recording a song in the forward direction (3), the
last song will be re-recorded at the beginning of the reverse
side (2).
If you start recording on the reverse side (2) first,
recording will stop when only one side (reverse) of the tape
is recorded.
To cancel Reverse Mode, press the button again so that the
Reverse Mode indicator lights up on the display like— .
EN20-25.CA-HXZ9[UW]f.p65 03.1.30, 11:00 AM21