17
English
Creating Your Own Sound Mode—User Mode
You can change the SEA pattern to suit your preference. The SEA
pattern can be adjusted using 3 frequency ranges—BASS,
MID (middle), and TRE (treble). These changed settings can be
stored as the USER 1, USER 2, and USER 3 modes.
• There is a time limit in doing the following steps. If the setting is
canceled before you finish, start from step
1
again.
On the front panel ONLY:
1
Select one of the preset Sound modes.
See “Selecting the Sound Modes” on page 16.
2
Press SET/DISPLAY while the selected Sound
mode is still shown on the display.
3
Adjust the SEA pattern.
(1) Turn ¢ / 4 to select the frequency range (BASS, MID
or TRE).
(2) Press ¡ / 1 to adjust the level of the selected frequency
range.
• For adjusting BASS
Adjust the level within the range of ±0 to +3.
• For adjusting MID or TRE
Adjust the level within the range of –3 to +3.
(3) Repeat steps (1) and (2) to adjust the level of the other
frequency ranges.
4
Press SET/DISPLAY again.
5
Turn ¢ / 4 to select one of the user modes
(USER 1, USER 2, or USER 3) in which you want
to store your SEA pattern.
6
Press SET/DISPLAY again.
The SEA pattern you have created is stored into the user mode
selected in step
5
.
To use your own sound mode
Select USER 1, USER 2, or USER 3 mode when using the Sound
modes. See “Selecting the Sound Modes” on page 16.
When you unplug the AC power cord or if a power
failure occurs
The setting will be erased in a few days. If this happens, set the user
modes again.
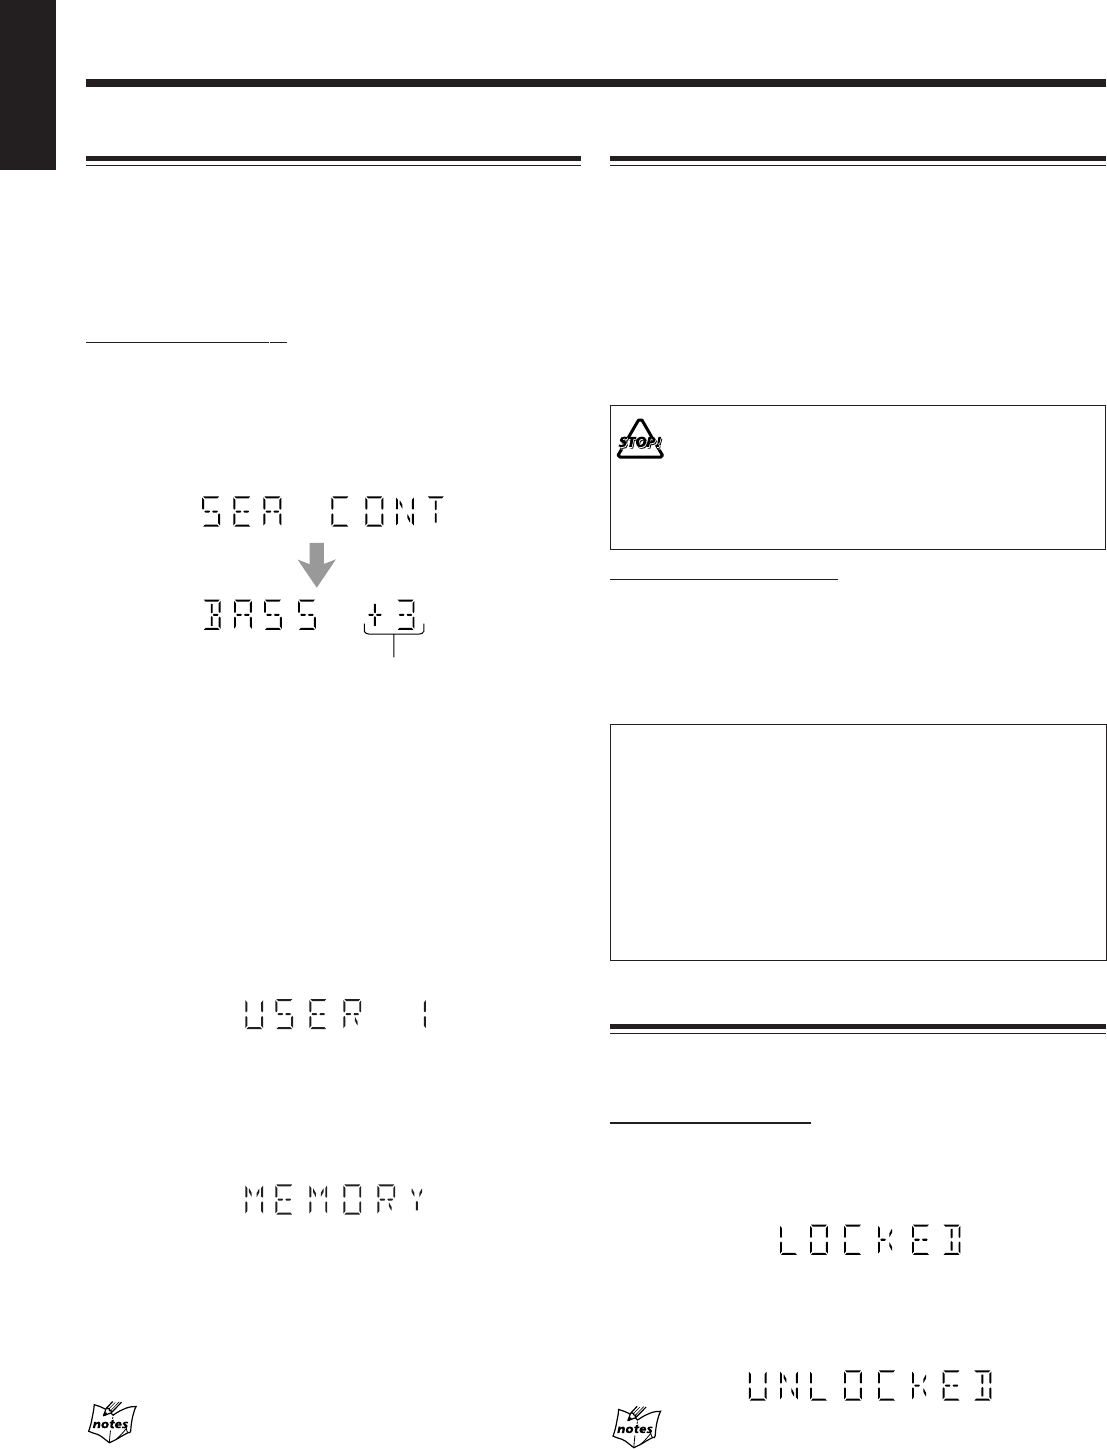
Current level appears.
Changing the Scanning Mode
This unit supports the NTSC progressive scanning system (480p*)
as well as the conventional interlaced scanning system (480i*).
If your TV has component video jacks and supports progressive
scanning system, you can enjoy a high quality picture from the built-
in disc player.
• Refer also to the instruction manuals supplied with your TV.
• You can change the scanning mode only when “NTSC” is selected
for the color system of this unit. See page 9.
• You cannot select the progressive scanning mode for the PAL
system TVs.
Do not change the progressive scanning mode in
the following cases:
– When your TV does not support the progressive
video input.
– When you have not connected your TV to the
unit using a component video cord.
On the remote control ONLY:
Press PROGRESSIVE.
The PROGRESSIVE lamp lights up on the front panel.
• Each time you press the button, the scanning mode changes
between “PROGRESSIV (progressive)” and “INTERLACE”
alternately.
• Some progressive TVs and High-Definition TVs are not fully
compatible with this system. When an incompatible picture is
played back, turn off the progressive scanning mode. To check
the compatibility of your TV, contact your dealer.
All JVC progressive TVs and High-Definition TVs are fully
compatible with this system.
* 480p and 480i indicate the number of scanning lines and
scanning format of an image signal.
– 480p indicates 480 scanning lines with progressive format.
– 480i indicates 480 scanning lines with interlaced format.
Prohibiting Disc Ejection—Tray Lock
You can prohibit disc ejection from the unit and lock disc trays.
• This operation is possible only when the unit is turned on.
On the front panel ONLY:
To prohibit disc ejection, press any one of 0 for disc trays while
holding down 7. (If any disc tray is opened, close it first.)
“LOCKED” appears for a while on the display, and all disc trays are
locked.
To cancel the prohibition and unlock the disc tray, press any one
of 0 for disc trays while holding down 7.
“UNLOCKED” appears for a while on the display, and all disc trays
are released.
If you try to eject a disc while Tray Lock is in use
“LOCKED” appears to inform you that the disc trays are locked.
Basic Operations (continued)
14-17HX-Z77&55[U]6.p65 03.8.18, 10:42 AM17
