


| Fathom f110Page 14
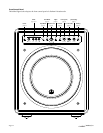
FRONT PANEL CONTROLS IN DETAIL
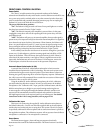
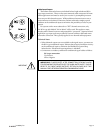
Power Switch
e “Power” switch determines the operational readiness of the Fathom
subwoofer and should be the only switch used to turn the Fathom on and o . Do not
use a power strip switch, switched outlet or any other external switch as these may
result in undesirable and potentially damaging transient pops. Do not unplug the
Fathom’s AC power cord while the unit is turned on.
e power switch has three positions:
“On”: e Fathom is fully powered at all times. Front panel lights are on unless
they have been turned o via the “Lights” switch.
“O ”: e Fathom’s internal power ampli er is powered down. In this state,
a negligible current draw will exist for operating the main power relays. All front
panel lights are o .
“Au to ”: e Fathom will power up its internal ampli er when an audio signal is
present at any of its inputs and will power down the internal ampli er if no signal has
been detected at its inputs for thirty (30) minutes. When dormant, the Fathom will
draw a very small amount of current (< 5 watts) to power its signal-sensing circuitry.
Front panel lights will turn o when the Fathom powers down and light when the
Fathom powers up (unless they have been turned o via the “Lights” switch).
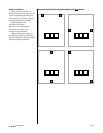
In the unlikely event that the Auto feature is not sensitive enough for a particular
system, use a Y-cable adaptor to split the incoming signal into both RCA or XLR
inputs on the Fathom. is will increase the input sensitivity by 6 dB. Please be
aware that if the Auto sensitivity is too high or if there is signi cant noise on the
input cable, the Fathom may not turn o as desired. If this happens, remove the
Y-cable adaptor or look for the noise source in the upstream components.
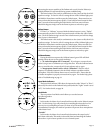
Automatic Room Optimization (A.R.O.)
A powerful feature of the JL Audio Fathom subwoofers is their innovative
Automatic Room Optimization (A.R.O.) technology. is one-touch system serves
to eliminate the largest acoustic response peaks in your home theater at the main
listening seat, greatly improving the in-room low-frequency response. Calibration of
the A.R.O. system is fully automated. Please consult the next section of this manual
for details on how to use the A.R.O. system.
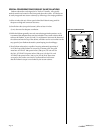
Using the included JL Audio calibration microphone, the A.R.O. calibration
procedure takes less than three minutes. In brief, you will connect the included
microphone to the “Calibration Mic.” input, press the Calibrate button, and then
hold the microphone at ear height in your main listening seat during the test.
A noise sequence will be played through the Fathom subwoofer, and the room
response will be automatically measured, analyzed and equalized to eliminate
the single largest acoustic room response peak at your listening seat. For detailed
instructions on the A.R.O. setup procedure, refer to pages 29-30.
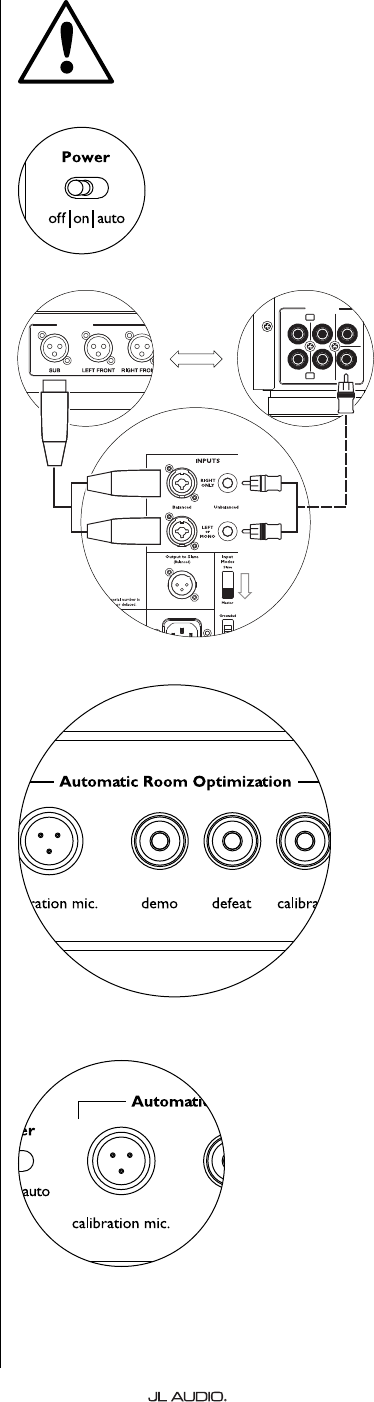
Calibration Mic. Input
is input is for connecting the supplied JL Audio calibration microphone to
the Fathom subwoofer. Connect one end of the supplied cable to the microphone
and the other end to this jack prior to using the A.R.O. system. e A.R.O. system
is speci cally calibrated to this microphone and its connection scheme is speci c to
the supplied microphone. e calibration sequence will not operate when a di erent
microphone is connected or if no microphone is connected.
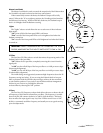
Demo Button
e Demo button triggers a 20 second long tone sequence that brie y
demonstrates the sound of the Fathom subwoofer. e Demo function is useful for
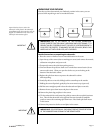
IMPORTANT
es with part 15 of the FCC rules. Operation is
owing two conditions: (1) this device may not
rference, and (2) this device must accept any
ved, including interference that may cause
n.
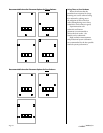
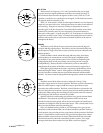
SUB
REAR
REAR CENTER
FRONT
FRONT
R
L
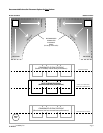
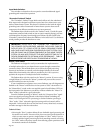
PRE OUT
PROCESSOR (BALANCED OUTPUTS) RECEIVER / PROCESSOR (UNBALANCED OUTPUTS)
OR
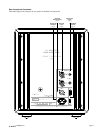
FATHOM REAR CONTROLS (MASTER)
OUTPUTS