9
GETTING STARTED
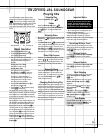
Connections
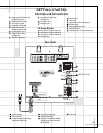
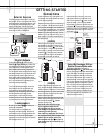
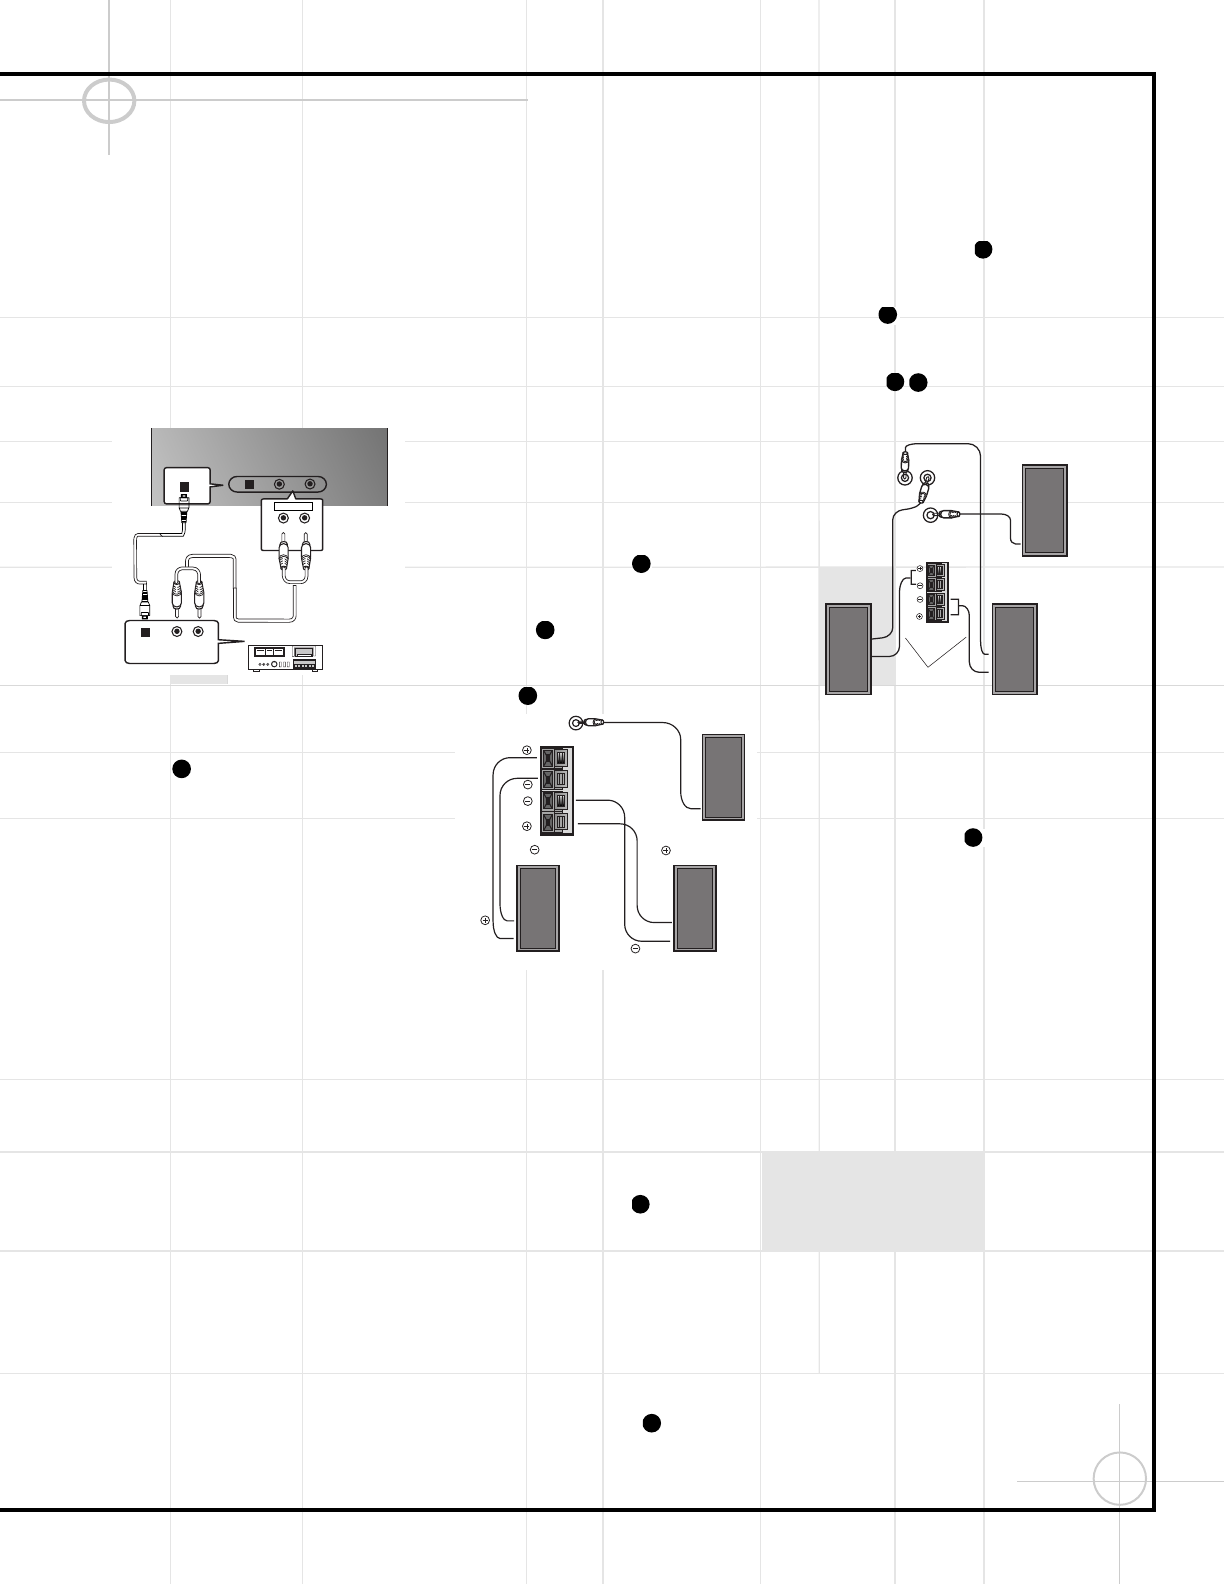
External Sources
Two RCA-type jacks marked AUX 1 and AUX 2
are provided. The front input jacks (AUX 1/MP3)
should be used for temporary connections, such
as an MP3 player, MiniDisc (MD) player, video
camera or video game. The rear input jacks
(AUX 2) should be used for longer-term connec-
tions, such as a VCR or CD Recorder.
Front
Figure 1
Digital Outputs
A front panel Optical f and a rear panel
Coaxial Digital Output are provided. The
front Optical Digital Output is intended for tem-
porary connection of an MD recorder or any
other portable device that has a digital input.
The rear Coaxial Output should be used for more
permanent hookups, such as a CD recorder, MD
recorder, high-end computer sound card with
digital inputs or MP3 encoder. Neither optical
nor coaxial cables are supplied with this product
and, if not included with the connecting unit,
should be purchased separately.
To use the Optical Digital Output, remove the
dust protection cap from the connector and
firmly connect an optical digital cable (not
supplied) so that the shapes of both the cable
and the connector match. Keep the dust
protection cap in a safe place, and always
re-attach the cap when not using the connector
to prevent dust from entering the connector.
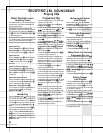
Loudspeakers
Be sure to turn Power ¡ 1 off before con-
necting the loudspeakers.
The main unit and the loudspeakers are
designed to work best together. JBL does not
recommend the use of any other speakers with
the main unit, or the use of JBL Soundgear
speakers with a product other than this specific
JBL Soundgear source unit.
In these instructions, the “right speaker” and
“left speaker” refer to the speakers as viewed
from the listening position.
Speakers and electronics have corresponding (+)
and (–) terminals. JBL has used red to denote
the (+) terminal and speaker wire, and black for
the (–) terminal and speaker wire. It is important
to connect both speakers identically: (+) on the
speaker to (+) on the main unit, and (–) on the
speaker to (–) on the main unit. Wiring “out of
phase” results in thin sound, weak bass and a
poor stereo image.
(SG2020)
Insert the bare end of the red (+) wire of the
right speaker into the red (+) terminal on the
main unit that is marked R . Insert the bare
end of the black (–) wire of the right speaker
into the black (–) terminal on the main unit that
is marked R . Follow the same procedure
to connect the wires from the left speaker to
the terminals on the main unit that are
marked L .
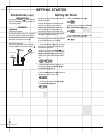
Figure 2
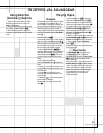
(SG3030)
In order to provide superior definition and
clarity, the JBL Soundgear SG3030 speakers use
a different method of connection for the tweeter
and midrange sections. For proper performance,
be sure to connect all three wires from each
speaker as described below:
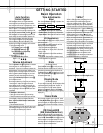
Insert the yellow RCA-type plug from the right
speaker into the yellow jack on the back of the
main unit that is marked R (Speaker
Connector 1 in Figure 3).
Note: Never insert the yellow plugs
into any equipment other than the
JBL Soundgear main unit or you may
cause damage to the speakers that is not
covered by your JBL warranty.
Never insert any plugs other than the yel-
low plugs attached to JBL Soundgear loud-
speakers into the yellow jacks on the
JBL Soundgear main unit or you will
cause damage that is not covered by your
JBL warranty.
Insert the bare end of the red (+) wire of the
right speaker into the red (+) terminal on the
main unit that is marked R . Insert the bare
end of the black (–) wire of the right speaker
into the black (–) terminal on the main unit that
is marked R . Follow the same procedure to
connect the wires on the left speaker to the jack
and terminals on the back of the main unit that
are marked L .
Figure 3
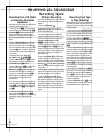
Using JBL Soundgear With an
External Powered Subwoofer
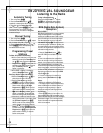
The SG2020 and SG3030 both feature a
Subwoofer Output jack that can be used
with any JBL powered subwoofer recommended
by your JBL dealer. The addition of a powered
subwoofer dramatically extends and improves
your system’s bass response, and is highly rec-
ommended either at the time of initial purchase
or as a future upgrade. Using a single RCA cable
(not included), connect the subwoofer output to
the L or R input of the powered subwoofer (the
use of a Y-cable is not necessary but is OK). Set
the main unit to a normal listening level, and
adjust the level, frequency and phase controls
on the powered subwoofer as directed in the
subwoofer’s owner’s manual.
48
Left speaker
Left
Subwoofer
Speaker
Connector 2
(Optional)
Right speaker
Right
Speaker
Connector 1
Main speaker
output jacks
(high frequency)
R
L
WOOFER
SUBWOOFER
L
R
49
46
49
49
46
46
Left Speaker
Subwoofer
SUBWOOFER
(Optional)
Right Speaker
Red
Black
Red
Black
L
R
49
49
49
47
R
AUDIO OUT
DIGITAL OUT
DIGITAL OUT
DIGITAL
INPUT
L
AUX1/MP3
L-AUX1/ MP3-R
Optical-fiber
cable
MD recorder,
MP3 player etc.


