6
TSS-1200 (120V)
A
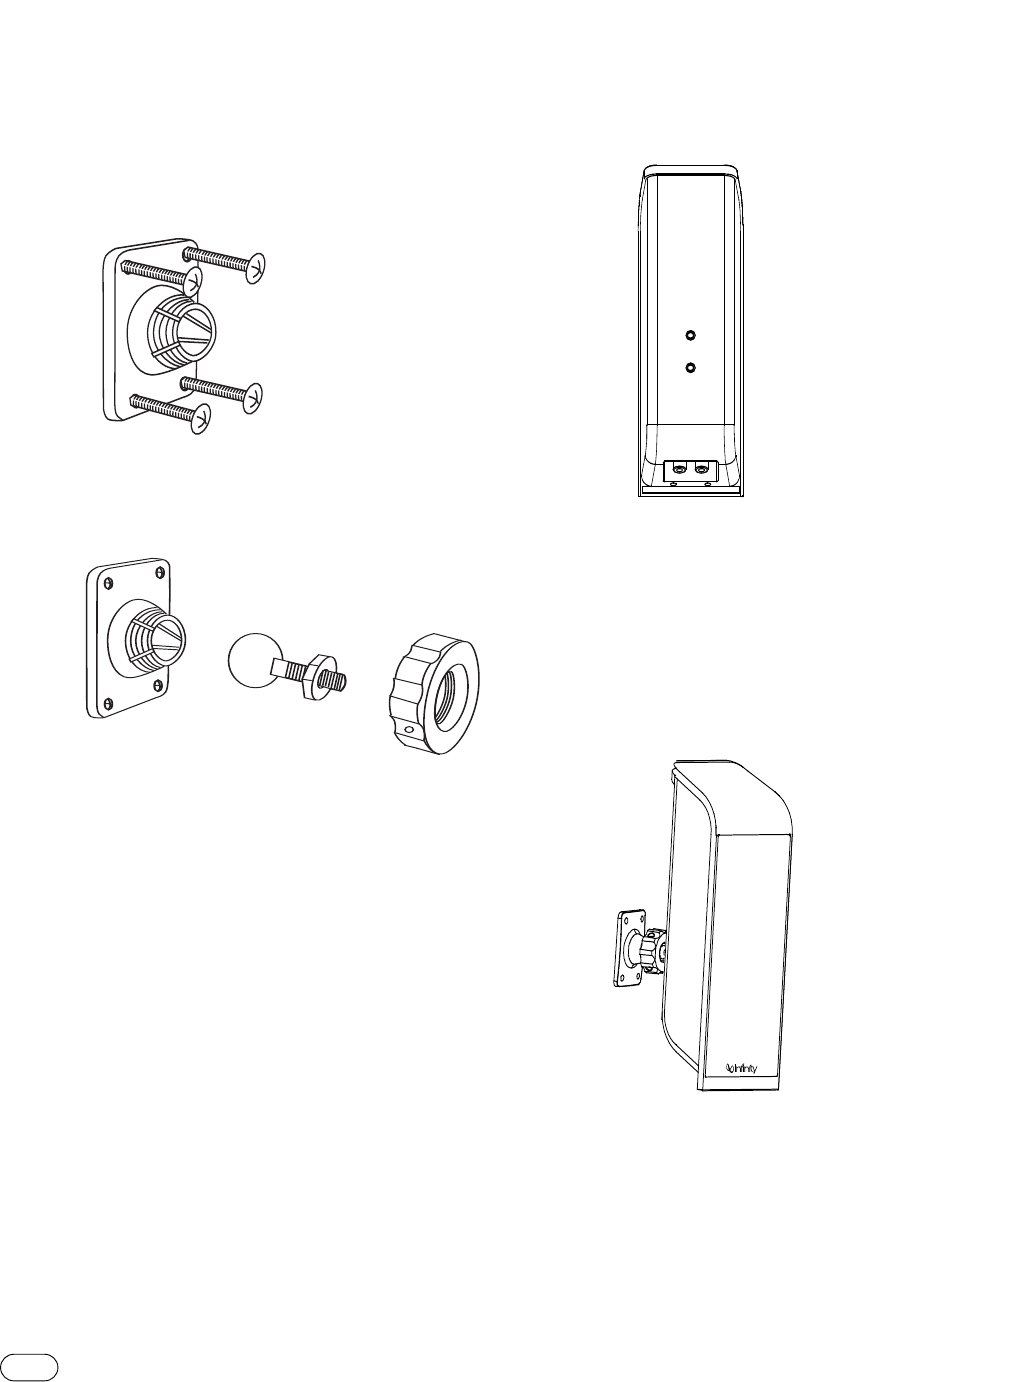
djustable Wall Bracket
S
tep 1.
R
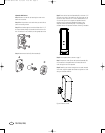
emove the rear foot by loosening the screw on the
bottom of the satellite.
Step 2. Mark the positions on the wall where you would like to
p
lace the mounting screws.
S
tep 3.
P
lace bracket against the wall and fasten four 1-1/2"
#10 wood screws through the bracket’s screw holes into the
w
all. If a wall stud is not available, use an appropriate anchor.
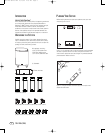
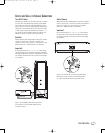
Step 4. Unscrew round collar (C) from bracket (A).
A
B
C
Step 5. Screw the ball and shaft assembly (B) to the lower 1/4"-
20 insert on the rear of the satellite, or the upper insert on the
rear of the center channel, until it is fully seated. Back out 1/2
of a turn and tighten the nut against the speaker. Securely
tightening this nut against the speaker enclosure is very
important; otherwise, performing Step 7 may dislodge the
threaded insert on the speaker enclosure, rendering it unusable.
Step 6. Attach speaker wire as shown on page 7.
Step 7. Drop round collar (C) over ball and shaft assembly (B)
that is mounted to the speaker with the finished side of the
collar facing the rear of the speaker.
Step 8. Carefully push the ball straight into the socket mounted
on the wall, angle the speaker as desired and tighten the collar
using the enclosed metal bar.
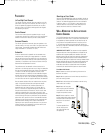
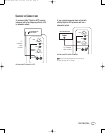
Figure 3. Bracket on wall.
®
®
®
®
TSS-1200 OM-no LED 9/27/06 2:03 PM Page 8


