6 – Infinity Kappa 255a Power Amplifier
The Kappa 255a is easy to install. For optimum
performance, we recommend using high-quality, twisted-
pair shielded RCA audio cables and 14-gauge or larger
speaker wire. Also, you’ll need a minimum of 10-gauge
stranded copper wire (e.g., red and black jackets) for the
power connections. Use 18-gauge (e.g., blue jacket) wire for
remote turn-on.
Depending on your total system plan, allow for adequate
time and the possibility of overnight storage of your vehicle,
since it may take more than one day to complete the
installation.
P ARTS LIST...
Examine and verify that the package includes the following
items:
• (1) Kappa 255a Power Amplifier
• (2) Spare ATC fast-blow fuses (40 A)
• (1) Control cover with (2) machine screws
• (1) Weco 5-pin audio connector
• (2) Weco 4-pin audio connectors
• (1) Weco 2-pin power connector
• (4) #8 mounting screws
M OUNTING THE AMPLIFIER...
The Kappa 255a can be mounted in virtually any location
inside the vehicle. However, make sure to keep the
amplifier away from heater vents or ducts.
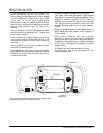
1. At the chosen site, use the amplifier as a mounting
template and mark locations of the four mounting holes.
2. Drill a small pilot hole at each marked location.
3. Mount the amplifier and securely tighten the mounting
screws.
W IRING THE AMPLIFIER...
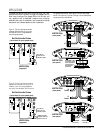
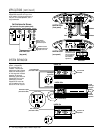
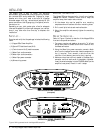
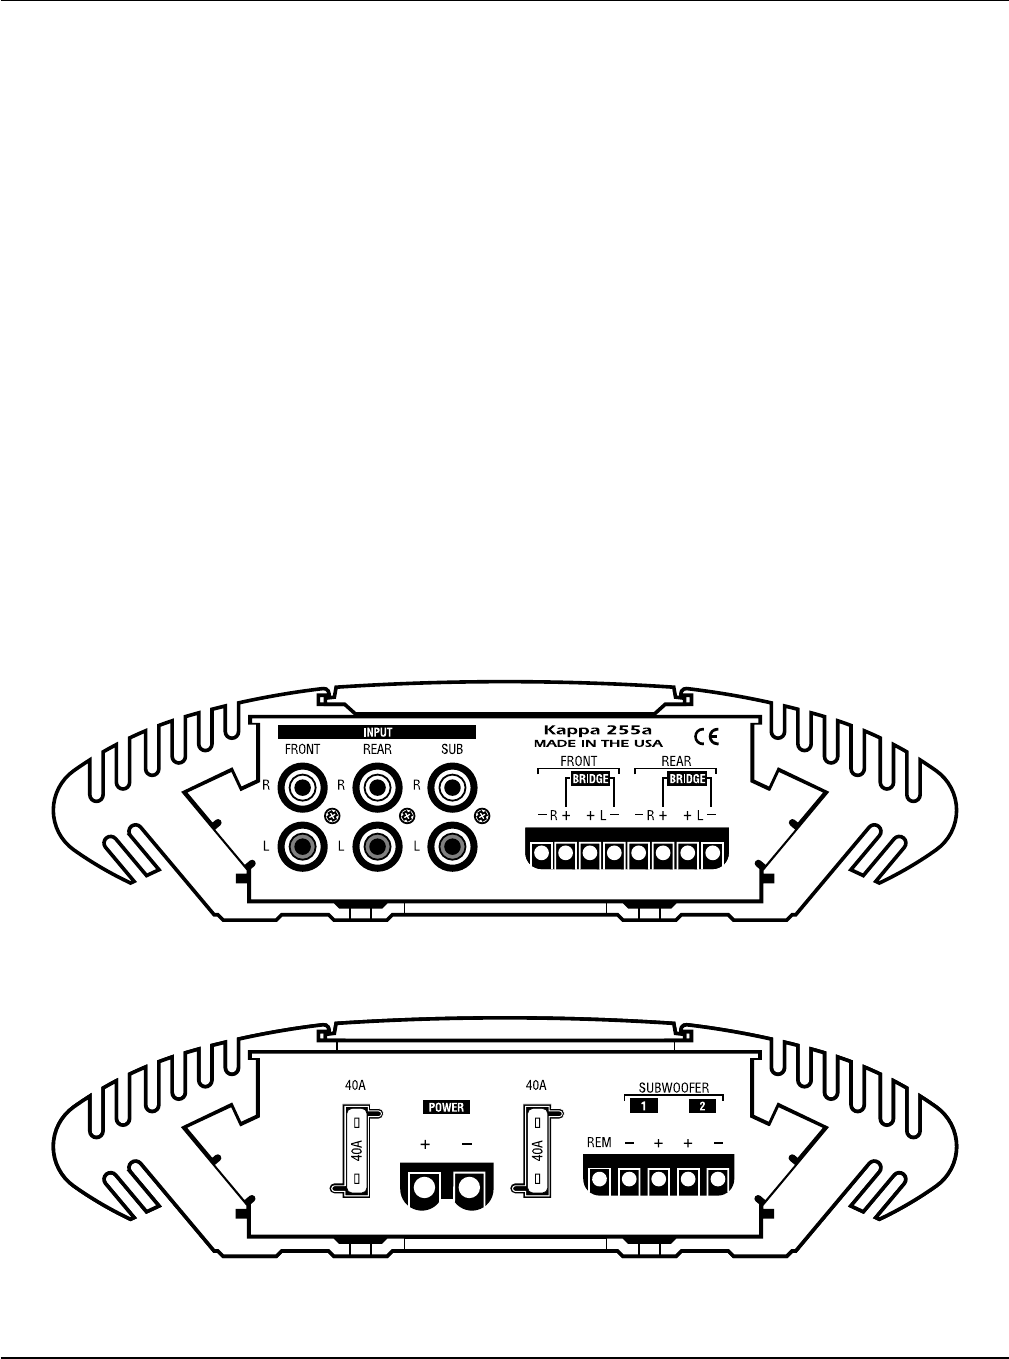
Refer to Figure 6 (below) for details of the Kappa 255a’s
front and rear panel connections.
1. For power, remote, and speaker wires, strip
1
⁄4" off one
end of each jacket to reveal bare wire for insertion into
the Weco connectors.
2. Using the Weco 2-pin power connector, connect a black
wire from the nearest bare-metal chassis component to
the (–) terminal. Then, connect a red wire from the
vehicle’s +12-volt battery terminal to the (+) terminal.
3. Make sure the wires are firmly seated in the Weco 2-pin
connector and that each screw is completely tightened.
Insert the wired connector into the POWER socket (on the
amplifier’s rear panel). Press it in until it stops.
KAPPA 255a WIRING CONNECTIONS
(front panel)
KAPPA 255a WIRING CONNECTIONS
(rear panel)
R L
Figure 6. Wiring connections for the Kappa 255a amplifier.
INSTALLATION


