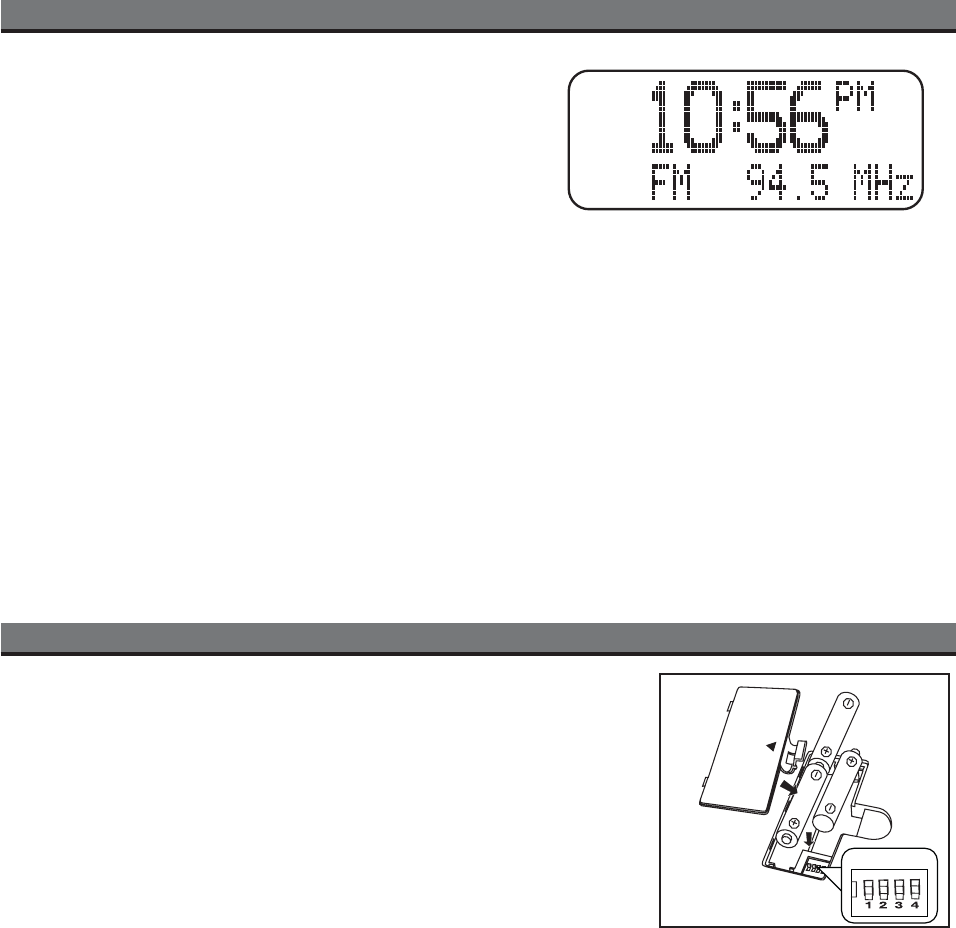
Install/Replace Backup Battery
The iH52 uses a backup battery system to provide continuous clock settings in the event of a power
failure. If the Battery Low Icon located on the right of the display is flashing, it is time to replace the backup
batteries.
Please make sure the AC adaptor is connected, otherwise all settings may be lost during battery
replacement.
• Open the battery compartment cover located on the bottom of the main receiver unit. Insert 3
“AA” batteries as indicated. We recommend the use of alkaline batteries for longer life.
•
Please make sure the AC cord is connected; otherwise all settings may be lost during
battery replacement.
Batteries information:
•
Do not mix old and new batteries.
•
Do not mix alkaline, standard (carbon -zinc) or rechargeable (nickel-cadmium) batteries.
Replacing iH52 Backup Batteries
11
Using the iH52
Using the AM/FM Radio
a) Make sure both the AM and FM antennas are properly attached
and extended/located for best reception.
b) Press the Radio button. By default, the FM band is selected, but
the unit will revert to the last band in use (AM or FM). Press the
Radio button to toggle between FM and AM bands.
c) To tune a station, press the Select Down/REW or Select Up/FWD
button until the desired frequency appears (hold either button for
faster selection; the unit will scan to the next station with clear reception).
d) To save a station as a preset, tune in the desired station then
hold the desired preset button for about two seconds until you hear two confirmation beeps. You can save up to 12 presets (6
AM and 6 FM). To change a preset, follow the same steps for saving a preset.
e) To listen to a preset station in radio mode, press the Radio button to select the desired radio band (AM or FM), then press
the desired preset button. The unit will tune to the preset station assigned in the selected band.
Using the Line-in Jack
a)
An audio patch cord comes with the iH52. Use it to play nondocking iPod models or other audio devices through the iH52
Line-in Jack (one end in the device’s line out or headphones jack, the other in the iH52 line in jack). Press the iPod Button
until AUX appears in the display. You can now play your device.
Using the Dimmer
a) Press the Dimmer Button until “Dimmer” appears on the display. Hold the down/REW Button to dim the display brightness,
or hold the up/FF Button to brighten the display. When the desired display brightness level is set, press the Dimmer button
to return to normal display function.
Using the Display Control
a) Press the Display Button to switch display modes on your docked iPod and on the iH52 display between standard and extended
modes. In Extended mode, song information from your iPod appears on the iH52 display. The video out ports are disabled in
this mode, as are iPod controls.
DIP switches
Install
Backup Batteries


