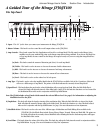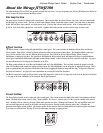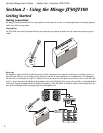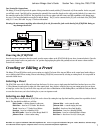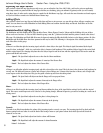
9) Feedback - This knob adjusts the number of Delay repeats.
10) Tap It/Shift - This button is used to set up the Delay time of the Delay effect. Tapping this button in time with the music will
synchronize the Delay repeats with the tempo of the song. This button also functions as a shift key to change the function
of the knobs labeled with Shift functions.
11) Reverb Level /Type- This knob adjusts the volume of the reverb effect. This knob is also used to select Reverb Types when used in
conjunction with the Shift key. See page 10 for more information on Selecting Reverb Types.
12) Store - This button is used to store your custom settings to one of the User Bank and Preset locations. The store button will light when
changes have been made to a Preset indicating that changes will be lost if they are not stored. Once the Store button has been
pressed, the Store button will flash indicating that you need to select the location to store the settings to. Use the Bank Select
knob to choose the Bank and the 1, 2, or 3 buttons to choose the Preset, and then press the Store button again.
13) Bank Select - This knob is used to select the Banks of Presets. There are 7 different Banks to choose from and each Bank contains
three different Presets. The pointer on the knob will indicate the currently selected Bank.
Note: The J8 Footcontroller can override the Bank Select Switch.
14) Preset 1, 2, 3 Buttons - These three buttons are used to select Presets within the currently selected Bank. Each Preset can have
different stored settings for Amp Type, Gain, EQ, Level, and Effects. The Preset button will light to indicate
which Preset is currently active. If none of the Preset buttons are lit, the active Preset does not reside in the
selected Bank.
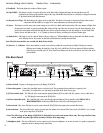
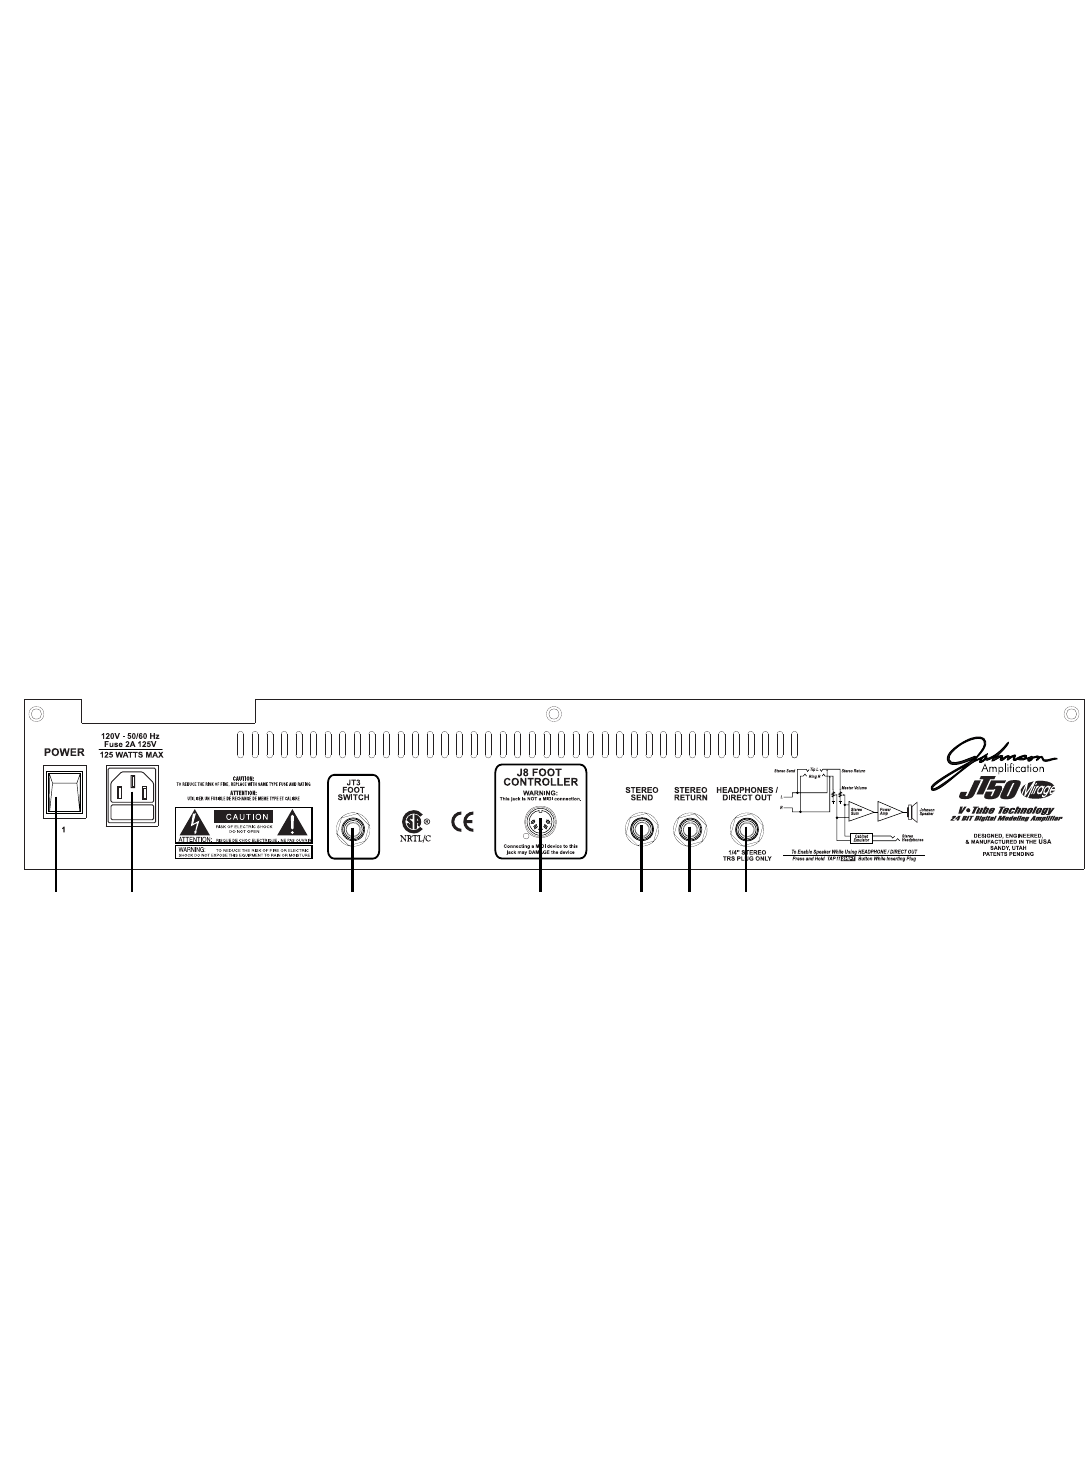
The Rear Panel
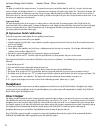
1) Power Switch - Engages or disengages power to the Mirage JT50/JT100.
2) Power Receptacle - Connect the detachable power cord to this jack. The rectangular drawer under the receptacle is the
fuse holder. Use only the fuse size and rating as specified on the back of your amp.
3) JT3 Foot Switch Jack - This TRS jack is for connecting the optional Johnson JT3 foot switch. The JT3 requires a stereo cable with a
1/4” TRS plug for connecting to the JT50/JT100.
4) J8 Foot Controller Jack - This 5 pin DIN jack is for connecting the optional Johnson J8 foot controller only. THIS IS NOT A
MIDI CONNECTION. Connecting a MIDI device to this jack could damage the device.
5) Stereo Send - This stereo TRS jack is used to connect from the JT50/JT100 to the inputs of an external effect device.
6) Stereo Return - This stereo TRS jack is used to connect from the outputs of an external effect device to the JT50/JT100 . It is an input
to the power amp of the JT50/JT100.
* Note: The effect loop of the Mirage JT50/JT100 is designed for use with rack mount effects only. The Loop send level may
not be suitable for pedal type effects and may overdrive their input stage.
7) Headphone Jack - This stereo TRS jack is used to connect a pair of stereo headphones. It can also be used as a speaker compensated
output for direct to mixing console connections.
12 3 4 567
4
Johnson Mirage User’s Guide Section One - Introduction


