About the Mirage JT50/JT100
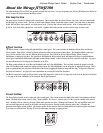
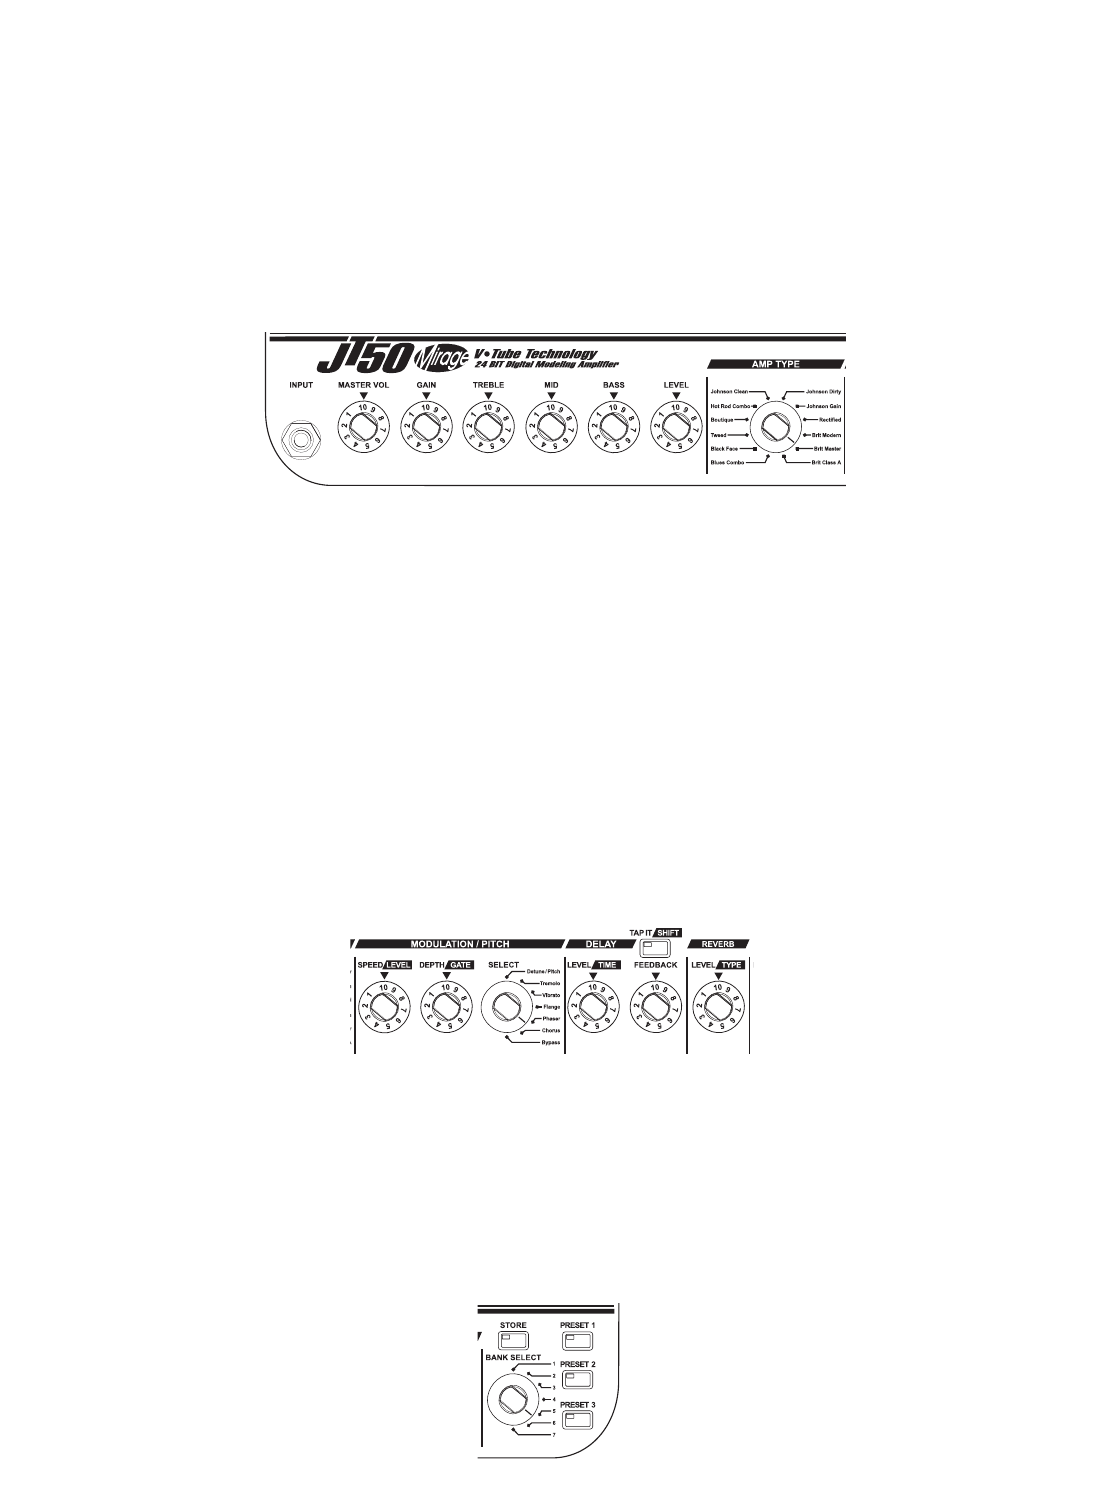
The Johnson Mirage JT50 and JT100 are extremely versatile and easy to use. For ease of operation, the JT50 and JT100 have been divided in
to two sections: the Amp section and the Effects section.
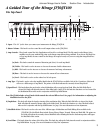
The Amp Section
The Amp Section is located on left half of the control panel. This section includes the Master Volume, Gain, Tone, and Level control knobs,
and the Amp Type selector switch. The first six knobs control Master Volume (main amp volume control), Gain (amp drive or distortion),
Treble, Mid, and Bass (tone controls), and Level (preset level). The Amp Type selector switch selects 1 of the 12 amp models in the
JT50/100. Each click of this switch selects a new model. Together, these knobs provide you the control to shape your basic tone.
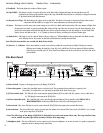
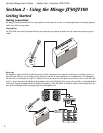
Effects Section
The Effects Section is located on the mid-right half of the control panel. This section includes the Modulation/Pitch, Delay, and Reverb
effects controls. Each of these sections has knobs dedicated to adjust various aspects of their effects. The Modulation/Pitch section also
uses a selector switch to select one of 6 different effects per preset. These effects are Chorus, Phaser, Flanger, Vibrato, Tremolo,
Pitch/Detune, or Bypass for no effect. The Speed/Level and Depth/Gate knobs control Speed and Depth in all effects except Pitch/Detune
where Speed controls Pitch Shift amount and Depth controls Detune amount. A third control is the Level control for each effect. See page 9
for more information on accessing the Level function on the JT50.
The Delay section includes the Level/Time and Feedback knobs and a Tap-It/Shift button. The Level knob controls the output level of the
delay. The Feedback knob controls the number of delay repeats. The Tap-It/Shift button sets the delay time by tapping in the tempo. This is
great for synchronizing your delay time with the beat of the music by tapping this button in tempo with the song. To bypass the delay, turn
the Delay Level knob to 1. See page 9 for more information on accessing the Delay Time Parameter.
The Reverb section has a single Level/Type knob to control the output level of the reverb. To bypass the reverb, turn the Reverb Level knob to
1. See page 10 for more information on accessing the Reverb Type Parameter.
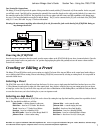
Preset Section
The Preset Section located on the far right side of the control panel. This section includes the Bank Select switch, Preset buttons, and Store
button. The Bank Select switch selects 1 of the 7 banks available. The Preset 1-3 buttons select 1 of the 3 presets available in the selected
Bank. Recalling a Preset is done by selecting a Bank and/or pressing one of the 3 flashing Preset buttons. The Amp and Effect knobs will
not necessarily represent the sound you hear when selecting a new preset. Turning a knob at least one whole value will update the
parameter to the knobs current position. Any changes made to Presets must be stored to a Bank and Preset location using the Store Button
if you want to recall them later. See page 10 for more information on saving or copying presets.
5
Johnson Mirage User’s Guide Section One - Introduction


