6
MINI400 OWNER’S MANUAL
7
MINI400 OWNER’S MANUAL
BATTERIES
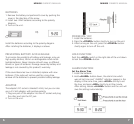
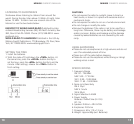
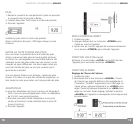
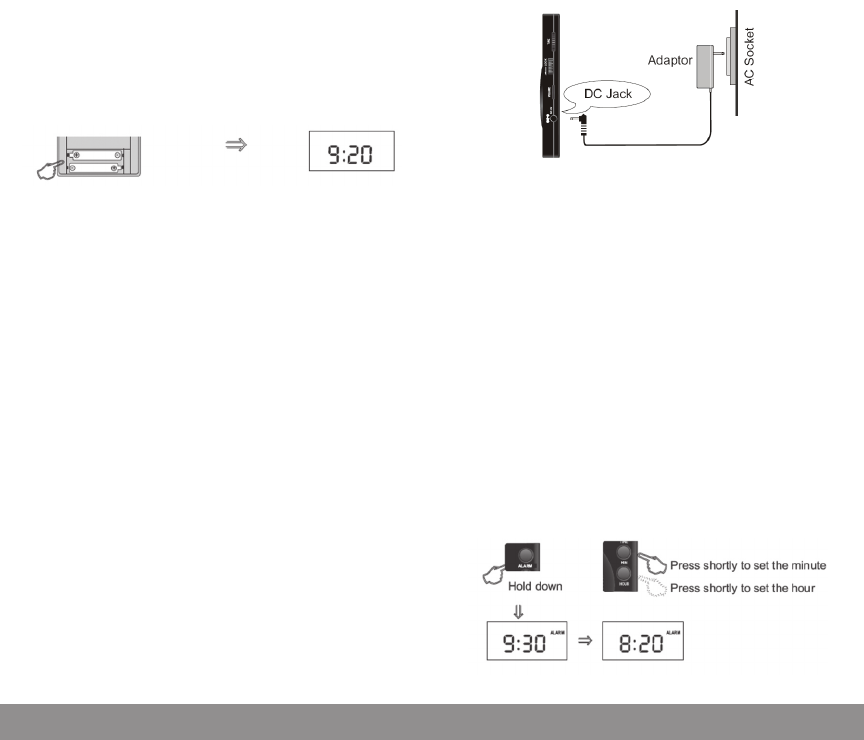
1. Remove the battery compartment’s cover by pushing the
cover in the direction of the arrow.
2. Install two ‘AAA’ batteries according to the polarity
diagram.
3. Turn on the unit.
Install the batteries according to the polarity diagram.
After installing the batteries, it displays as above.
PREVENTING BATTERY ACID LEAKAGE:
To minimize the possibility of battery acid leakage, only use
high quality alkaline, lithium or rechargeable nickel-metal-
hydride batteries. Never intermix old with new, or different
brands or types of batteries. Damage caused by battery acid
leakage is not covered by this product’s warranty.
If the sound becomes low or distorted, replace with new
batteries. If the radio will not be used for a long time,
remove all the batteries to prevent possible battery leakage.
ADAPTER
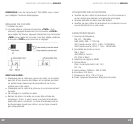
The adapter’s DC socket is labeled 5 Volts, but you can also
use a 4.5 Volt adapter, with positive polarity.
1. Plug one port of the adaptor into the AC socket and plug
the other port into the DC jack.
2. Turn on the unit.
POWER ON / OFF
1. Install the batteries.
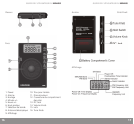
2. Press the <POWER> button shortly to turn on the unit.
3. After turning on the unit, press the <POWER> button
shortly again to turn off the unit.
HOLD FUNCTION
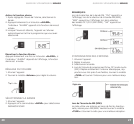
Push the <HOLD> switch in the right side of the unit down
to lock the <POWER> button.
ALARM FUNCTION
Set the Alarm Time
1. Install the batteries.
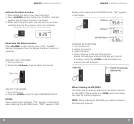
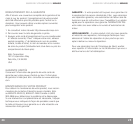
2. Hold <ALARM> button down, the alarm time which
was set last time and “ALARM” indicator appears in the
display, at the same time, press <HOUR> shortly to set
the hour and press <MIN> shortly to set the minute.
After setting, release <ALARM> button and the unit will
save the settings automatically.


