


4 5
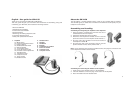
Setting the correct termination setting
Setting the amplifi er to the correct termination setting adapts
your amplifi er to your telephone. An incorrect termination set-
ting may result in you not hearing a dial tone.
In order to select the correct termination setting, you will have
to go through each of the 6 termination settings and determine
which one provides the best quality transmit and receive sound.
To set the correct termination setting:
1. Make a telephone call and ask the person you are calling to
assist you.
2. During the call, go through each of the 6 termination settings until you can hear
your caller’s voice clearly and the person you are calling can hear your voice
clearly.
3. Terminate the telephone call.
Features and customisation
Transmit volume adjustment
Adjust the volume of transmitted sound according to personal preference. There are 4
transmit volume settings to choose from. To adjust the volume:
1. Make a telephone call and ask the person you are calling to assist you.
2. Using the microphone volume control button (1h), select the transmit volume level
the person you are calling is most comfortable with.
3. Terminate the telephone call.
Received volume adjustment
Adjust the volume of received sound according to personal preference using the vol-
ume adjustment control (1c). You may adjust the received volume as often as needed.
Tone control adjustment
Select the tone according to personal preference. To select the tone:
1. Make a telephone call and ask the person you are calling to assist you.
2. Slide the tone range control button (1g) and listen to the changing voice tone of
your caller’s voice.
3. Select the desired voice tone.
4. Terminate the telephone call.
You may adjust the tone control as often as needed.
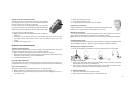
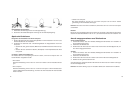
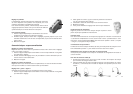
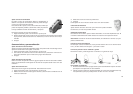
Positioning of microphone
Adjust the boom arm of your headset so that the microphone is pointed
toward your mouth and as close as possible to your mouth.
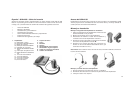
Muting the microphone
To mute the microphone, press the mute button (1a) on the amplifi er unit. The micro-
phone will be muted when the mute button is in the down position.
Note: When the microphone is muted, the on-line indicator (1e) will fl ash repeatedly.
Headset/handset switch
The headset/handset switch (1d) lets you revert to using your telephone’s handset instead
of your headset. Select the 0 setting to revert to using your telephone’s headset.
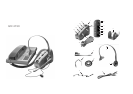
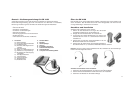
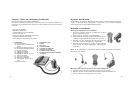
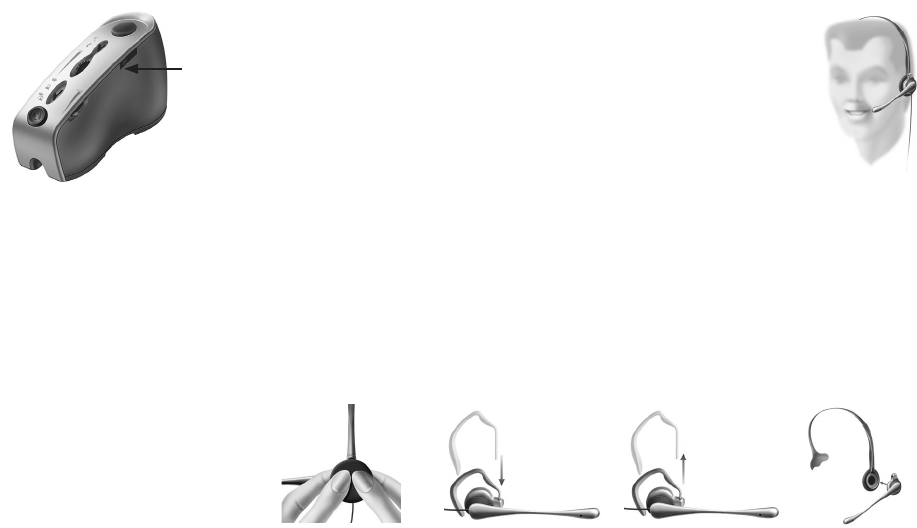
Wearing styles: headband or earhook
You may choose between a headband or ear wrap wearing style for your headset.
To attach an earhook (5):
1. Gently push on the foam side of the headset receiver with your thumb to push out
the headset receiver from the headband ring.
2. Insert the thin end of the fl exible earhook into one of the earhook clutches. There
are 2 clutches, allowing you to wear the headset on either ear.
To attach a headband (4):
1. Pull out the ear hook from the earhook clutch.
2. Gently snap on the headset receiver to the headband ring.