


EN
EN
Care and Maintenance
Handling Compact Discs
• Do not touch the signal surfaces. Hold by the
edges, or by one edge and the hole.
• Do not affix labels or adhesive tape to the
label surfaces. Also, do not scratch or damage
the label.
• Discs rotate at high speeds inside the player.
Do not use damaged (cracked or warped)
discs.
Cleaning Compact Discs
• Dirty discs can cause poor sound quality.
Always keep discs clean by wiping them gently
with a soft cloth from the inner edge toward
the outer perimeter.
• If a disc becomes dirty, wet a soft cloth in
water, wring it out well, wipe the dirt away
gently, and then remove any water drops with
a dry cloth.
• Do not use record cleaning sprays or anti-static
agents on discs. Also, never clean discs with
benzene, thinner, or other volatile solvents
which may cause damage to the disc surface.
CD Lens Care
When your CD lens gets dirty it can also cause the
unit to output poor sound quality. To clean the
lens you will need to purchase a CD lens cleaner
which can maintain the output sound quality. For
instructions on cleaning the CD lens, refer to the
ones accompanying the lens care.
Cleaning the Exterior
Prior to cleaning the exterior, be sure to unplug
the power cord from the AC power outlet. Wipe
the exterior with a soft, clean, and slightly water-
dampened cloth.
Precautions
• Never open the cabinet under any
circumstances. Any repairs or internal
adjustments should be made only by a trained
technician.
•Warning: Never operate this product with the
cabinet removed.
• The CD player of this unit uses a laser to read
the music on the disc. The laser mechanism
corresponds to the cartridge and stylus of a
record player. Although this product
incorporates a laser pick-up lens, it is
completely safe when operated according to
directions.
• Discs rotate at high speed inside the player.
Do not use damaged, warped or cracked discs.
• Do not touch the pick-up lens which is located
inside the disc compartment. Also, to keep
dust from collecting on the pick-up lens, do
not leave the compartment door open for an
extended period of time.
• The apparatus shall not be exposed to
dripping or splashing and that no objects
filled with liquids, such as vases, shall be
placed on the apparatus.
• No naked flame sources, such as lighted
candles, should be placed on the apparatus.
• Attention should be drawn to the
environmental aspects of battery disposal.
18
The descriptions and characteristics in this owner’s manual are for the purpose of general reference only and not as a
guarantee. In order to provide you with the highest quality product, we may make changes or modifications without
prior notice. The English version serves as the final reference on all product and operational details should any
discrepancies arise in other languages.
17
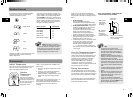
Troubleshooting Tips
• Is the unit plugged into a working AC outlet?
Try plugging it into one that you know will
work.
• Is the unit on?
Press RADIO ON / BAND or PLAY/PAUSE to
turn the unit on.
• Have you selected the correct function when
pressing on the buttons?
For example, if the unit is in CD mode and
you try tuning to a particular radio frequency,
the remote control is not going to look like
it’s working. In such cases, press RADIO ON /
BAND to select radio or PLAY/PAUSE to
select CD function first, then press on the
buttons.
• Are the batteries weak?
Try replacing old batteries with some fresh
ones.
• Are you pointing the remote control directly
at the unit while pressing the buttons?
You should be, because the remote control
sensor of the unit is at upper right of the
display.
• Are you too far from the unit when using the
remote control?
The remote control sensor can only sense
signals (from the remote control) within a
limited distance. So move closer towards the
unit.
• Are there any obstacles between the remote
control and the unit?
If there are, move all objects standing in the
way between the remote control and the
unit.
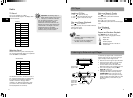
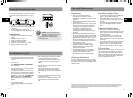
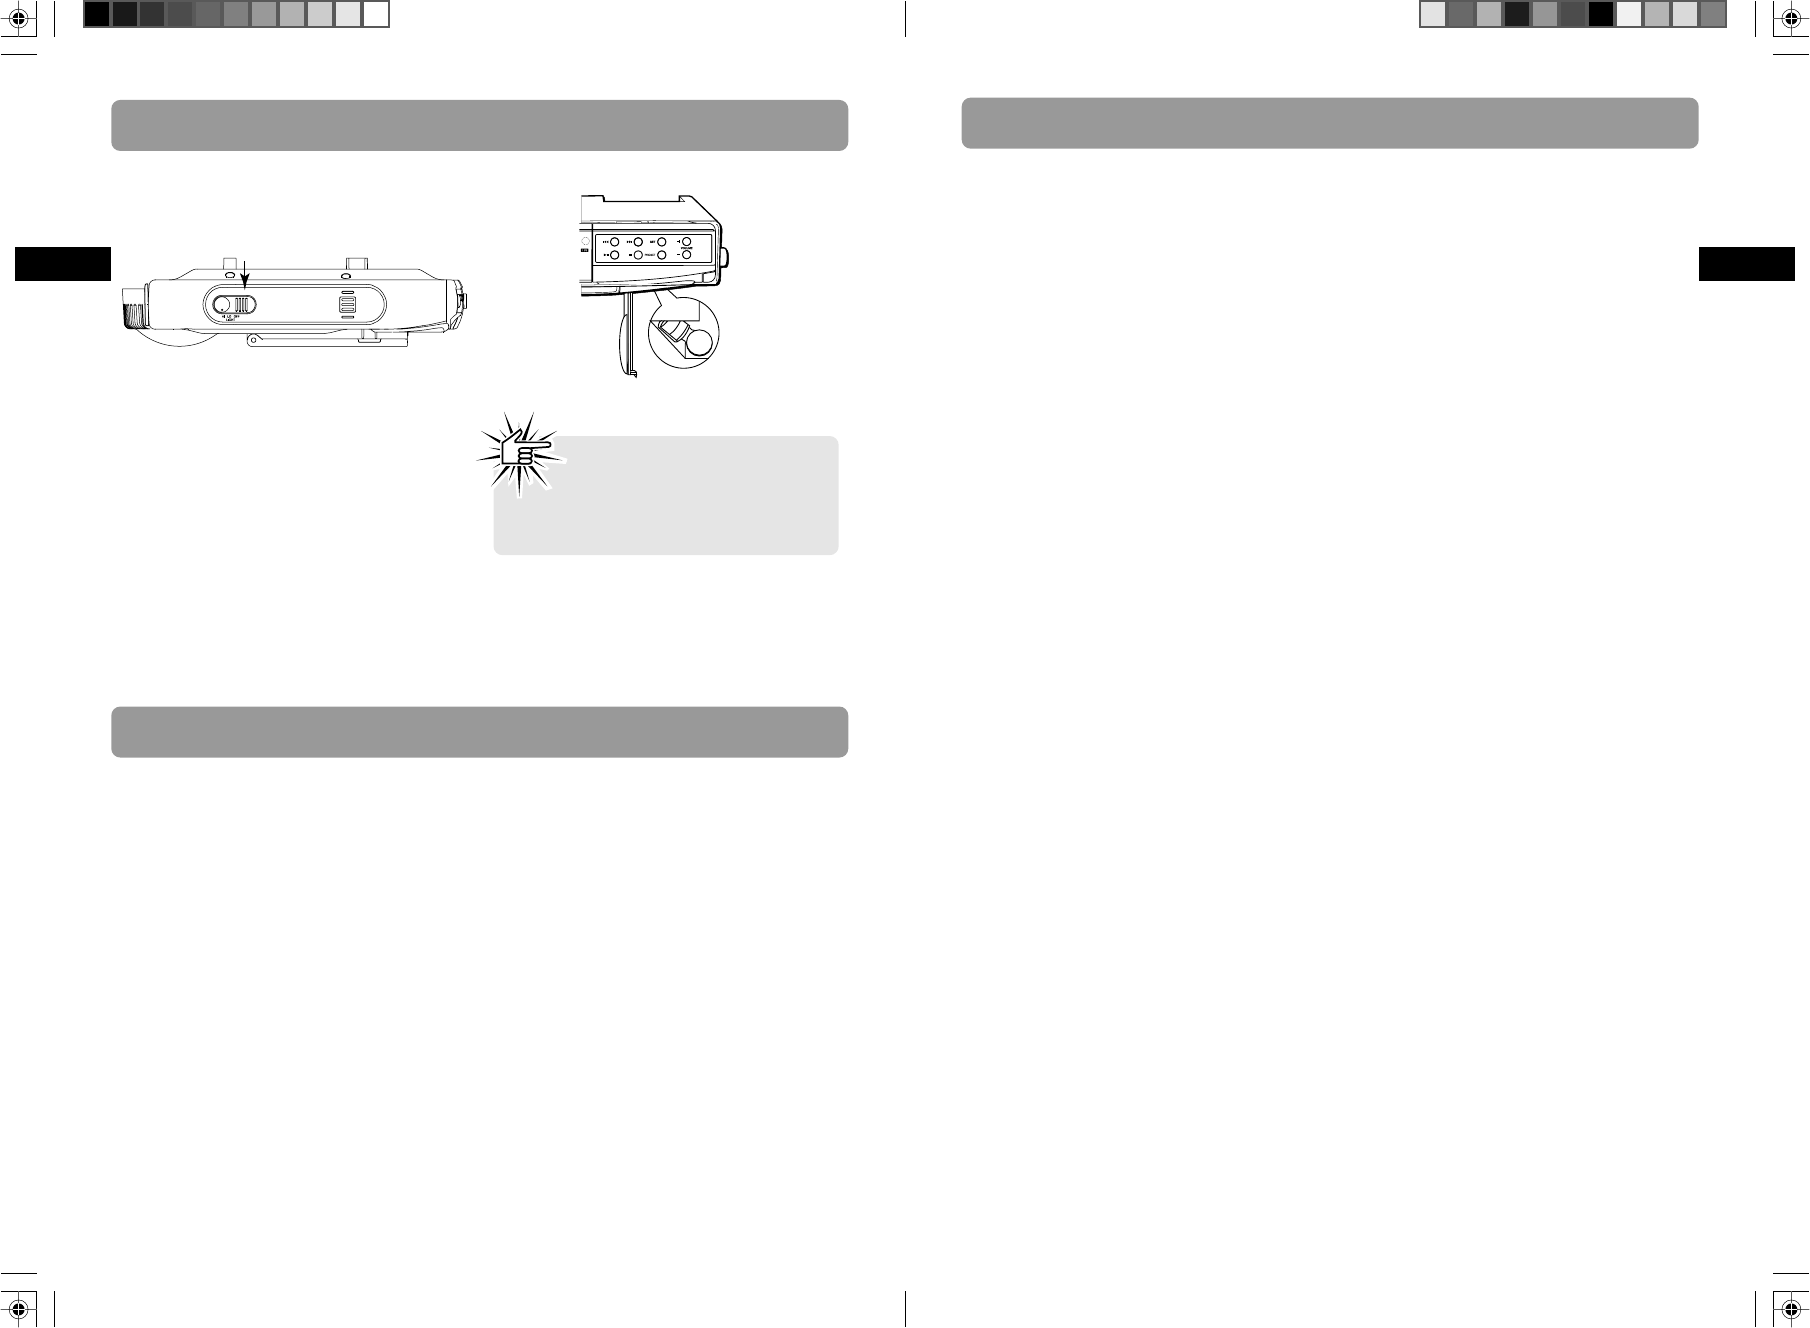
Using the Countertop Light
The countertop light switch is located on the side
of the unit, and has three settings: HI, LO, and
OFF.
Replacing the Bulb
1. Unplug the unit cord from the AC power
outlet.
2. Unlatch the cover to open it.
3. Unscrew and remove the bulb.
4. Install the replacement bulb.
5. Swing the cover up and snap it in place.
6. Plug the cord into the AC outlet.
• For dimmer light, move the light switch to the
LO position.
• For more illumination, switch to HI.
• To turn the light off, place Light switch to OFF.
Caution: Use only appliance-type
bulb with a maximum of 40-watt or
equivalent for replacement. To
prevent hazard, do not operate light
without the cover.
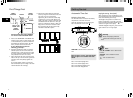
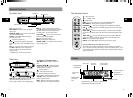
D
ISC PLAYER
OFF
RADIO
H
z
k
H
z
e
r
O
F
F
M
IN
U
T
E
SE
T
H
OU
R
T
IM
E
R
O
N
/S
E
T
ST
O
P
R
EP
E
A
T
T
R
AC
K
S
EA
RC
H
SH
UF
FL
E
PL
AY/P
A
US
E
CD