✧
ff ee nn dd ee rr .. cc oo mm
✧
PP
PP
DD
DD
PP
PP
SS
SS
pp
pp
ee
ee
aa
aa
kk
kk
ee
ee
rr
rr
SS
SS
yy
yy
ss
ss
tt
tt
ee
ee
mm
mm
ss
ss
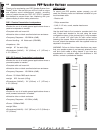
Thank you for purchasing your PDP Speaker System from
Fender
®
Audio. We are sure you will find it both a unique
and effective sound reinforcement product, providing
years of trouble-free service. PDP–125 / PDP–1 speakers
are sheilded to prevent them from interfering with your
plasma display or other nearby electronics.
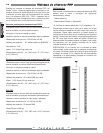
PDP-1 Passive Presentation Loudspeakers
•Perfect for use in all audio general applications where a
passive loudspeaker is needed.
•Complete with wall mount kit.
•Attractive silver or black anodized aluminum enclosure.
•Frequency Response - 150-20KHz (±3dB).
•Power Handling - 40 Watts each (RS426B).
•Impedance - 8Ω.
•weight 8.7 lbs each (4kg).
•Dimensions (HxWxD) - 24" (610mm) x 5" (127mm) x
4.13" (105mm ).
PDP-125 Powered Presentation Loudspeakers
•Perfect for use in all audio general applications where a
powered speaker is needed.
•Complete with wall mount kit.
•Attractive silver or black anodized aluminum enclosure.
•Frequency Response - 150-20KHz (±3dB).
•Power - 20 Watts RMS each channel.
•weight 9.25 lbs each (4.5kg).
•Dimensions (HxWxD) - 24" (610mm) x 5" (127mm) x
4.13" (105mm).
PDP-S50
•Perfect for use in all audio general applications where a
small powered subwoofer is needed.
•Attractive silver or black enclosure.
•Frequency Response - 45-150Hz (±3dB).
•Power - 50Watts RMS.
•weight 30lbs.
•Dimensions (HxWxD) - 15.6" (397mm) x 12.5" (318mm) x
10" (254mm).
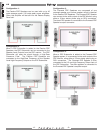
INSTALLATION:
To mount your PDP speaker system properly, you will
need the following tools and hardware available at your
local hardware store:
- Electric drill.
- Philips screwdriver.
- 8, #8, 2 1/2 inch, round, washer-head screw.
- stud-finder.
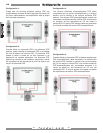
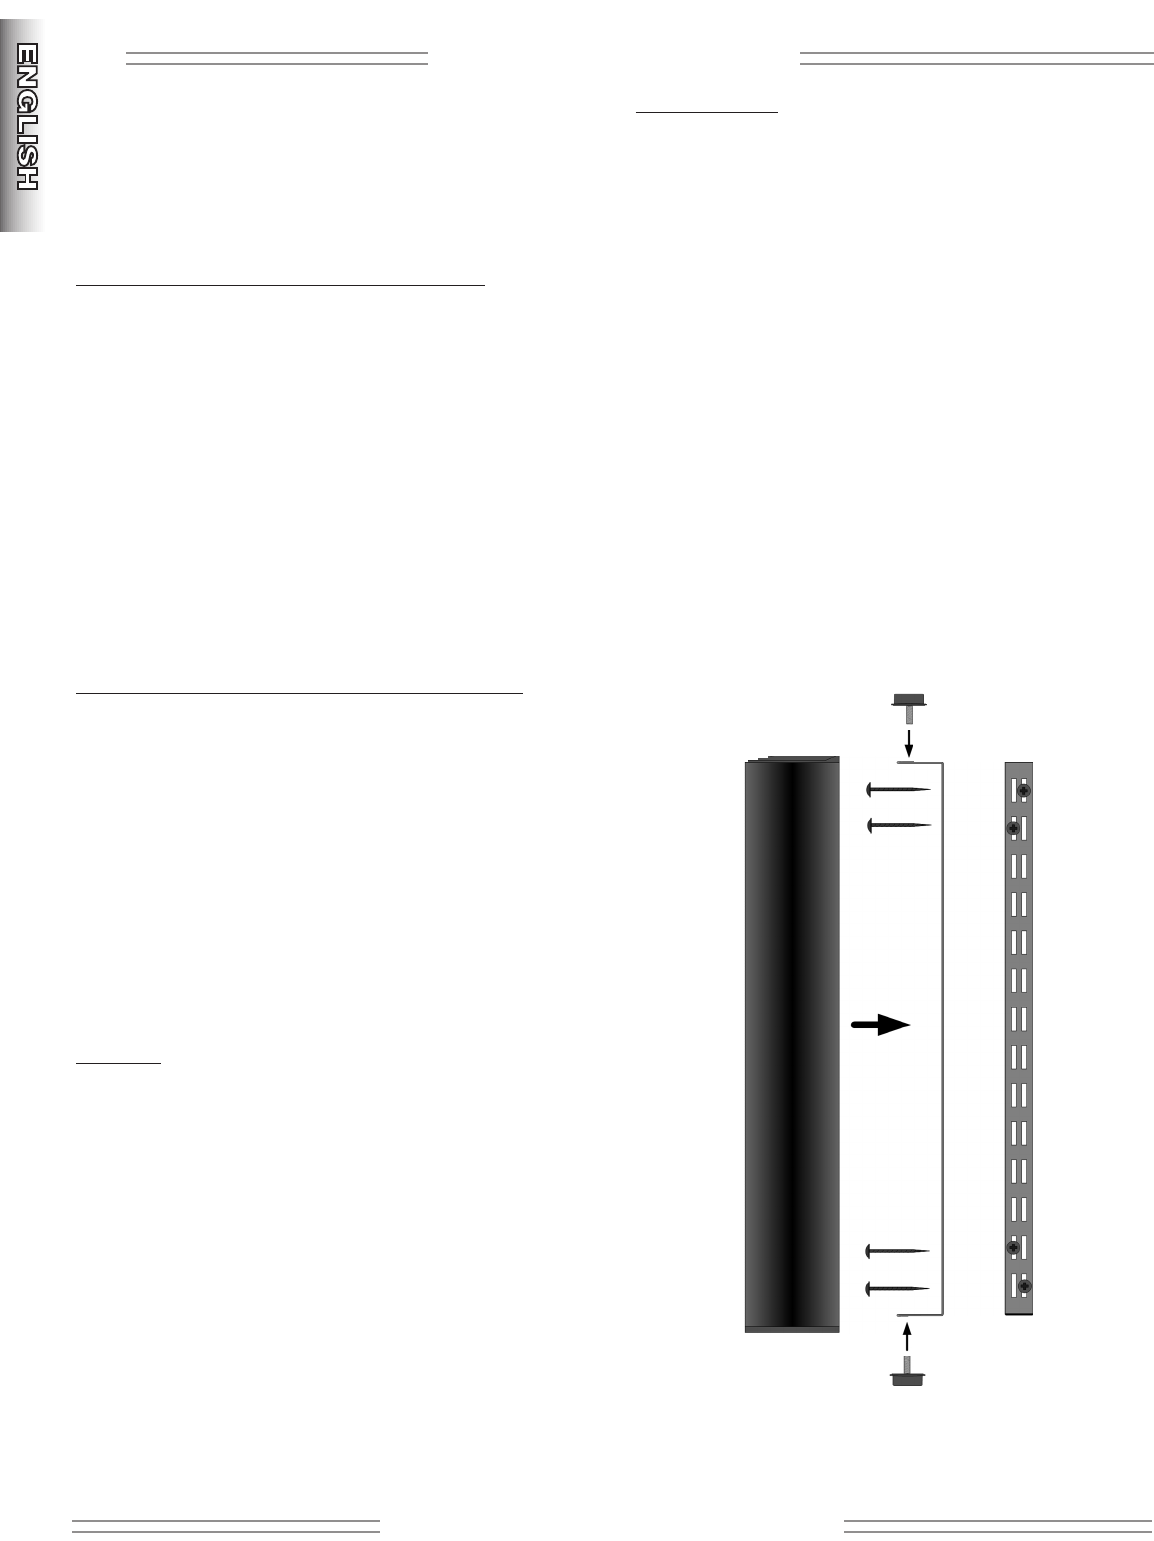
Use the stud finder to find a metal or wooden stud in the
wall. Fasten each bracket to the wall using the screw
configuration shown in the picture (right). It may be easier
to drill a small 1/8” pilot hole for each screw before
fastening the screws. When the brackets are secured to
the wall, attach the speakers with the supplied knobs as
depicted in the picture.
WARNING: Failure to follow these directions may mean
that your speaker system is not securely attached to the
wall and could create a falling hazard. If you have any
apprehension or confusion about the directions in this
section, contact a professional installer.
PP
PP
DD
DD
PP
PP
SS
SS
pp
pp
ee
ee
aa
aa
kk
kk
ee
ee
rr
rr
SS
SS
yy
yy
ss
ss
tt
tt
ee
ee
mm
mm
ss
ss
✧
ff ee nn dd ee rr .. cc oo mm
✧
10


