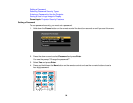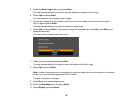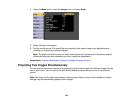
3. Select the User's Logo setting and press Enter.
You see a prompt asking if you want to use the displayed image as a user's logo.
4. Select Yes and press Enter.
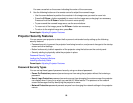
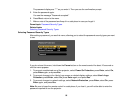
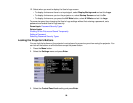
You see a selection box overlaying your image.
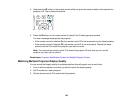
5. Use the arrow buttons on the remote control to surround the image area you want to use as the
User's Logo and press Enter.
You see a prompt asking if you want to select this image area.
6. Select Yes and press Enter. (If you want to change the selected area, select No, press Enter, and
repeat the last step.)
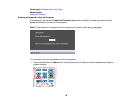
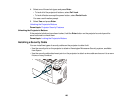
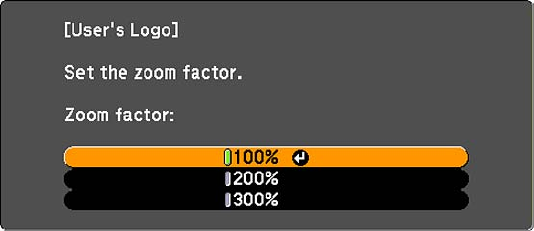
You see the User's Logo zoom factor menu.
7. Select a zoom percentage and press Enter.
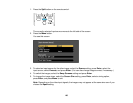
You see a prompt asking if you want to save the image as the User's Logo.
8. Select Yes and press Enter.
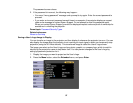
Note: It takes a few moments for the projector to save the image; do not use the projector, its remote
control, or any connected equipment until it is finished.
You see a completion message.
9. Press Esc to exit the message screen.
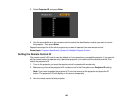
10. Select the Extended menu and press Enter.
11. Select Display and press Enter.
98


