ENGLISH
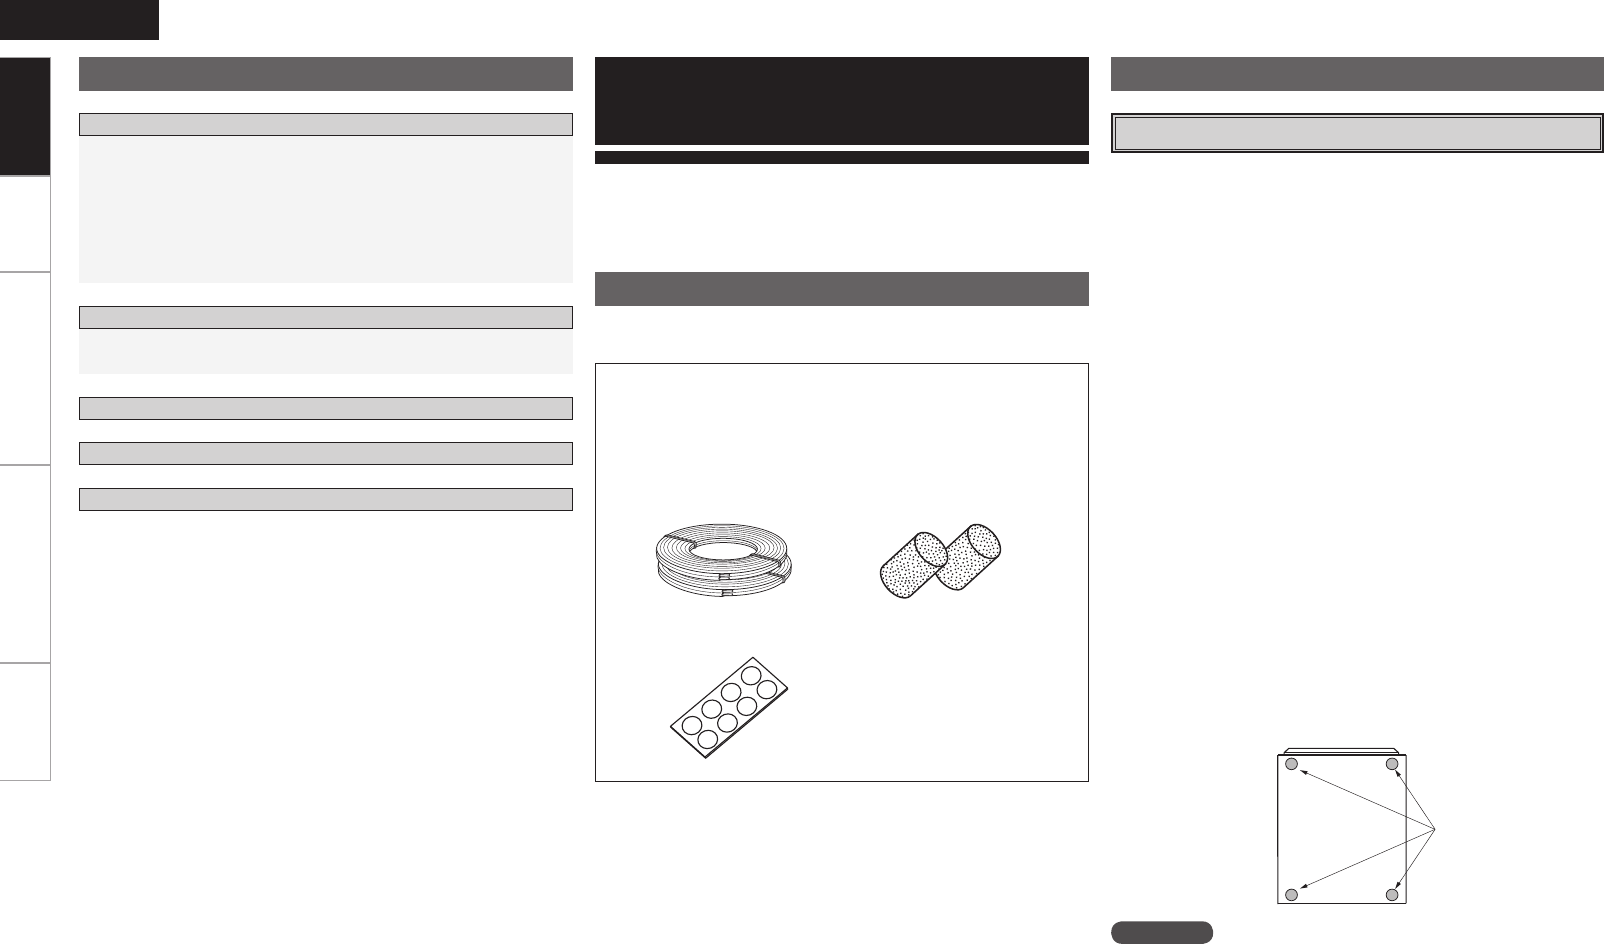
Attach the anti-
slip pads here
Check that the following parts are attached in addition to the main
unit:
Thank you for purchasing this DENON product. To ensure proper
operation, please read these owner’s manual carefully before using
the product.
After reading them, be sure to keep them for future reference.
Getting Started
• If the bass sound is overemphasized when the speakers are installed
directly on the floor, set them on concrete blocks or other hard
stands.
• Placing the speakers on a shelf or in a corner can boost the bass
level of the speaker. If you want to reduce it, please place the foam
plugs in the reflex port tubes that you can find on the back of the
speakers.
• Do not insert the foam plug too deep. The foam plug could fall in and
get stuck inside.
• If the foam plug cannot be removed or falls inside, stop using the
unit immediately and consult your store of purchase or your nearest
repair and inquiry center.
• Note that placing the speaker on the same stand or shelf as a record
player may result in howling.
• Also note that if there is a magnet or any device generating magnetic
force nearby, interaction between this device and the speakers can
cause the colors on the TV to become blotchy.
• For increased safety, when installing the unit, attach four of the
included anti-slip pads to the bottom of the unit as shown on the
diagram below.
Accessories
Before usingContents
Getting Started
Accessories ······················································································1
Before Using
Cautions on Installation ··································································1
External Finish ················································································2
Moving the Unit ·············································································2
Cleaning ·························································································2
Other Cautions ···············································································2
Normal Connections·······································································2
Bi-wiring Connections ····································································3
Connections
About the Ventilation Holes ··························································3
Specifications ················································································· 4
Removing the Speaker Net ···························································3
[Bottom view]
ENGLISH
r
t
e
The quality of the sound produced from the speaker is affected by the
size and type of the room, as well as by the method of installation.
Consider the points listed below before installing the speaker.
Cautions on installation
q Owner’s Manual ......................................................................1
w Service station list ...................................................................1
e Speaker cable (Approx. 3 m) ....................................................2
r Foam plug ................................................................................2
t Anti-slip pads (8 pcs. / 1sheet) ................................................1
WARNING
Fasten the speaker cables to the wall, etc., to avoid catching them on your
hands or feet and causing the unit to fall.
About the Ventilation HolesRemoving the Speaker NetConnectionsGetting Started Specifications


