Specification
FREQUENCY : FM 87.5 -108.5 MHz
AM 525 - 1710 KHz
POWER SOURCE : AC120V~60Hz
ANTENNA : EXTERNAL 300 Ohm ANTENNA FOR FM
: BUILT-IN FERRITE BAR FOR AM
POWER CONSUMPTION : 110W
AUDIO POWER OUTPUT : 18W x 2
SPEAKER OUTPUT : 18W
SPEAKER : 6 1/2” Dynamic type x 2
: 4ohm 40watt
: 2 1/2” Tweeter type x 2
: 8ohm 10watt
*DESIGN AND SPECIFICATIONS SUBJECT TO CHANGE WITHOUT NOTICE.
WARNING:
TO PREVENT FIRE OR SHOCK HAZARD, DO NOT EXPOSE THIS
APPLIANCE TO RAIN OR MOISTURE. DO NOT REMOVE COVER.
PILOT LAMPS SOLDERED IN PLACE. NO USER SERVICEABLE
PARTS INSIDE. REFER SERVICING TO QUALIFIED SERVICE
PERSONNEL.
“Ventilation not to be impeded.”
“Do not expose to moisture or liquids. Do not place objects filled with
liquids, such as vases, on the apparatus. “
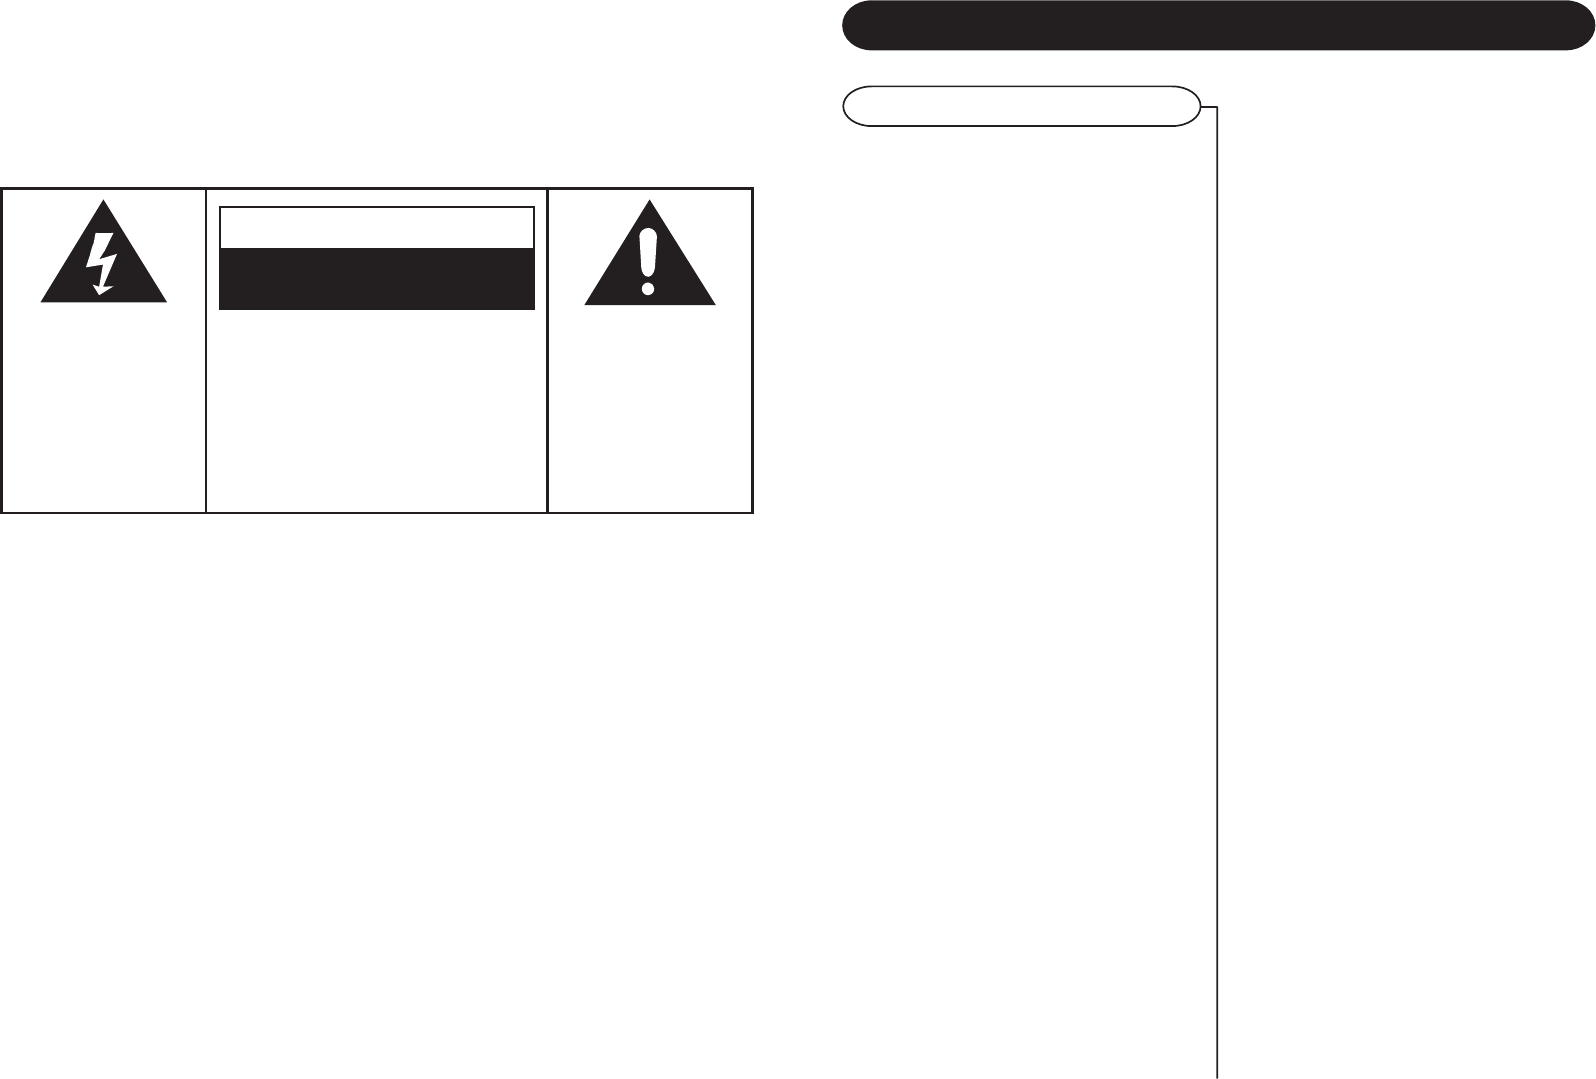
CAUTION: TO REDUCE
THE RISK OF ELECTRIC
SHOCK, DO NOT REMOVE
COVER (OR BACK). NO
USER - SERVICEABLE
PARTS INSIDE. REFER
SERVICING TO QUALIFIED
SERVICE PERSONNEL.
The lighting flash with
arrowhead symbol, within
an equilateral triangle, is
intended to alert user to
the presence of uninsulated
"dangerous voltage" within
the product's enclosure
that may be of sufficient
magnitude to constitute
risk of electric shock
to persons.
The exclamation point
within an equilateral
triangle is intended to
alert user to the
presence of important
operating and
maintenance (servicing)
instruction in the
literature accompanying
the appliance.
RISK OF ELECTRIC SHOCK
DO NOT OPEN
CAUTION
11
There’s no sound?
1 Make sure the mute function is turned off.
2 Check that the volume is turned up by pressing
vol.+ button on remote.
3 Make sure ext. / int. /mix. switch on back of radio
is on “int.” or “mix.”.
(unless you are using external speakers, in which
case it should be on “ext.”.)
4 Check to make sure power is turned on.
CD does not play?
1 Check to make sure CD is inserted correctly
(label side facing up).
2 Check to see that surface of CD is clean.
3 Make sure radio is on CD function by pressing
CD / Radio button.
Remote not working?
1 Replace batteries.
2 Be sure and point remote towards remote sensor
when using.
3 Remove obstacles in the path of the remote and
the radio so that remote signal has a straight
path to the radio.
Troubleshooting
General


