5
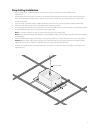
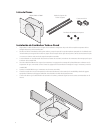
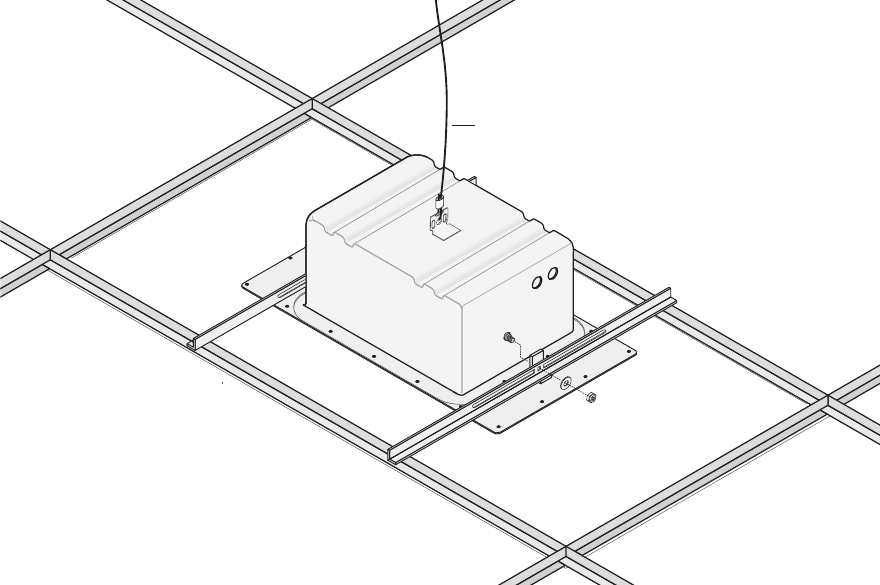
Security Cable
Drop Ceiling Installation
1 Run the speaker wire to the installation location. Be sure the wire meets electrical and building code
requirements.
2 Decide which of the wire inputs you want to use and remove the appropriate knockout cover(s). If the wiring will be
“daisy chained” to other speaker, remove other knockout covers as needed. Snap a ULM connector into each of the
knockouts removed.
3 If you are using a 70/100V constant voltage transformer, mount it on the mounting studs provided inside the FRB.
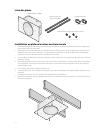
4 Fasten the drop ceiling support bars to the FRB with the hardware provided.
5 Cut the appropriate size hole in the ceiling panel over which the FRB will be mounted. The hole cutout diameter is listed
in the specifications table. Set the ceiling panel in the support grid.
Hint: For a variety of reasons it is best to center the cutout hole in the ceiling panel.
Hint: Do not install the ceiling panels adjacent to the installation location until the FRB and speaker have been installed
and connected.
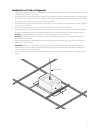
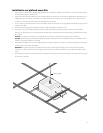
6 Slide the FRB through an adjacent opening in the support grid and set it in place over the cutout in the ceiling panel.
Caution: Because drop ceiling support grids are not particularly strong, we strongly recommend you fasten a safety
cable between the tab on the back of the FRB and a structurally strong building element.
7 Connect the speaker (and the 70/100V transformer if it is used) and mount the speaker according to the instructions
supplied with it.


