


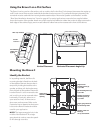
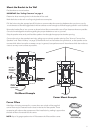

Mounting the Bravo II
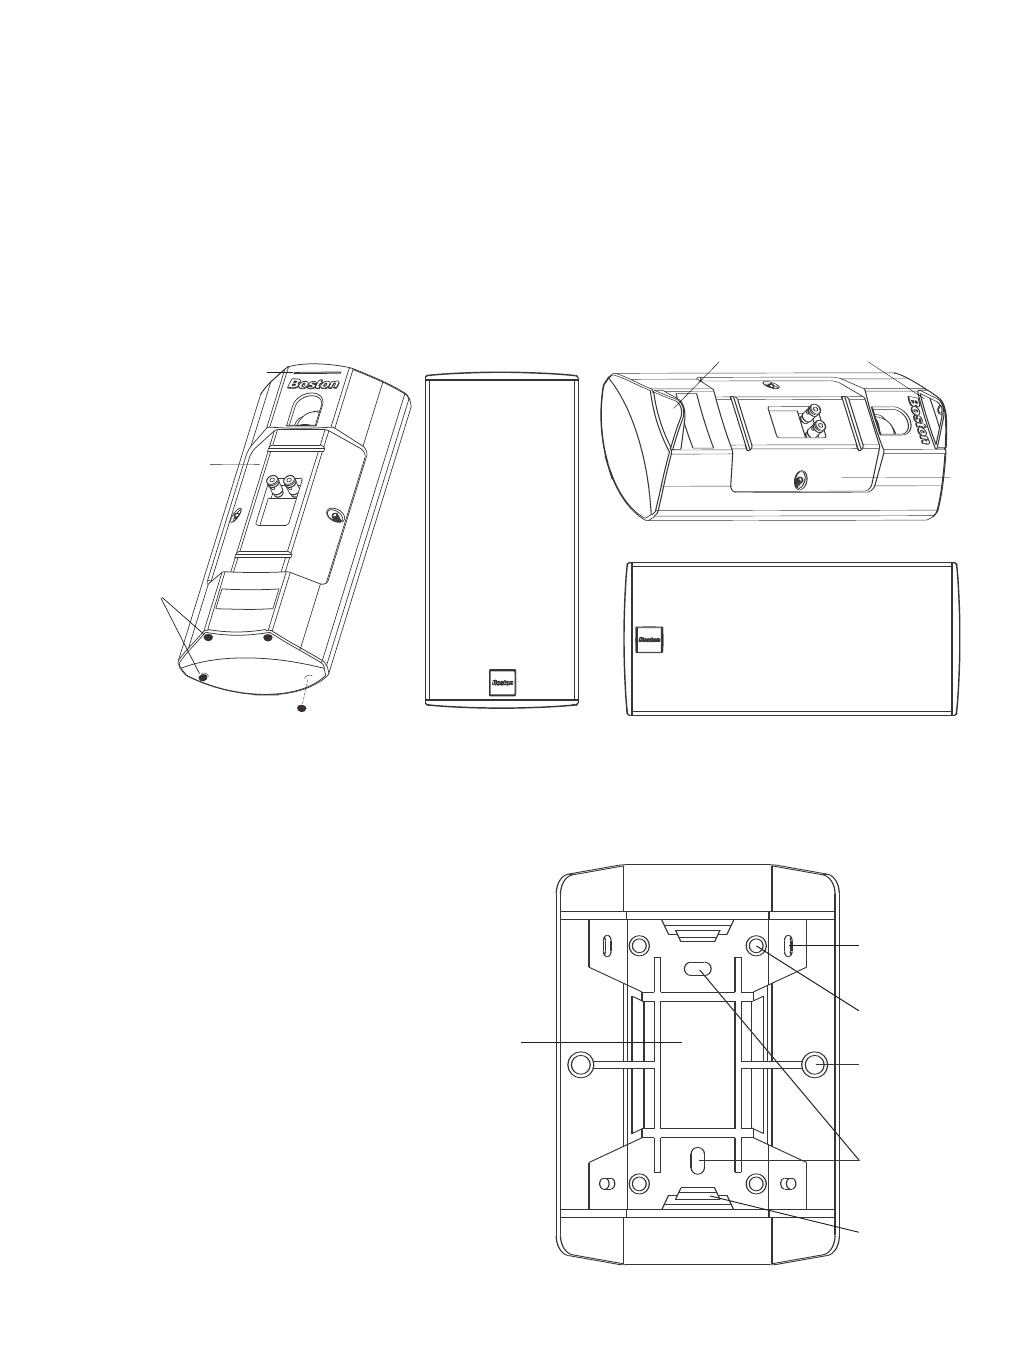
Identify the Bracket
In its packing material, the Bravo II’s
mounting bracket is fitted into the back
of the speaker. Remove the tape that is
temporarily holding the bracket to the
speaker, and then pull the bracket away
fr
om the back of the speaker
. Deter
mine
how the Bravo II is to be mounted to the
wall or ceiling. It can be mounted either
horizontally or vertically, either on an
open section of wall, or where two or
three room surfaces meet. Refer to the
illustration her
e to deter
mine what screw
holes on the Bravo II bracket should be
used for your application.
NOTE: The large rectangular hole in the
middle of the bracket will fit a single
gang electrical outlet to route the speak-
er wire through a conduit.
4
fi
ller cap removed
self-adhesive
rub
ber feet
applied
bra
cket
removed
Horizontal Placement–Angled Up
Vertical Placement
angle/corner
mounting holes (4)
2 per side
single gang electrical
box mounting holes
speaker-to-bracket
mounting holes (2)
1 per side
single gang
electric outlet
opening
speaker cable run
holes (2)
on top and bottom
flat mounting holes (4)
2 per side
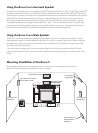
Using the Bravo II on a Flat Surface
The Bravo II can be used on a fl
at surface, such as a table, shelf or the floor. For horizontal placement that angles up
at 45º, both corner fillers must be used and the bracket must be removed. For untilted horizontal placement, the
r
ear stand must be used
with the mounting bracket attached (see “Mount the Speaker to the Bracket” and the
“Rear Stand Installation Instructions” found on page 6. For vertical applications mount the four supplied rubber
feet to the bottom of the speaker. Attach two of the supplied self-adhesive rubber feet so that its edge contacts the
back edge of the cabinet. Apply two more self-adhesive rubber feet to the recesses at the front of the cabinet.
corner fillers facing in
bracket
removed