6
EnglishTAB 6TAB 8 TAB 7 TAB 3TAB 5 TAB 2TAB 4
INSTALLATION
Preparing the ceiling
Be sure you have read and understand all of the safety
and preparation information on these pages so you can
continue with confidence.
CAUTIONS:
• If you are unsure of your ability to complete this
process, contact a professional installer.
• Certain forms of insulation (such as horse hair plaster,
newspaper, cellulose, or any blown-in materials) may
pose a risk of ignition. Be sure to keep all insulation
away from speakers in accordance with the installation
instructions.
WARNINGS:
• Make sure the spot chosen is safe for cutting. Do not
cut through surfaces that may have hazards such as
electrical wiring, conduits, or plumbing concealed
behind them. Follow all other safety precautions.
• If you believe there is asbestos insulation in the ceiling
where you want to install a speaker, do not drill or cut
there. Find a different ceiling area for the speakers
instead.
• If there is another type of moveable insulation in the
ceiling, you can proceed after reading these tips:
– You may need to cut or push the insulation away
before inserting the speaker.
– Beware of hidden nails when reaching into the
ceiling to remove insulation.
– Wear gloves and protection for your mouth, nose,
and eyes before handling insulation that contains
fiberglass.
– Be sure keep a 4-6 in. (10-15 cm) area around the
speaker hole free from any types of insulation to
maximize acoustic performance.
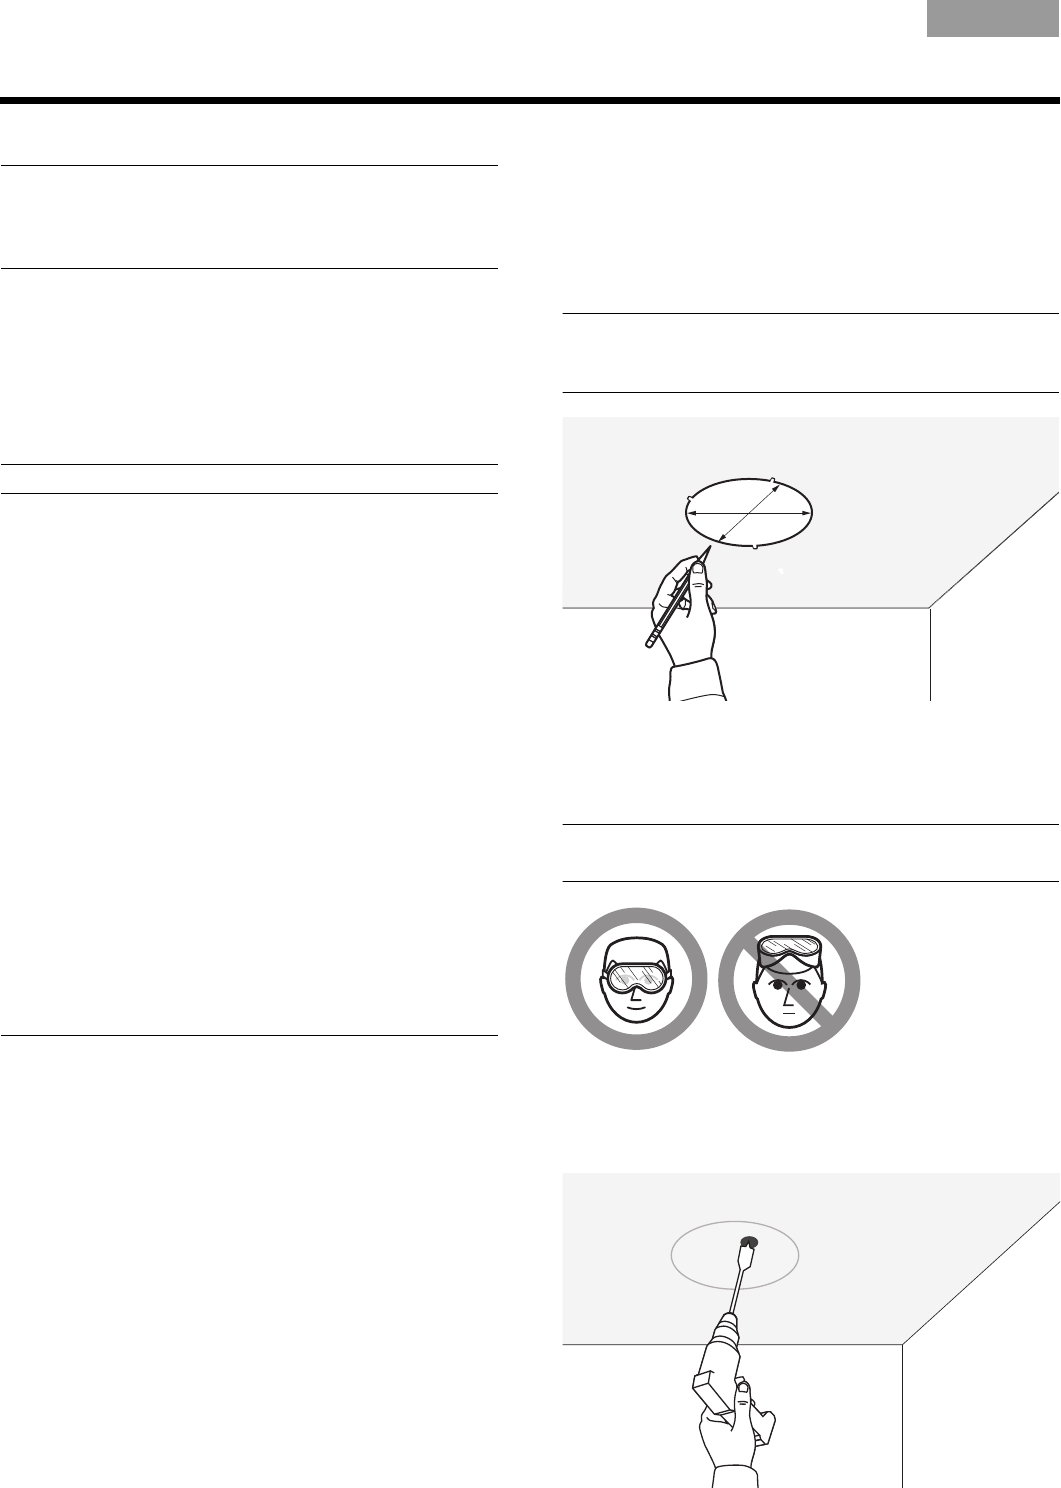
Using the template
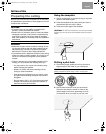
1. Center the template on the spot where you want the
center of the speaker grille.
2. Press the template to the ceiling with your hand or
use painter’s tape to hold it in place.
3. Trace around the edge of the template.
CAUTION: DO NOT trace around or cut around the tabs
that are for use only when the template serves as a paint
shield.
Drilling a pilot hole
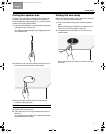
1. Choose the proper spade bit to drill a hole that is
large enough for the blade of your cutting tool.
WARNING: Use eye protection and be sure to observe all
safety precautions while using a drill or cutting tool.
2. Drill the hole inside the circle you have drawn.
Choose a spot near the center or closer to the
outside edge of the circle, depending on which
will be easier when you begin to use your saw.
8
5
/8
"
(21.9 cm)
04_Installation.fm Page 6 Thursday, April 23, 2009 10:08 AM


