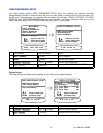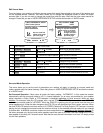
USER PREFERENCE SETUP
You should always perform USER PREFERENCE SETUP after first installing your receiver and after
adding/changing sources or video monitors. Be sure your main power is switched on from the front panel. For
correct zone 1 video operation it is important that you perform the first step - DISPLAY OPTIONS - Z1 VIDEO
MONITOR. Other USER PREFERENCE setups are less important - the factory setting will work fine for most
users. Feel free to skip to SETUP/CONFIGURE after setting your Z1 monitor type.
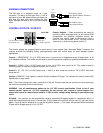
MAIN MENU
1 Help / Navigate
2 Product Information
3 Zone 2 Operation
4 Edit Preset Title
5 User Preferences
6 Setup / Configure
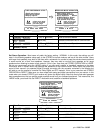
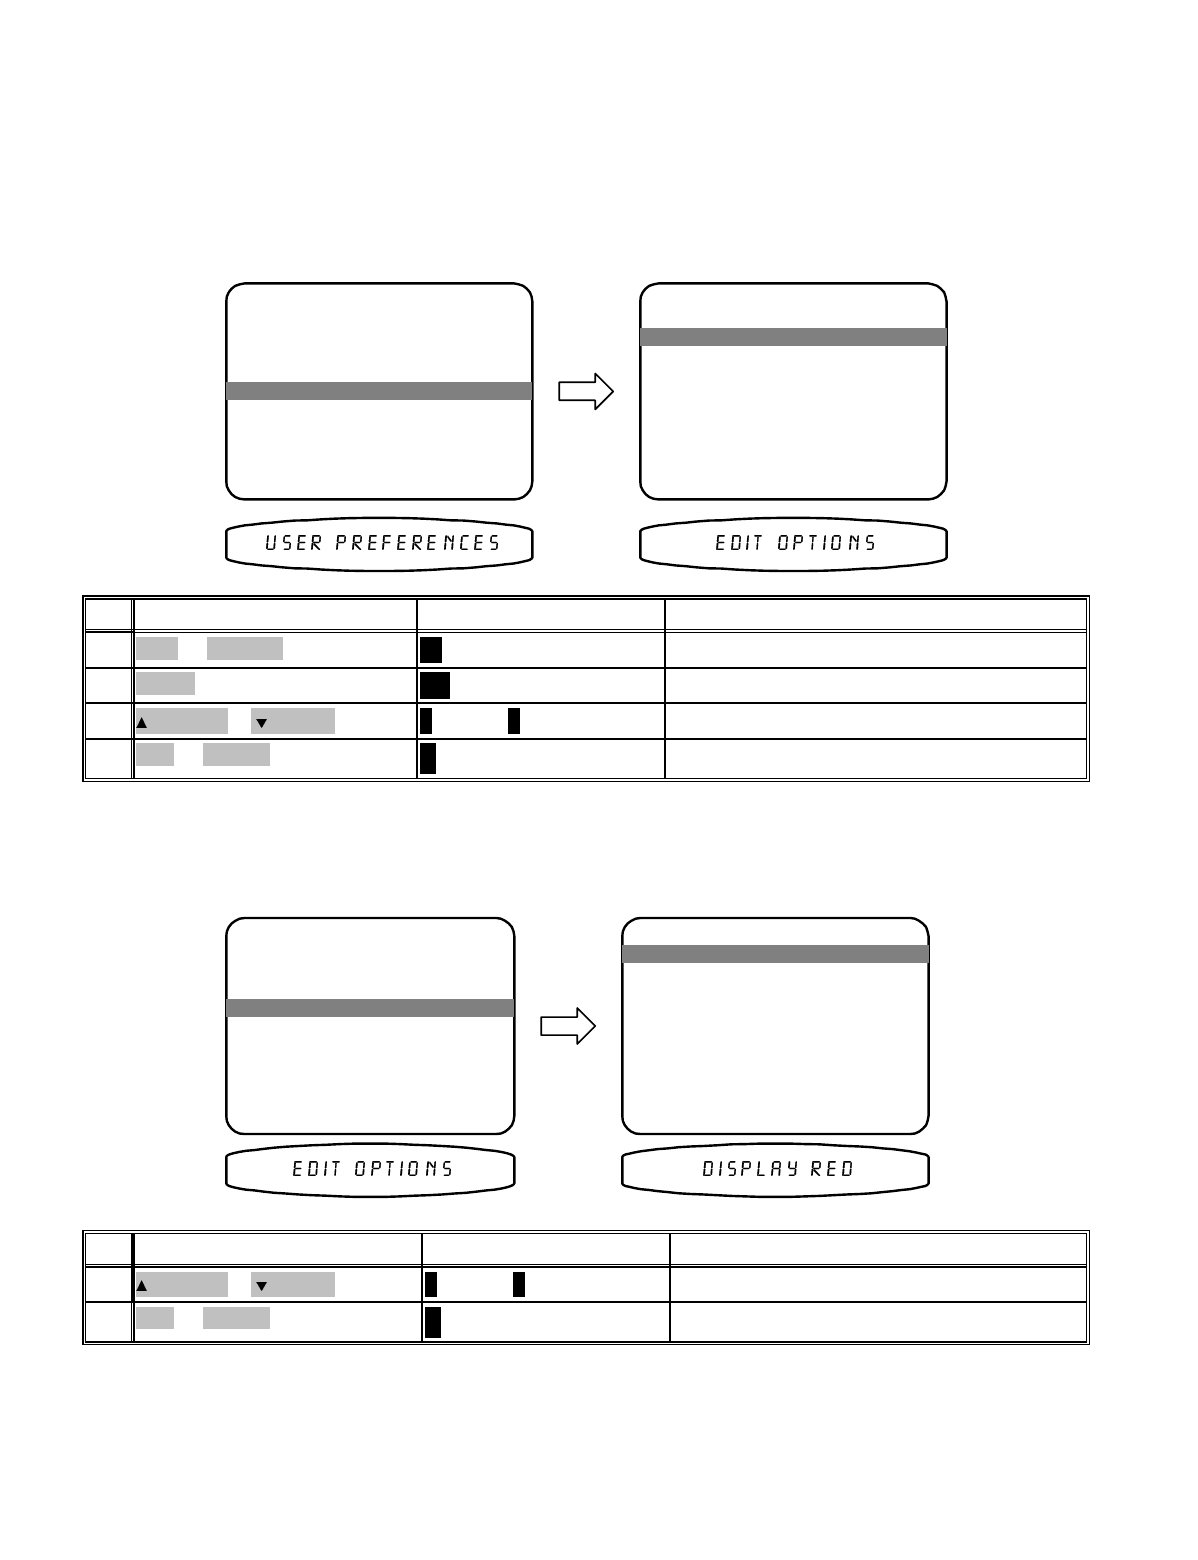
USER PREFERENCE SETUP
1 Edit Preset Options
2 Edit Source Names
3 Display options
4 Surround Modes
move to new line
select menu page
exit menu system
↑ ↓
SEL
MENU
move to new line
select menu page
previous page
↑ ↓
SEL
MENU
activate USER PREFERENCE SETUP
↵
(ENTER)
SEL or ENTER4
move to User Preferences
∧ (UP) or ∨ (DOWN)
(PAUSE) or
(STOP)
3
activate menu system
MENU
MENU2
turn on receiver
A
SLEEP
AUD or POWER1
ActionFrom Front PanelFrom Remote
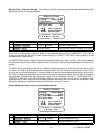
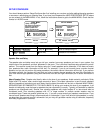
Display Options
This menu allows you to setup various aspects of your video and front panel displays.
USER PREFERENCE SETUP
1 Edit Preset Options
2 Edit Source Names
3 Display Options
4 Surround Modes
move to new line
select menu page
previous page
↑ ↓
SEL
MENU
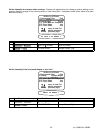
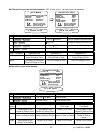
DISPLAY OPTIONS
1 Background Color Red
2 Overlay Opaque Bright
3 Front Display Bright
4 Z1 Video Monitor Composite
5 Z1 Tuner Video last
6 Z2 Tuner Video last
move to new line
adjust parameter
previous page
↑ ↓
←→
MENU
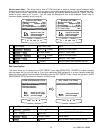
activate DISPLAY OPTIONS
↵
(ENTER)
SEL or ENTER2
move to Display Options
∧ (UP) or ∨ (DOWN)
(PAUSE) or
(STOP)
1
ActionFrom Front PanelFrom Remote
18
p/n 12699 Rev. 9808B


