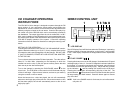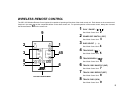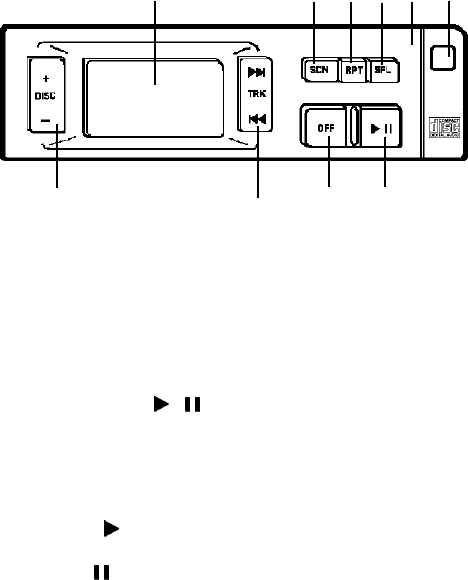
1 LCD DISPLAY
The LCD DisplayPanel will illuminate when the CDchanger is operating.
Different symbols will appear depending on the function and operation
in use. Each display is explained in the applicable function explanation
below.
2 PLAY / PAUSE ( / )
Pressing this button turns on the CD changer, illuminates the LCD panel
and begins play of disc #1 if a new CD magazine has been loaded into
the changer. If a magazine was already in the changer, play will resume
from the track on the disc previously in play. Play of the disc is shown
by the indication and the rotating disc symbol on the LCD panel.
Pressing the button again will temporarily stop play of the disc. The
pause indication will be shownon the LCD panel andthe disc symbol
will stop rotating and flash instead. Press the button again to resume
play of the disc.
NOTE: If left in the PAUSE mode for 5 minutes, the unit will automati-
cally shut off.
CD CHANGER OPERATING
INSTRUCTIONS
The CDC-825 10-disc changer is designed to operate through the FM
stereo section of your automotive sound system and therefore the
adjustment of volume, balance, tone and other audio adjustments are
made by using the controls on the car stereo. Control of disc play is by
the control unit of the CDC-825 which can be conveniently mounted to
the dashboard. The output signal from the unit is at either 89.1 or 88.7
MHz. (set by installer) on the FM band and it is recommended that a pre-
set memory push-button of the radio be set to the output frequency ofthe
CDC-825 to simplify operation of the system. Consult the operating
instructions of the car stereo for directions on setting the memory push-
button.
SETTING UP FOR OPERATION
Following the instructions in the "USE OF THE CD MAGAZINE" section,
load the desired number (up to 10) of 5" (12cm) compact discs into the
CD magazine and insert the magazine into the changer. DO NOT USE
3" (8cm) CD SINGLES, EITHER WITH OR WITHOUT AN ADAPTOR,
IN THE CDC-825.
Turn on the car stereo and select FM band operation. Tune the radio to
either 87.7 or 89.1 MHz. (depending on the frequency to which the
installer has set the unit) or push the pre-set memory button that has
been set as per the above description.
Turn on the changer by pressing the PLAY/PAUSE switch 2 on the
control unit. The LCD panel on the control unit will illuminate and play
of disc #1 will begin. Adjust volume, balance, and tone to your taste by
using the controls on the car stereo.
When the last track on a disc has played, the unit will automatically
advance to and begin play of the next disc. When the last track on disc
#10 has been played, the unit will automatically return to disc #1 and
begin play again.
REMOTE
SENSOR
5
WIRED CONTROL UNIT
blbm
6
1
8
7
4
5
3
2
9
SPS


