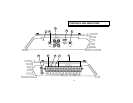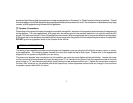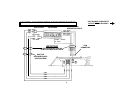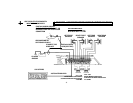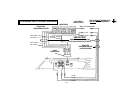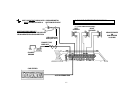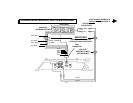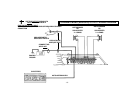
The wiring of your amplifier will depend on the system and speakers you are using but will either be a stereo, mono, or mixed-
mono application. The following pages illustrate the input and output wiring for both types. Please refer to the appropriate
diagrams for the system configuration you are using.
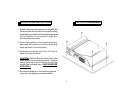
The power and speaker wire connections for this amplifier are made via screw tightened terminal blocks. Loosen the screw
for the connection to be made and fully insert the wire (strip 1/2" of insulation from the end) into the respective screw on the side
panel (crimp-on "U" terminals are provided to simplify wiring and we recommend their use.) Tighten the screw down to secure
the wire. After initial set-up, the amplifier should not require any further adjustment unless there is a change in the car stereo
or speaker system with which it is used.
WIRING INSTRUCTIONS
-7-
provide an Auto-Antenna lead, the remote turn-on lead may be wired to an "Accessory" or "Radio" terminal in the car's fuse block. This will
turn the amplifier on and off with the ignition key, regardless of whether the car stereo is on or off. The remote turn-on lead does not carry large
currents, so #20 gauge wire may be used for this application.
9 Speaker Connections
Depending on the type and number of speakers used with the amplifier, wire them to the speaker terminals as per the appropriate
wiring diagram. For most applications, #18 gauge wire should be used for the speaker leads but in no case thinner than #20
gauge. For leads in excess of 10 feet, #16 gauge is recommended. When wiring the speakers, pay careful attention to the polarity
of the terminals on the speakers and make certain they correspond to the polarity of the corresponding terminals on the amplifier.
DO NOT ground any speaker leads to the chassis of the vehicle.


