35
3. SETUP continued …
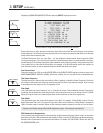
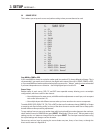
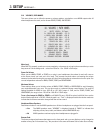
Muting (MAIN only):
This eliminates popping sounds that may occur with some digital source components during a bitstream
change. If popping is heard when changing chapter on a DVD or channel on a digital satellite receiver or
cable box, use Max setting. However, if the beginning of a track is cut off when playing a CD, use Min setting.
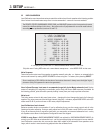
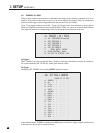
EQ (MAIN only):
For sources set to Digital or Anlg-DSP, you can preset low and high frequency levels. This is useful for source
components that have frequency irregularities. After highlighting the EQ line, press SELECT and use the
buttons to select LF (low frequency) or HF (high frequency), then use the buttons to adjust. In the
FM/AM Setup/Presets menu, FM and AM can be adjusted separately. The EQ settings in this menu and the
on-the-fly BASS / TREBLE adjustments do not
affect each other (see section 4.7).
Bass Manager (MAIN only):
Choose between Movie or Music configuration as set in the Bass Management menu, or Auto-LFE. When
Auto-LFE is selected, the Movie configuration is used if there is LFE in the source material, and changes to
the Music configuration at all other times. Auto-LFE is recommended when using two bass management
configurations and the same player for DVDs and CDs.
Room EQ (MAIN only, for units with optional ARC-1 Anthem Room Correction):
To disable room correction equalization performed with the ARC-1 microphone kit, change this to Off.
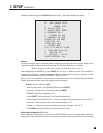
Lip-Sync (MAIN only):
Video can fall out of synchronization with audio for a variety of reasons. The Statement D2’s video processing
causes video to be delayed by 24 milliseconds, which is less than the duration of one frame, thus considered
synchronized. If for whatever reason audio is heard before the corresponding image is seen, you can set up
to 170 milliseconds of audio delay. You can also set delay while watching video – see section 4.9.
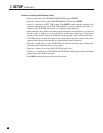
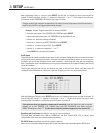
Example: Set DVD1 Lip-Sync delay to 24 milliseconds.
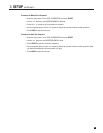
• Enter the setup menu. Go to SOURCE SETUP and press SELECT.
• Press the button until you reach DVD1 and press SELECT.
• Press the button until you reach LIP-SYNC and press SELECT.
• Use the buttons to move from digit to digit and the buttons to adjust to 24 ms.
• Press BACK to leave the submenu and return to the main menu.
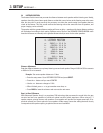
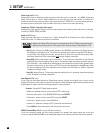
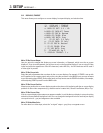
HDMI Repeater:
If an HDMI input is assigned correctly yet it doesn’t work, try changing this setting to No.


