


7
En
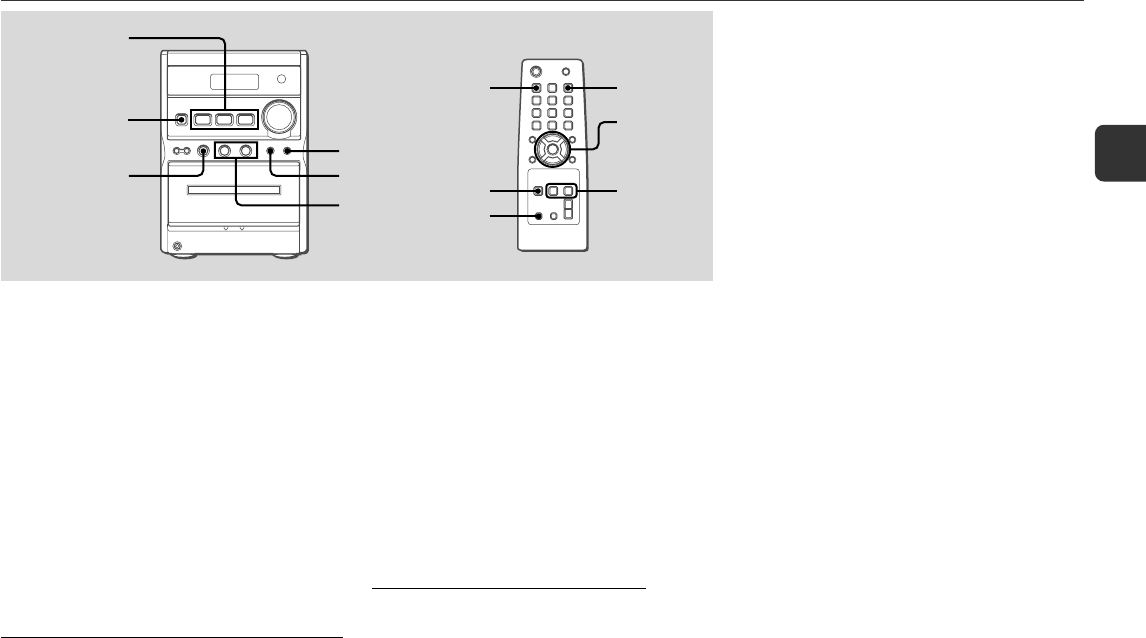
ADJUSTMENTS BEFORE OPERATION
CLOCK
SET
SHIFT
f,g
s
POWER
6STANDBY/ON
TAPE,
TUNER/AUX/BAND,
CD
CD,
TUNER/BAND,
TAPE,AUX,
s
TONE
DISPLAY
DISPLAY
f,g
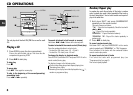
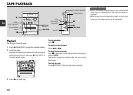
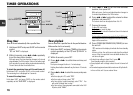
Setting the clock
1
Hold down SHIFT and press CLOCK on the remote
control.
When the unit is turned off, you can also press SET.
2
Within 6 seconds, press f or g to set the
time.
Each press changes the time in 1-minute steps.
Holding these buttons down will vary the time in 10-minute
units.
3
Press SET.
The time display stops flashing and the clock starts from
00 seconds.
When setting the clock on the unit in stop mode, hold down
s and press g in step 1. After setting the time in step 2,
press TONE in step 3.
To display the time while the power is on
Hold down SHIFT and press CLOCK on the remote control.
The time will be displayed for 6 seconds.
To switch to the 24-hour standard
Display the time and press s within 6 seconds.
With each press, the clock alternates between 12- and 24-
hour standard time.
Tip:
In the 12-hour standard, "AM12:00 " indicates midnight and
"PM12:00 " noon.
If the clock display flashes when the unit is turned
off
There has been a power interruption. Reset the clock.
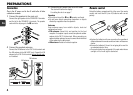
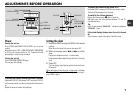
Power
Turning the unit on
Press POWER 6STANDBY/ON (POWER on the remote
control).
Alternatively, press TAPE, TUNER/AUX/BAND (TUNER/BAND
or AUX on the remote control) or CD. Playback will start
automatically if a disc or tape is loaded.
Turning the unit off
Press POWER 6STANDBY/ON again.
The unit goes into standby.
To change the display window brightness (Dimmer)
Hold down DISPLAY (hold down SHIFT and press DISPLAY
on the remote control) for about 4 seconds while the power is
on.
Repeat the above to restore the brightness.