13
GB
Getting Started
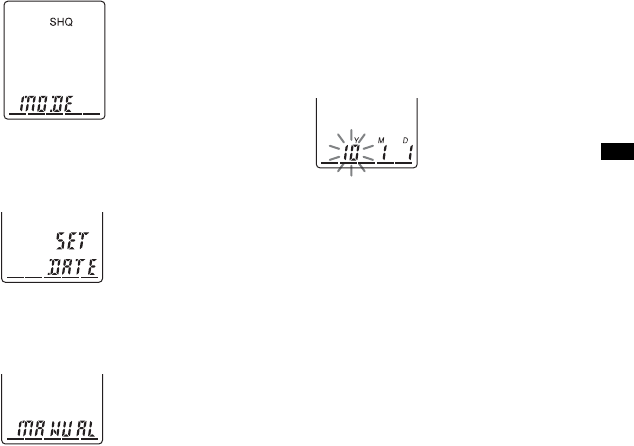
The menu mode window will be
displayed.
2 Press –. or > + to select “SET
DATE,” and then press
N PLAY/
STOP•ENTER.
3 Press –. or > + to select “AUTO”
or “MANUAL,” and then press
N PLAY/STOP•ENTER.
When you select “AUTO,” the clock is
automatically adjusted using the clock in
the computer connected to the IC
recorder and on which the supplied
Digital Voice Editor software is started.
When you select “MANUAL,” the year
section flashes. Proceed to the next steps.
4 Press –. or >+ to set the year,
month, day, hour, and minute in
sequence, and then press
N PLAY/
STOP•ENTER.
5 Press x (stop) to return to the stop mode
display.
z Tips
• Press FOLDER/MENU to return to the
previous operation.
• You can set the time display for the clock to
“12H” (12-hour display) or “24H” (24-hour
display) in the “HOUR” menu. When “12H”
(12-hour display) is set, “AM” or “PM”
appears in the display window.
P Note
If you do not press N PLAY/STOP•ENTER
within 1 minute of entering the clock setting
data, the clock setting mode is cancelled and
the window will return to the display of the
stop mode.
