126 Chapter 5 Adjustments and Settings
Chapter 5 Adjustments and Settings
1 Make the following settings.
• POWER switch: ON
• OUTPUT/DL/DCC+ switch: one of the CAM
positions
• Lens iris selector: A (automatic)
• ATW button: off
2 Set the FILTER control according to the lighting
conditions. (See page 57.)
3 Set the W. BAL switch to A or B.
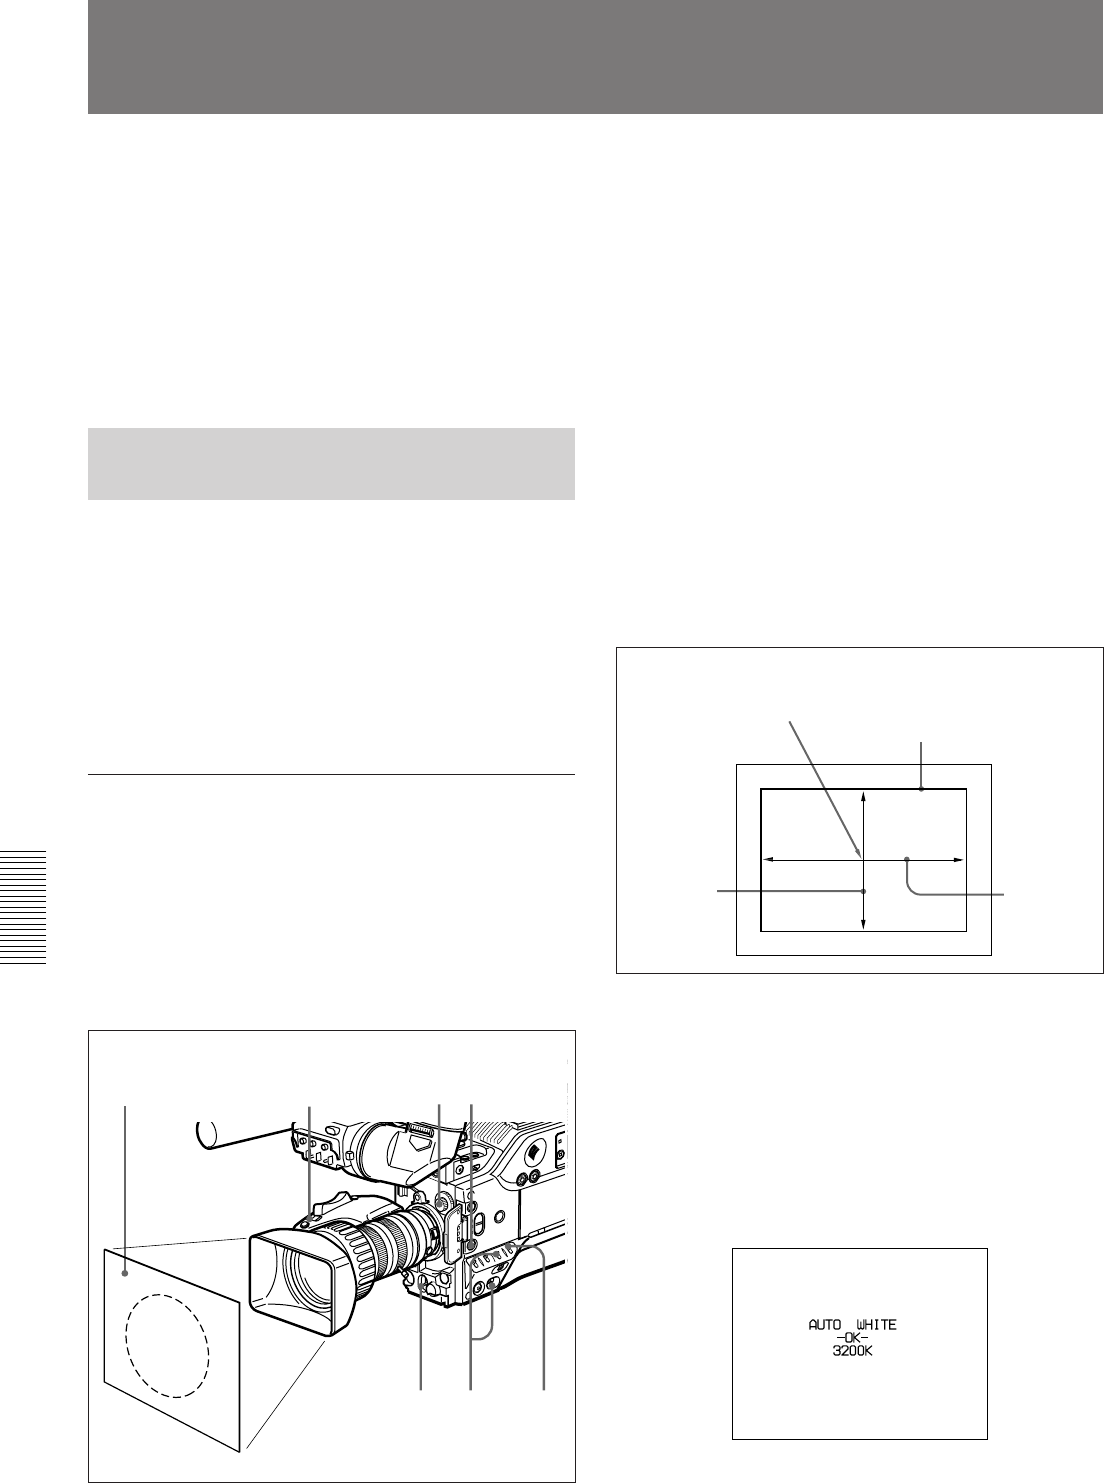
4 Arrange a white subject (paper, cloth, etc.) under
the same lighting conditions as for shooting, and
zoom in on it so that as far as possible the whole
screen is white.
The minimum white area requirements for the
adjustment are shown in the following figure.
5 Push the WHT/BLK switch in the WHT direction
and release.
The white balance adjustment is carried out.
During the adjustment the legend “AUTO WHITE
-OP-” appears in the viewfinder.
After a few seconds the adjustment is complete,
and the legend in the viewfinder changes to
“AUTO WHITE -OK-” plus a color temperature,
as shown in the following figure.
The adjustment value is automatically saved in
memory A or B as selected above.
Adjusting the white balance ensures that as lighting
conditions change white objects remain white in the
image and tones remain natural.
The color of light emitted varies from one light source
to another, and as the lighting changes the apparent
color of an illuminated subject changes. It is therefore,
necessary to adjust the white balance each time the
principal lighting source changes.
Saving an Appropriate White
Balance Value in Memory
You can save two white balance values in separate
memories, A and B. Unless changed, the saved values
are retained for approximately ten years, even when
the camcorder is turned off.
Once a value is saved, you can automatically restore
the adjustment by moving the W. BAL switch to the A
or B position. This makes shooting under alternating
lighting conditions easy.
Separate white balance values for each
FILTER control setting
In the default case, as described above, the same two A
and B white balance values apply to all four settings of
the FILTER control. It is possible, however, to change
the AWB MEM setting in advanced menu page 3 (see
page 101) so that there are eight possibly different
values for the A and B positions.
Center of the screen
Area of white within this
rectangle should be
equivalent to at least 10% of
the image area.
White Balance Adjustment
1
2
1
51 3
4
approximately
70% of the
height of the
image
approximately
70% of the
width of the
image
