E-28
Setting Up the System
■ Using this function, you can check the input signal and
lamp usage time, and select the remote mouse and DC
5V output.
Checking the system and lamp usage time
• Press the MENU button. Select “SYSTEM SETUP” with the
ADJUSTMENT
/ buttons. Then press the ENTER button to
change to the picture indicated on the left.
• The current system conditions, including the lamp usage time,
will be displayed on the screen.
• Press the MENU button to select the normal screen mode.
Note:
• In the video screen, the resolution and frequency settings will not be
displayed.
Selecting the Remote Mouse
• Press the MENU button.
• Select SYSTEM SETUP with the ADJUSTMENT / buttons.
Then press the ENTER button.
• Select “REMOTE MOUSE” and then select either “[AT]” or
“[98] ”with the ADJUSTMENT
/ buttons.
• Select [AT] when using IBM compatibles and Apple Macintosh
series.
• Select [98] when using NEC PC98 series (for Japan).
• Press the MENU button to select the normal screen mode.
Selecting DC 5V output
• Press the MENU button.
• Select “SYSTEM SETUP” with the ADJUSTMENT
/
buttons. Then press the ENTER button.
• Select “DC 5V OUTPUT” and then select either “M.PWR” or
“LAMP” with the ADJUSTMENT
/ buttons.
• Select “M.PWR” when you want a continuous current supply
from the DC 5V OUTPUT with the main power on.
• Select “LAMP” when you want a current supply from the DC
5V OUTPUT only when LAMP is set to “ON”.
• Press the MENU button to select the normal screen mode.
Background level
• The Background Level adjustment can be used to adjust the
picture white balance for the selected Video Input Source.
• Optimal image quality can be achieved by adjusting the white
portion of the picture to obtain the best color for the selected
source.
Adjusting the BACKGROUND LEVEL
• Press the MENU button.
Select “BACKGRND LVL” with the / buttons. Then press the
ENTER button to change the picture as indicated on the left.
• Select “RED” or “BLUE” with the
/ buttons.
Adjust the mode you want with the / buttons.
• To return to the factory preset mode, press the
/ buttons to
select “RESET” then press the ENTER button.
• Press the MENU button to select the normal screen mode.
Note:
• To display only the item that you want to adjust, press the ENTER
button after selecting the item with the ADJUSTMENT / buttons.
Then adjust the item with the ADJUSTMENT / buttons.
Functions on the Projector
On-Screen Display
SYSTEM SETUP
RESOLUTION
HOR FREQ
VERT FREQ
REMOTE MOUSE
:SEL.
:END
MENU
800@ 600
[
AT
]
DC 5V OUTPUT
M. PWR
:ADJ.
60Hz
LAMP USAGE 1234H
37.9 KHz
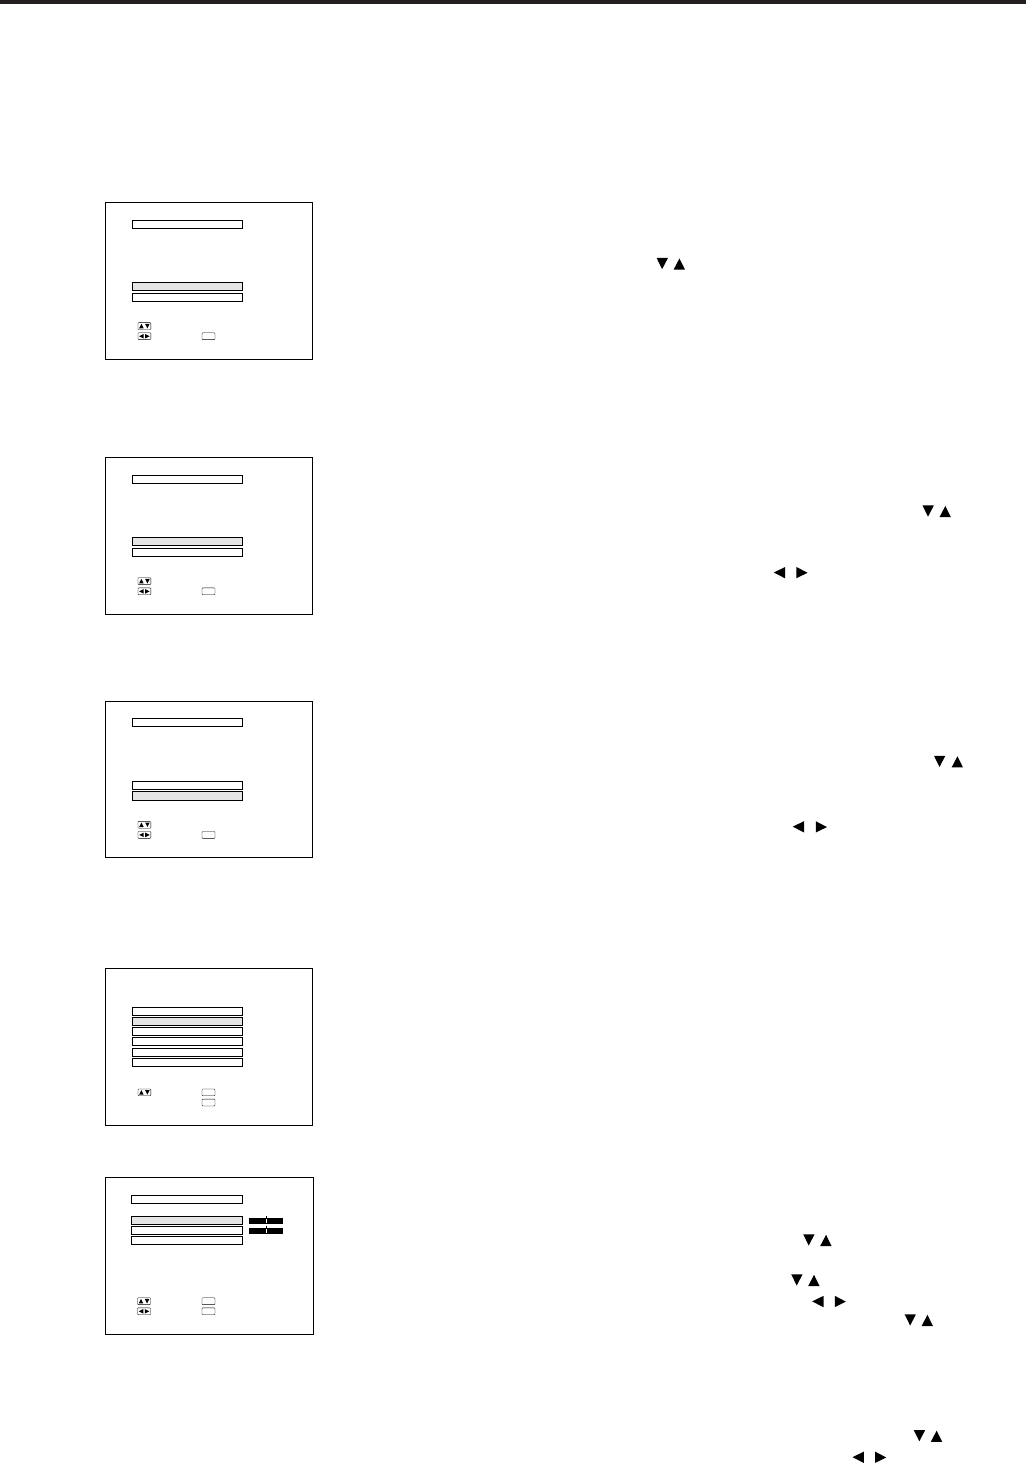
SYSTEM SETUP
RESOLUTION
HOR FREQ
VERT FREQ
REMOTE MOUSE
:SEL.
:END
MENU
800@ 600
[
AT
]
DC 5V OUTPUT
M. PWR
:ADJ.
60Hz
LAMP USAGE 1234H
37.9 KHz
SYSTEM SETUP
RESOLUTION
HOR FREQ
VERT FREQ
REMOTE MOUSE
:SEL.
:END
MENU
800@ 600
[
AT
]
DC 5V OUTPUT
M. PWR
:ADJ.
60Hz
LAMP USAGE 1234H
37.9 KHz
VIDEO1 ADJ.
BACKGRND LVL
IMAGE ADJ.
AUDIO
SYSTEM SETUP
LANGUAGE
:SEL. :NEXT
ENTER
:END
MENU
BACKGRND LVL
RED
BLUE
RESET
+
0
0
:SEL.
:ADJ.
:NEXT
ENTER
:END
MENU
-
+
-


