30
BEFORE INSTALLING THE SOFTWARE
CONNECTING THE MACHINE
CONNECTING TO A NETWORK
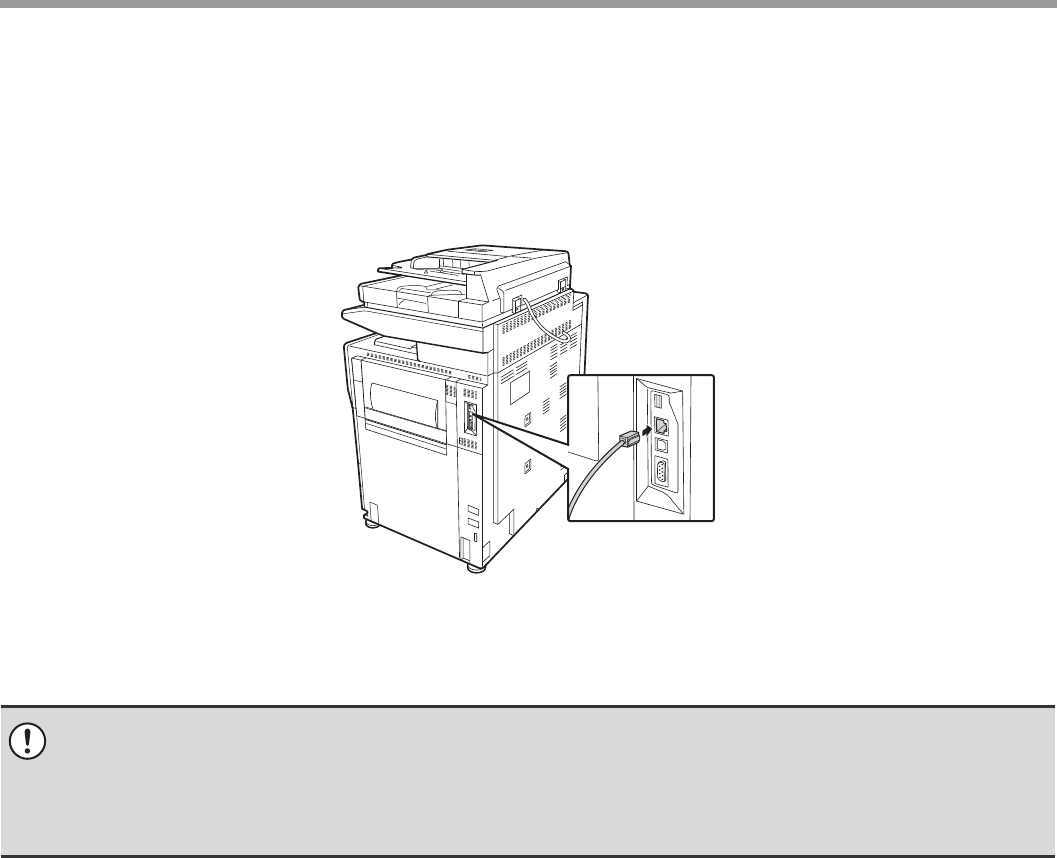
To connect the machine to a network, connect the LAN cable to the machine's network connector. Use a shielded LAN
cable.
After connecting the machine to a network, be sure to configure the IP address and other network settings before
installing the software. (The factory default setting for the IP address is to receive the IP address automatically when the
machine is used in a DHCP environment.)
Network settings can be configured using "Network Settings" in the system settings (administrator) on the machine.
Checking the IP address of the machine
You can check the IP address of the machine by printing out the "All Custom Setting List" in the system settings. Follow
these steps to print out the "All Custom Setting List".
Press the [SYSTEM SETTINGS] key, touch the [List Print (User)] key, and then touch the [Print] key of "All Custom
Setting List".
CONNECTING THE MACHINE WITH A USB CABLE (Windows)
The machine can be connected to a computer using a USB cable if the computer is a Windows computer. (The USB
interface on the machine cannot be used in a Macintosh environment.)
The machine and computer should be connected while the printer driver is being installed. If a USB cable is connected
before the printer driver is installed, the printer driver will not be installed correctly. For the procedure for connecting a
USB cable, see "WHEN THE MACHINE WILL BE CONNECTED WITH A USB CABLE" (page 1-91 in the Operation
Guide).
• If the machine is used in a DHCP environment, the IP address of the machine may change. If this happens, printing
will not be possible. This problem can be avoided by using a WINS server or by assigning a permanent IP address
to the machine.
• This manual explains how to set up the software in a Windows network environment.
• To use the machine on an IPv6 network, the IPv6 setting must be enabled in "Network Settings" in the system
settings (administrator).
