Scan to E-mail Using the E-mail Key
20
4
Press .
5
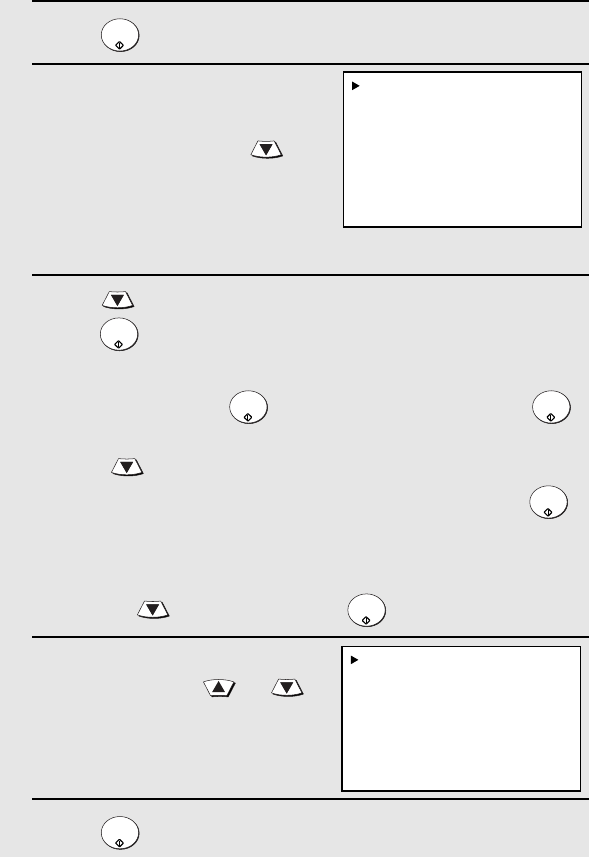
If you wish to enter a message,
your name, or your return e-mail
address, or select the file format
for the document, press .
(If you wish to use the default
settings you entered on page 16
and do not need to enter a
message, go directly to Step 8.)
6
Press to select the option you want to change, and then
press . Change the selected option as follows:
• FROM
Enter your name, press , enter your e-mail address, and press .
• FILE FORMAT
Press to select the desired combination of file format (TIFF or PDF)
and compression (G3, G4 or NO COMPRESSION), and then press .
• MESSAGE
Use the letter entry keys to enter a message (see Step 5 on page
17; maximum of 256 characters). A line break can be entered by
pressing . When finished, press .
7
When you have finished changing
the options, press or to
select START SCANNING.
8
Press . The document is scanned and transmitted.
START/
ENTER
START/
ENTER
START/
ENTER
START/
ENTER
START/
ENTER
START/
ENTER
START/
ENTER
1:START SCANNING
2:FROM
XXX
3:FILE FORMAT
XXX
4:MESSAGE
NO MESSAGE
1:START SCANNING
2:FROM
XXX
3:FILE FORMAT
XXX
4:MESSAGE
NO MESSAGE
Your preset sender and file
format appear in “XXX”.


