E-16
Operation
Operation
Basic Operations
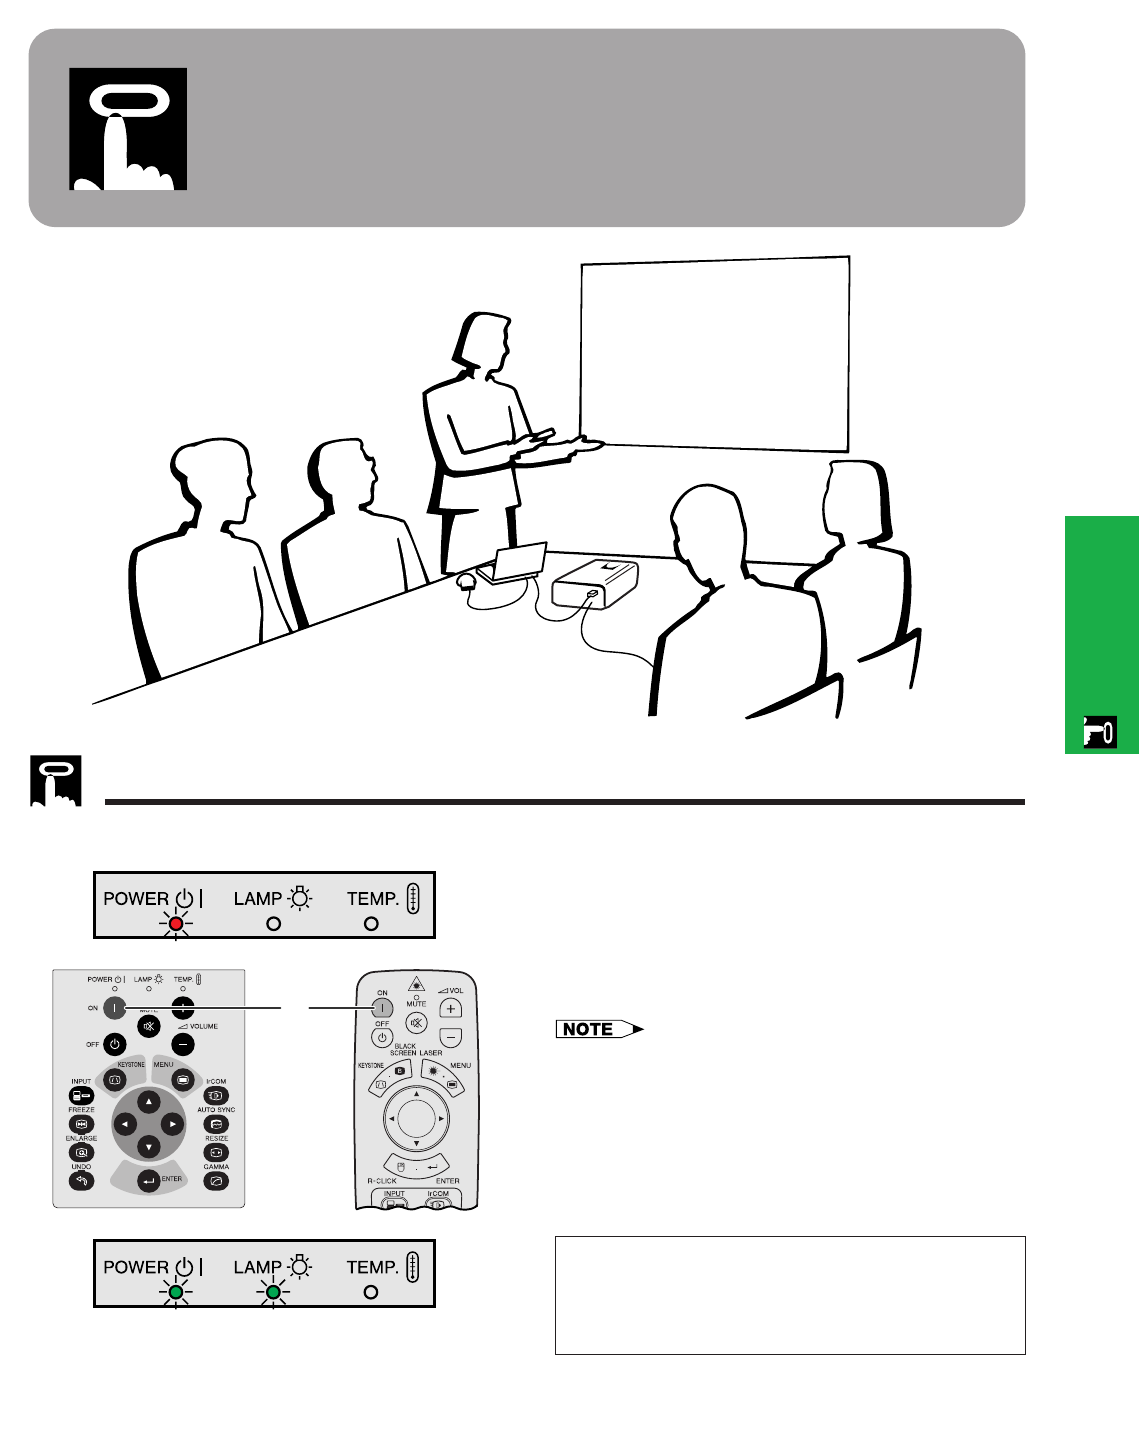
1 Make the necessary connections before pro-
ceeding. Connect the power cord to a wall outlet.
The POWER indicator lights up red and the
projector enters standby mode.
2 Press Power ON.
• The flashing green LAMP REPLACEMENT indicator shows
that the lamp is warming up. Wait until the indicator stops
flashing before operating the projector.
• If the power is turned off and then immediately turned on
again, it may take a short while before the lamp turns on.
• After the projector is unpacked and turned on for the first
time, a slight odor may be emitted from the exhaust vent.
This odor will soon disappear with use.
2
When the power is on, the LAMP REPLACEMENT
indicator lights indicating the status of the lamp.
Green: Lamp is ready.
Flashing green: Warming up.
Red: Change the lamp.


