Using the Diagnostic Tool
CODE RETRIEVAL PROCEDURE
OBD2 41
Flashing Red and Yellow LEDs – Indicates that a "permanent"
code has been set, and one or more of the vehicle’s monitors
has failed its diagnostic testing. A "permanent" DTC can be
cleared only by the vehicle's computer following successful
completion of the monitor that caused the fault to set.
DTC’s that start with “P0”, “P2” and some “P3” are considered
Generic (Universal). All Generic DTC definitions are the same
on all OBD2 equipped vehicles. The Diagnostic Tool
automatically displays the code definitions for Generic DTC’s.
DTC’s that start with “P1” and some
“P3” are Manufacturer Specific
codes and their code definitions vary
with each vehicle manufacturer.
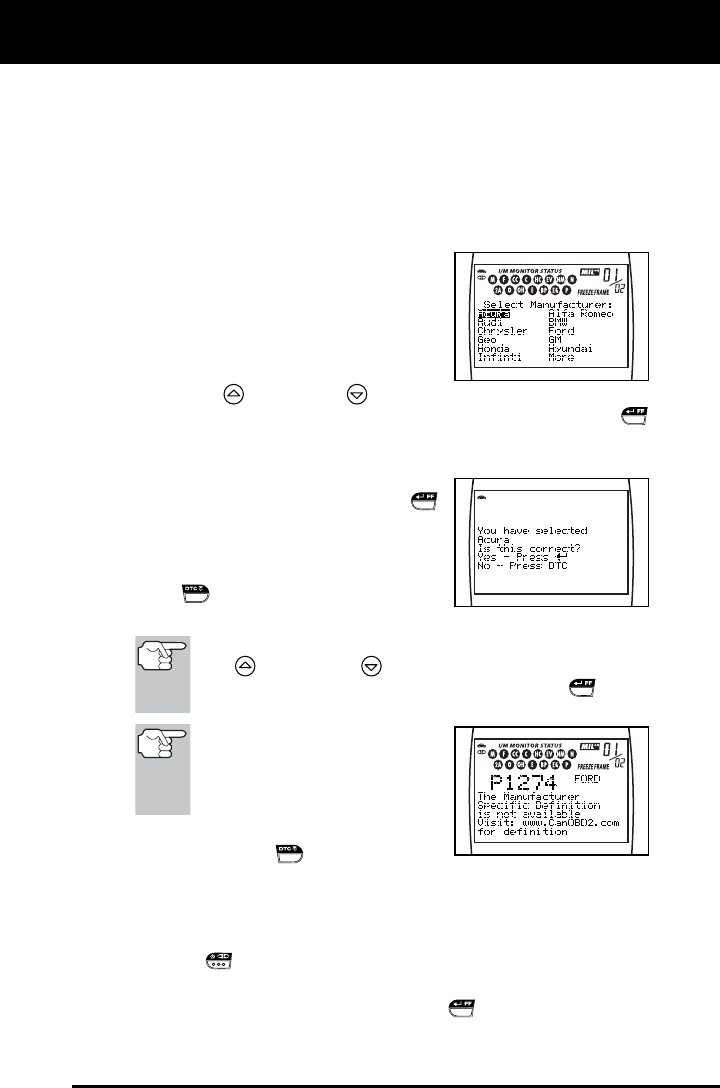
When a Manufacturer Specific DTC
is retrieved, the LCD display shows
a list of vehicle manufacturers. Use
the UP
and DOWN buttons, as necessary, to highlight
the appropriate manufacturer, then press the ENTER/FF
button to display the correct code definition for your vehicle. A
confirmation message shows on the LCD display.
- If the correct manufacturer is
shown, press the ENTER/FF
button to continue.
- If the correct manufacturer is not
shown, press the DTC SCROLL
button to return to the list of
vehicle manufacturers.
If the manufacturer for your vehicle is not listed, use the
UP
and DOWN buttons, as necessary, to select
Other manufacturer and press the ENTER/FF
button
for additional DTC information.
If the Manufacturer Specific
definition for the currently dis-
played code is not available, an
advisory message shows on the
Diagnostic Tool’s LCD display.
9. If more than one code was retrieved press
the DTC SCROLL
button, as neces-
sary, to display additional codes one at a time.
Whenever the Scroll function is used to view additional codes,
the Diagnostic Tool’s communication link with the vehicle’s
computer disconnects. To re-establish communication, press the
LINK
button again.
10. Freeze Frame Data (if available) can be viewed at any time (except
MENU mode) by pressing the ENTER/FF
button.


